
Selecting the right recessed panel ceiling lamp requires balancing three core specifications: lumens, wattage, and color temperature. Getting this combination right ensures your space is sufficiently bright, energy-efficient, and set to the appropriate mood.
Many homeowners mistakenly rely solely on wattage to judge brightness, a holdover from the days of incandescent bulbs. Modern LED technology has decoupled energy consumption from light output, making it essential to understand how these technical metrics interact before purchasing new fixtures.
Quick Guide to Recessed Panel Light Specifications
Evaluating recessed panel ceiling lamps involves looking at three primary metrics on the product packaging. Lumens measure the total amount of visible light emitted by the fixture, representing its actual brightness. Wattage indicates how much electrical power the lamp consumes to produce that light. Color temperature, measured in Kelvin (K), describes the warmth or coolness of the light’s appearance.
Products mentioned in this guide
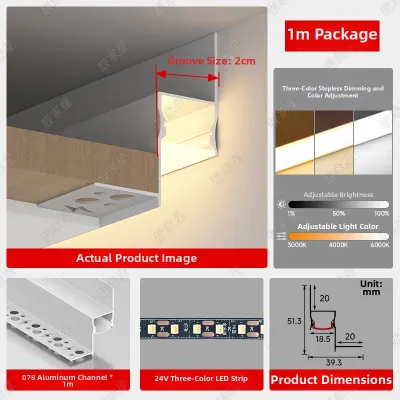
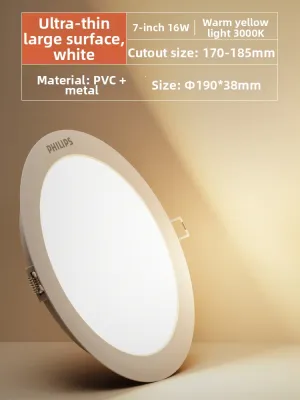
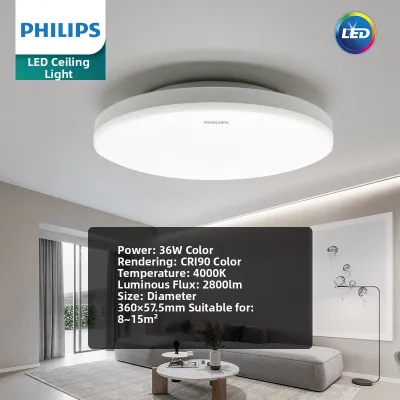
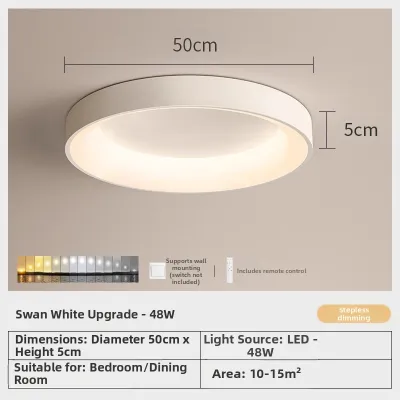
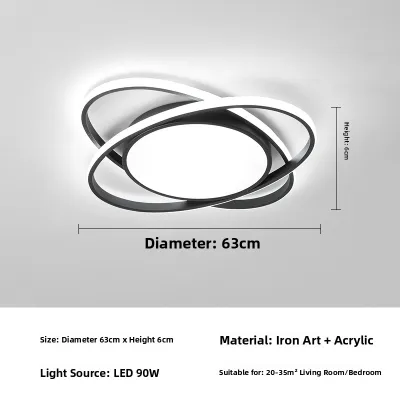
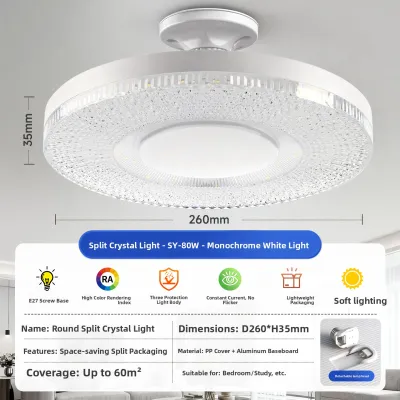
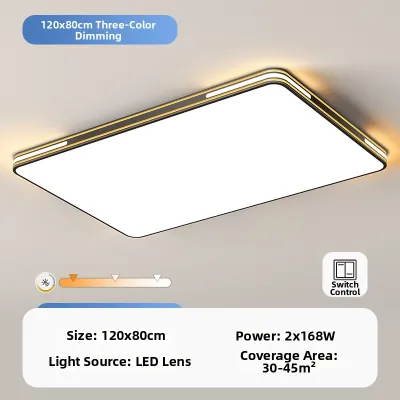
Prices are valid at publication and may change. Please refer to the product page for the latest price.
To match these specifications to your home, consider the primary activities in each room. High-traffic utility areas like kitchens and home offices benefit from high lumens and cooler color temperatures. Relaxing spaces like bedrooms and living rooms generally require lower lumens and warmer, softer tones.
Before finalizing any purchase, always verify your local electrical standards, such as the standard 220V system in the Philippines. You must also measure your ceiling cutout dimensions precisely and confirm that the fixture’s mounting mechanism is compatible with your ceiling type.
Understanding Lumens: Matching Brightness to Your Room
Lumens are the only reliable way to measure the brightness of a modern LED ceiling lamp. Unlike older lighting technologies, two different LED panels can consume the exact same wattage but emit vastly different levels of brightness. Focusing on lumens ensures you do not end up with a dim kitchen or an overwhelmingly bright bedroom.

To estimate the required lumens for a room, you must consider both the floor area in square meters and the room’s primary function. Task-oriented spaces require higher light density, while transitional areas like hallways need much less.
- Kitchens and Workspaces: Aim for approximately 300 to 400 lumens per square meter to ensure safe food preparation and detailed tasks.
- Living Rooms and Bedrooms: Aim for approximately 100 to 200 lumens per square meter to maintain a relaxed, comfortable environment.
- Bathrooms and Hallways: Aim for approximately 150 to 250 lumens per square meter for balanced visibility.
Several environmental factors require you to adjust these estimates upward. Rooms with high ceilings require more lumens because light intensity decreases as it travels farther to the floor. Similarly, spaces with dark wall paint, minimal natural light, or heavy drapery absorb more light and require brighter fixtures to achieve the same perceived illumination.
Wattage and Efficacy: Balancing Power Consumption
Wattage measures electrical power draw, not brightness. When shopping for an LED ceiling lamp, lower wattage for a given lumen output is highly desirable because it directly translates to lower monthly electricity bills.
To compare the efficiency of different recessed panels, calculate or look for their luminous efficacy, expressed as lumens per watt (lm/W). A fixture that delivers 1,600 lumens while consuming 16 watts has an efficacy of 100 lm/W. Choosing fixtures with higher luminous efficacy ratings allows you to maximize brightness while minimizing energy consumption.
When retrofitting older spaces, you must verify the maximum wattage limits of your existing electrical infrastructure. If you plan to connect multiple panel lights to a single circuit, dimmer switch, or transformer, ensure the total combined wattage does not exceed the rated capacity of those components. For any fixed wiring modifications, always isolate the power at the circuit breaker and consult a qualified professional to prevent electrical hazards.
Color Temperature: Setting the Right Ambiance
Color temperature dictates the visual tone of your space and is measured on the Kelvin scale. Choosing the correct temperature is a matter of personal preference, but it heavily influences how a room feels and functions throughout the day.
- Warm White (2700K–3000K): Emits a cozy, yellowish glow. This range is ideal for bedrooms, living rooms, and dining areas where relaxation is the priority.
- Cool White (4000K–4500K): Provides a clean, neutral white light. This balanced tone is highly suited for kitchens, bathrooms, and study areas, as it aids focus without feeling overly clinical.
- Daylight (6000K–6500K): Delivers a bright, bluish-white light that mimics natural midday sun. This range is excellent for high-security outdoor areas, utility rooms, or detailed workspaces.
In tropical climates, color temperature can subtly affect your perception of the indoor environment. Cooler color temperatures often make a humid indoor space feel visually refreshing and clean, whereas warm tones can sometimes make an already warm room feel visually stuffy.
Maintaining visual consistency is crucial in open-plan layouts. If your living room and kitchen share a single open space, mixing highly contrasting color temperatures can look jarring. Try to keep adjacent zones within 1000K of each other, or use multi-temperature adjustable panels that allow you to toggle the Kelvin setting during installation.
Secondary Specifications That Impact Performance
Beyond the primary metrics, several secondary specifications determine the overall quality of light in your home. The Color Rendering Index (CRI) measures how accurately a light source reveals the true colors of objects compared to natural sunlight. For spaces where color accuracy is vital, such as kitchens or vanity areas, look for a ceiling lamp with a CRI of 80 or higher.
Beam angle determines how wide the light spreads from the fixture. Recessed panel lights typically feature wide beam angles of 110 to 120 degrees, which are designed to provide uniform, diffused ambient light across a room. This wide distribution helps eliminate harsh shadows and reduces glare, making the space feel larger and more open.
Finally, if you plan to dim your lights, you must verify dimming compatibility. Not all LED recessed panels are dimmable, and using a non-dimmable panel on a dimmer switch can damage the internal LED driver. Ensure both the panel light and your wall dimmer switch are explicitly rated to work together.
Frequently Asked Questions (FAQ)
Can I replace a traditional fluorescent panel with an LED recessed panel?
Yes, you can replace traditional fluorescent fixtures with LED recessed panels, but you must perform several physical and electrical checks first. Measure your existing ceiling cutout or T-bar grid dimensions to ensure the new LED panel fits securely. Electrically, you must isolate the power and bypass or completely remove the old magnetic or electronic ballast, as LED panels run on direct current supplied by their own dedicated LED drivers. Because this involves working with fixed mains wiring, hiring a licensed electrician is highly recommended.
Do recessed panel lights require special ceiling clearance?
Yes, recessed panel lights require adequate clearance in the ceiling plenum for safe operation. Even though LEDs are highly efficient, their drivers and back panels still generate heat that must dissipate. Always check the manufacturer’s installation instructions for the minimum vertical and horizontal clearance requirements. If your ceiling cavity contains thermal insulation, you must verify that the fixture is Insulation Contact (IC) rated; non-IC rated fixtures must never be covered by insulation and require a designated safety clearance to prevent heat buildup.
Why does my new LED panel flicker when dimmed?
Flickering usually occurs due to a compatibility mismatch between the LED driver and the wall dimmer switch. Traditional dimmer switches designed for incandescent bulbs often fail to provide the stable, low-current control that LEDs require. To resolve this, verify that your dimmer switch is explicitly rated for LED loads and that the recessed panel itself is marked as dimmable. Additionally, check that the total wattage of your connected panels falls within the minimum and maximum load limits specified by the dimmer manufacturer.

Community discussion
Share your experience or ask a question. Comments are reviewed before publication.