
Selecting the right solar lights with panel for your outdoor spaces depends on matching the specific lighting requirements of each zone with the physical layout of your property. Garden paths require low-glare, downward-focused illumination to guide footsteps safely without blinding walkers. Driveways demand high-intensity, wide-angle beams to assist with vehicle parking and turning. Perimeter fences benefit from directional, motion-activated security lighting that marks boundaries without spilling into neighboring properties. By understanding how to evaluate lumen output, panel configurations, and weatherproofing, you can establish a reliable, energy-efficient outdoor lighting system tailored to your home’s unique environment.
Assessing Lighting Needs for Different Outdoor Zones
Every outdoor zone serves a distinct functional purpose, which dictates the type of illumination it requires. For instance, a garden path is primarily used for pedestrian navigation, meaning the light should focus downward to highlight steps, roots, or changes in elevation. In contrast, a driveway requires a much broader and brighter light spread to help drivers navigate vehicles safely around tight corners or parking spaces. Perimeter fences serve as a security barrier, where bright, sudden illumination can deter trespassers while clearly defining property lines.
To achieve these goals, you must consider both lumen output and beam spread. Lumens measure the total amount of visible light emitted by a source. While a soft glow of 10 to 50 lumens is often sufficient for pathway markers, driveways and security zones typically require several hundred lumens to cover wide concrete or gravel surfaces. Additionally, the physical layout of your yard introduces challenges like shading from mature trees, roof overhangs, or dense tropical foliage. Identifying these obstructions early helps you determine whether an integrated solar fixture or a split-panel system is necessary to ensure the solar cells receive adequate daily sunlight.
Products mentioned in this guide
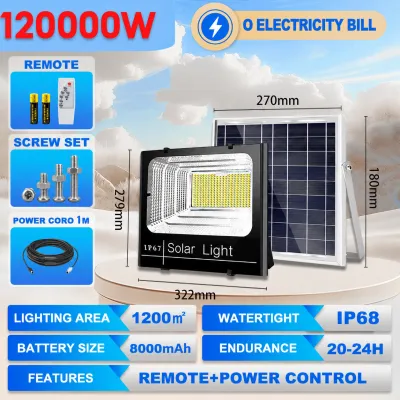
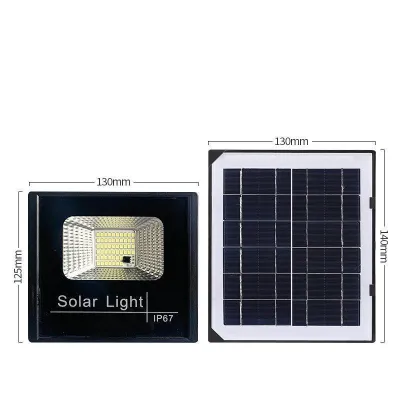
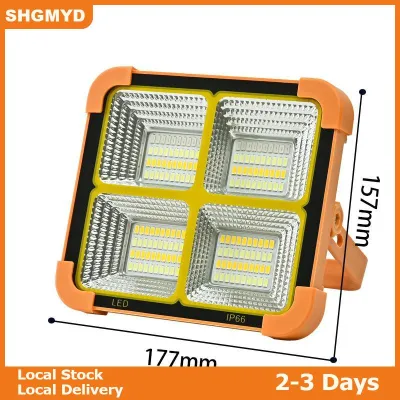
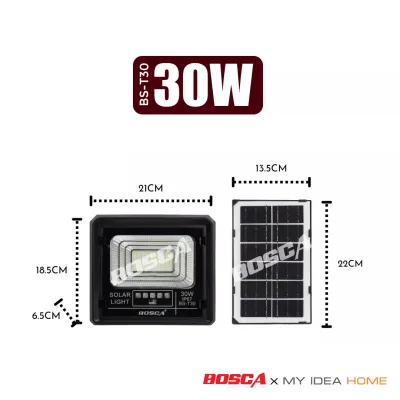
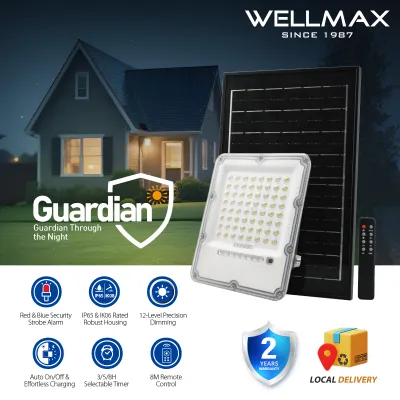
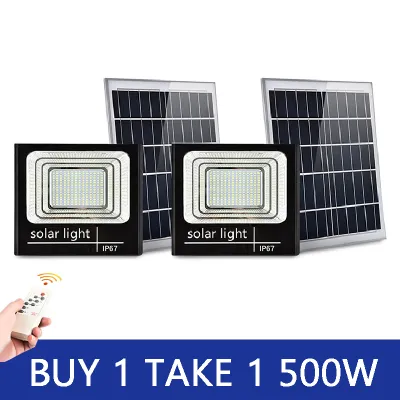
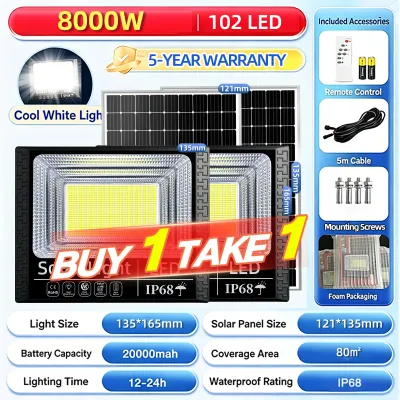
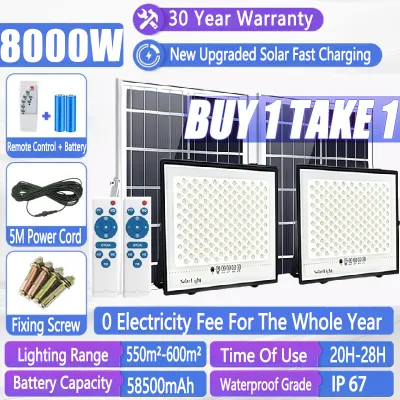
Prices are valid at publication and may change. Please refer to the product page for the latest price.
Selecting Solar Lights with Panel for Garden Paths
Pathway lighting should enhance the beauty of your landscape while ensuring safe passage. To achieve this balance, prioritize fixtures with downward-facing or diffused lenses. Direct, unshielded light bulbs can cause harsh glare at eye level, making it harder to see the path ahead. Diffused covers or hooded designs direct the light exactly where it is needed—on the ground—while minimizing light pollution.

Physical placement is equally important for continuous, even illumination. Check the manufacturer’s specifications for recommended stake heights and spacing intervals. Placing lights too far apart creates dark patches that can become tripping hazards, while crowding them together causes unnecessary glare and clutter.
Color temperature is another key factor, though it remains a matter of personal preference. Warm white tones tend to create a cozy, traditional atmosphere that highlights natural foliage and stonework. Cool white options offer a modern, crisp look that can make details appear sharper, though some find it less inviting for relaxed garden settings.
Choosing High-Output Solar Lights for Driveways
Driveways demand robust lighting solutions capable of withstanding vehicle activity. Because these areas involve moving vehicles, look for solar lights with higher lumen outputs and wider beam angles. A wide, bright beam ensures that the entire width of the driveway, including potential obstacles like low walls, is clearly visible during parking and turning maneuvers.
Durability is a critical consideration for any fixture placed near vehicle paths. Verify the housing materials and impact resistance ratings of the lights. Heavy-duty plastics, aluminum, or stainless steel housings are preferable, especially if the fixtures are installed close to tire paths where they might accidentally be bumped. Ground-recessed solar pavers or heavy-duty post lights are excellent options.
To conserve battery power, consider fixtures equipped with motion-sensor capabilities. These lights remain in a low-power, dim standby mode until they detect movement, at which point they trigger to full brightness. This feature ensures that maximum illumination is available precisely when a vehicle approaches, without draining the stored solar energy during hours of inactivity.
Matching Boundary and Perimeter Fence Lighting
Perimeter fence lighting serves as your property’s first line of defense, but it must be planned carefully to avoid disturbing neighbors. When selecting fence-mounted solar lights, choose designs with directional shields or asymmetric lenses. These features direct the light downward and inward, preventing light trespass—the unwanted spill of bright light into adjacent yards.
The mounting method must match your fence material to ensure long-term stability. Wooden fences allow for easy screw mounting, but concrete, brick, or metal fences require specific anchors or specialized brackets. Always consult the product manual to verify the weight of the fixture and ensure the mounting surface can support it without compromising structural integrity.
Integrating motion-activated security features along dark perimeter edges is highly effective. Sudden, bright light triggered by movement along a fence line acts as an excellent deterrent. Look for models that allow you to adjust the sensitivity and detection range of the motion sensor, ensuring that passing street traffic or small animals do not trigger false alarms.
Evaluating Panel Placement and Wiring Options
The performance of any solar light depends entirely on how much sunlight its solar panel receives. You will choose between integrated units—where the solar panel is built directly onto the light fixture—and split-panel designs, which connect the light to a separate solar panel via a wire. Integrated units are simple to install but require the entire fixture to be placed in direct, unobstructed sunlight.
If your desired lighting location is shaded by trees or roof overhangs, a split-panel system is the ideal solution. This setup allows you to mount the light fixture in the shaded area while placing the solar panel several meters away in a sunny spot. Before purchasing, check the cable length limits and ensure the system uses weatherproof connectors to prevent moisture from degrading the connections.
To maximize solar exposure, plan the orientation and tilt angle of your panels. In tropical regions, panels should generally face south or north depending on the latitude, with a slight tilt to allow rainwater to run off naturally, washing away dust and debris that could block sunlight.
Checking Weather Resistance and Installation Safety
Outdoor solar lights must endure harsh environmental conditions, from intense tropical heat to heavy monsoon rains. Before buying, read the manufacturer labels to verify the Ingress Protection (IP) rating. For general outdoor use, look for at least an IP65 rating, which ensures the fixture is dust-tight and protected against water jets, making it highly suitable for heavy downpours.
Before finalizing your purchase, verify the voltage, base or interface type, wattage limits, dimensions, dimming methods, and electrical certifications to ensure compatibility with your existing setup. During installation, safety is paramount. Ensure all wiring connections for split-panel systems are elevated off the ground and sealed to prevent water pooling. If your installation involves fixed wiring, working at heights, or mounting heavy fixtures, always isolate the power source, follow the manufacturer’s instructions carefully, and consult a qualified professional if you are unsure of the structural or electrical requirements.
Finally, check the load-bearing limits of your mounting surfaces. Heavy solar floodlights with large, separate panels can exert significant leverage on gutters or thin wooden fences, especially during high winds. Secure all mounts with appropriate hardware to prevent the fixtures from tearing loose.
Frequently Asked Questions (FAQ)
Can I use the same solar lights with panel for both paths and driveways?
While it is physically possible, it is generally not recommended due to differing performance needs. Pathway lights focus on low-glare, decorative, and localized illumination to guide footsteps safely. Driveways require much higher lumen outputs, wider beam angles, and rugged, impact-resistant housings to withstand vehicle proximity. Using a low-output path light on a driveway will not provide sufficient visibility, while placing a high-output driveway floodlight along a garden path can create blinding glare that ruins the landscape’s visual appeal.
How do I maintain the solar panels to ensure consistent charging?
Regular maintenance is essential to keep your solar lights operating at peak efficiency. Dust, pollen, bird droppings, and salt residue can accumulate on the panel surface, blocking sunlight and reducing charging capacity. Every few months, gently wipe the solar panels with a soft, damp microfiber cloth and a mild, non-abrasive soap solution. Avoid using harsh chemicals, abrasive scrubbers, or high-pressure water sprays, as these can scratch the protective coating or compromise the weatherproof seals.
What should I do if my solar lights stop working after heavy rain?
If a light stops working after a heavy downpour, start with a basic visual inspection. Turn off the fixture and check for visible water accumulation inside the lens or battery compartment. If moisture is present, carefully open the compartment, remove the rechargeable batteries, and allow all components to dry completely in a warm, dry indoor area for 24 to 48 hours. Once dry, clean any corrosion from the battery contacts, reinsert the batteries (or replace them if they show signs of damage), and test the light in a dark room. If it still fails to illuminate, consult the manufacturer’s troubleshooting guide.

Community discussion
Share your experience or ask a question. Comments are reviewed before publication.