
Selecting the ideal Apollo recessed panel light for your home requires a careful balance of room function, physical ceiling constraints, and technical specifications. Because different spaces serve distinct purposes‒ranging from high-focus food preparation in the kitchen to relaxed winding down in the bedroom‒a single lighting style cannot serve every room effectively. By understanding how to read product labels, measure clearances, and match color temperatures to daily activities, you can create a safe, efficient, and visually comfortable environment throughout your living space.
Quick Guide to Room-Specific Apollo Panel Lighting
Modern residential architecture increasingly relies on recessed LED panel lights to provide clean, unobtrusive illumination. Unlike traditional hanging fixtures that occupy physical and visual space, recessed panels sit flush with the ceiling, making them highly suitable for homes with standard or low ceiling heights. However, achieving the perfect balance of light requires looking beyond the aesthetic appeal of a flush-mounted fixture. You must align the technical capabilities of each light with the specific tasks performed in each room.
Every room in your home has a primary function that dictates its lighting requirements. For instance, utility areas demand high-intensity, focused illumination to ensure safety and precision, while recreational areas benefit from softer, diffused light that promotes relaxation. A structured decision-making process involves evaluating the room’s primary activities, identifying the necessary brightness levels, and selecting the appropriate color temperature. Before purchasing any fixtures, always verify the actual product labels and manufacturer specifications on the packaging rather than relying on general category names or visual displays in retail stores, which can appear different under showroom conditions.
Products mentioned in this guide
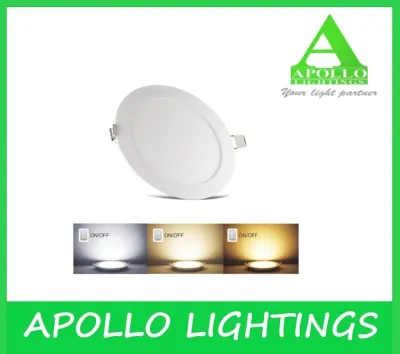
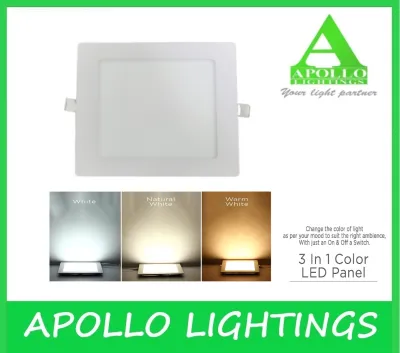
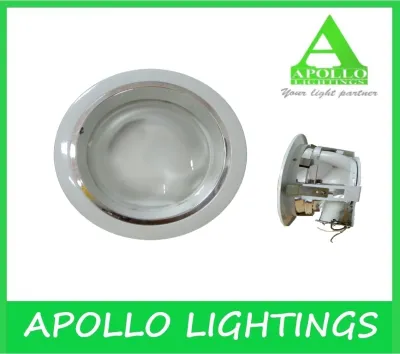
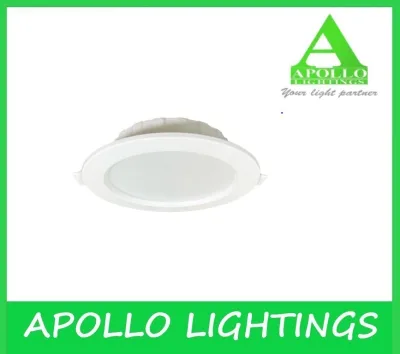
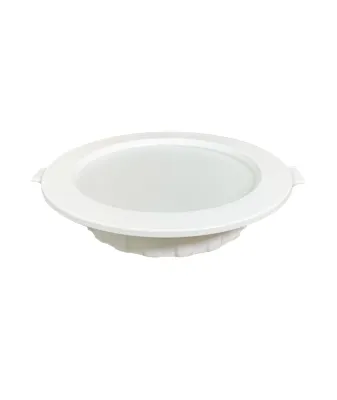
Prices are valid at publication and may change. Please refer to the product page for the latest price.
Matching Light Specifications to Room Functions
The living room serves as the central hub for family gatherings, entertainment, and relaxation. To support these diverse activities, the lighting should be flexible and glare-free. Opting for warmer color temperatures, typically labeled as warm white, helps create a cozy and inviting atmosphere that encourages rest. Because family members often spend extended periods in seating areas looking toward televisions or artwork, positioning the panel lights to avoid direct glare is essential. Selecting fixtures with frosted diffusers or deep-set designs helps soften the light distribution across the room.

In contrast, the kitchen is a high-activity zone where safety and precision are paramount. Preparing meals, handling sharp utensils, and reading recipes require bright, highly focused task lighting. For these tasks, neutral to cool white color temperatures are highly recommended, as they enhance alertness and make details easier to see. When planning kitchen lighting, ensure the panels are positioned directly over work surfaces, such as countertops and sinks, to prevent your body from casting shadows over your workspace.
The bedroom demands a highly sensitive approach to lighting to support healthy sleep patterns. Low-glare fixtures with warm, gentle tones are ideal for helping the body wind down at the end of the day. If you prefer a versatile space that transitions from daytime dressing to nighttime resting, look for Apollo models that feature dimming capabilities. This allows you to adjust the brightness levels to match your mood and the time of day. Always check the specific product packaging for the exact lumen output and Correlated Color Temperature (CCT) values, as visual estimates can lead to purchasing lights that are either too harsh or too dim for a restful environment.
Essential Specifications to Verify Before Buying
Before purchasing any recessed panel lights, you must verify several critical technical specifications to ensure compatibility with your home’s infrastructure. The first and most vital step is matching the cut-out size of the fixture to your ceiling hole. The cut-out size refers to the actual diameter of the hole required in the ceiling board, which is always smaller than the outer trim of the light itself. Never rely solely on the visible trim size when planning your installation; instead, consult the product’s installation manual or packaging for the precise cut-out dimensions.
Another essential factor is understanding the relationship between wattage and lumen output. Wattage measures the amount of electrical power the fixture consumes, while lumens measure the actual brightness emitted. In tropical climates where energy costs and heat dissipation are constant considerations, selecting fixtures with high luminous efficacy‒meaning they produce more lumens per watt‒is highly beneficial. This ensures you achieve the desired brightness without unnecessarily increasing your household electricity consumption.
For spaces where color accuracy is important, such as near wardrobes, vanity mirrors, or kitchen prep areas, pay close attention to the Color Rendering Index (CRI). The CRI indicates how accurately a light source reveals the true colors of objects compared to natural sunlight. Look for product labels indicating a CRI of 80 or higher to ensure colors appear vibrant and true to life. Additionally, if you plan to use dimmer switches, verify on the product box that the specific Apollo model is labeled as dimmable. Using non-dimmable LED panels with a dimmer switch can cause persistent flickering, buzzing, and permanent damage to the internal driver.
Installation Boundaries and Safety Checks
Installing recessed panel lights involves working with fixed electrical wiring and ceiling structures, which requires strict adherence to safety protocols. Before cutting any holes or mounting fixtures, you must verify the available clearance depth in your ceiling plenum. Recessed panels and their external drivers generate heat during operation, and they require adequate air space around them to dissipate this heat safely. Installing fixtures in tight spaces without sufficient clearance can lead to overheating, reducing the lifespan of the LED and posing a potential fire hazard.
You must also identify and avoid structural obstructions behind the ceiling board. Before cutting, use a stud finder or inspect the ceiling cavity to locate wooden joists, metal framing, HVAC ducts, or plumbing lines. Cutting into these structural elements can compromise the integrity of your home or cause costly damage to utility systems. Always plan your light placement around these existing obstructions to ensure a safe and secure installation.
Electrical safety must be your top priority throughout the installation process. Always isolate the power supply by turning off the main circuit breaker responsible for the lighting circuit, and use a reliable voltage tester to confirm the wires are completely dead before touching them. Never assume a wall switch is sufficient to cut the power. If you encounter outdated wiring, notice a lack of proper grounding, or find that the existing electrical setup conflicts with the manufacturer’s installation instructions, stop immediately and consult a licensed professional electrician to complete the work safely.
Maintaining Your Recessed Panel Lights
Proper maintenance ensures your recessed panel lights continue to perform efficiently and maintain their clean appearance over time. Routine cleaning should be limited to gentle dusting with a dry, soft microfiber cloth. Avoid using liquid chemical cleaners, wet wipes, or abrasive materials on the diffuser or trim. In humid tropical environments, moisture from wet cleaning cloths can easily seep into the edges of the panel, potentially damaging the internal circuitry or causing electrical short circuits.
Regular visual inspections are also recommended to catch potential issues early. Periodically check the fixtures for signs of flickering, unusual buzzing sounds, or physical discoloration around the ceiling trim. Discoloration or warping of the trim can be a sign of excessive heat buildup, which warrants immediate investigation. Additionally, keep in mind that while LED chips are highly durable, the external driver may eventually require replacement. Ensure your ceiling installation allows for safe access to the driver so it can be serviced or replaced without needing to tear down the surrounding ceiling board.
Frequently Asked Questions (FAQ)
Can I use the same Apollo panel light model in both the bathroom and the bedroom?
No, you should not use the same standard model in both rooms unless the fixture is explicitly rated for damp environments. Bathrooms experience high levels of humidity, steam, and potential water splashes, which can damage standard indoor fixtures. Always check the Ingress Protection (IP) rating on the product packaging; damp-rated or wet-rated fixtures are required for bathrooms, whereas standard dry-rated panels are suitable for bedrooms.
What should I do if my new Apollo panel light flickers after installation?
If your light flickers, first turn off the power at the main breaker and check for loose wire connections at the terminal block. If the wiring is secure, verify that your dimmer switch is fully compatible with the specific LED model, as traditional dimmers often cause LEDs to flicker. If the issue persists despite using a compatible dimmer and secure wiring, contact a qualified electrician to inspect the LED driver or household voltage stability.
Do Apollo recessed panel lights require special ceiling materials?
Standard ceiling materials such as gypsum board, plasterboard, or calcium silicate boards are generally suitable for supporting lightweight recessed LED panels. However, you must ensure the ceiling board is thick enough to support the spring clips of the fixture without sagging. Additionally, ensure the cut-out edges are clean and sealed to prevent loose plaster dust from falling into the fixture or accumulating in the living space over time.

Community discussion
Share your experience or ask a question. Comments are reviewed before publication.