
Living in a modern condominium in the Philippines often means adapting to compact architectural layouts, where ceiling heights typically range from a modest 2.4 to 2.6 meters. In these low-clearance spaces, traditional hanging light fixtures like chandeliers or deep semi-flush mounts can make a room feel cramped, visually lowering the ceiling and creating physical hazards. Ultra-slim flush mount lights offer a practical and elegant solution by sitting virtually flat against the ceiling surface, preserving precious headroom while delivering bright, even illumination. By choosing fixtures with a profile of less than 2.5 centimeters, you can maximize the vertical space in your condo without sacrificing the quality of your home’s lighting.
Selecting the right ceiling fixtures for a low-ceiling condo involves more than just picking an attractive design. You must evaluate the physical structure of your ceiling, understand the electrical requirements of your building, and choose fixtures that can withstand the tropical humidity of the Philippines. This guide will walk you through the essential technical criteria for selecting ultra-slim flush mount lights, compare them with recessed pin ligth options, and provide a room-by-room layout strategy to help you create a bright, open, and safe living environment.
Key Selection Criteria for Low-Ceiling Spaces
When shopping for ultra-slim flush mount lights, the physical profile of the fixture is your primary consideration. Look for surface-mounted LED fixtures with an overall thickness of 1.5 to 2.5 centimeters. These ultra-low-profile designs use edge-lit LED technology, where the light-emitting diodes are mounted along the inner frame of the fixture, directing light sideways into a light guide plate that disperses it downward. This design allows the fixture to remain incredibly thin while preventing the “hot spots” or uneven glare common in older, back-lit fixtures. Additionally, choose models with a slightly beveled or tapered edge, which helps the fixture blend seamlessly into the ceiling plane, creating the illusion of a recessed light without the need for structural modifications.
Products mentioned in this guide
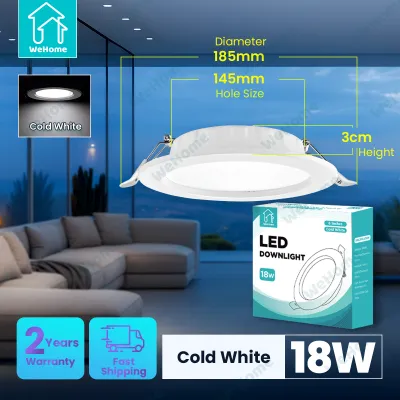
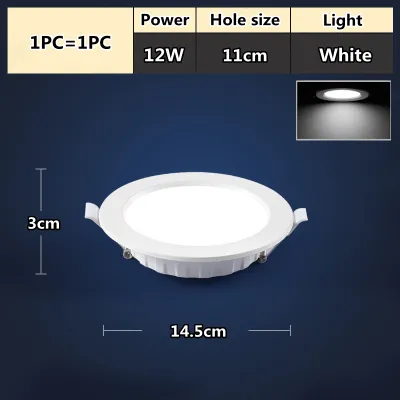
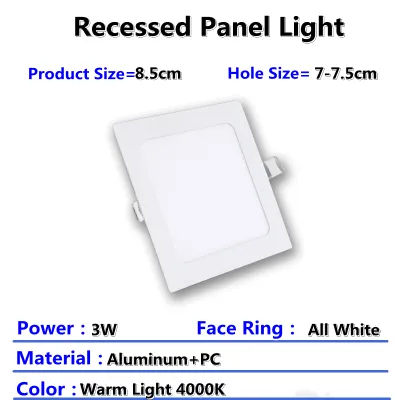
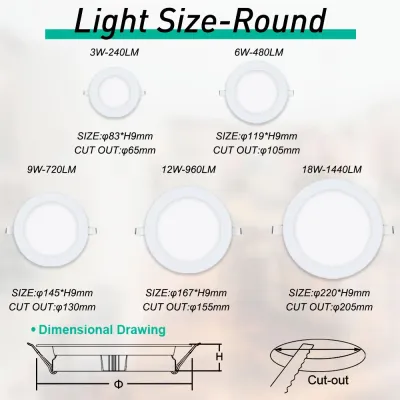
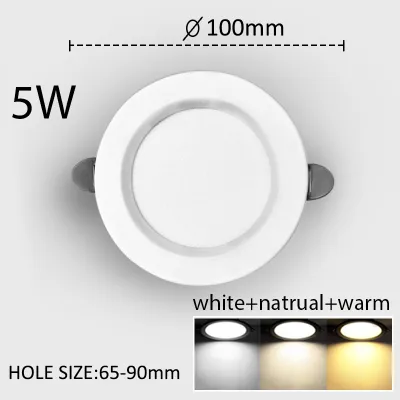
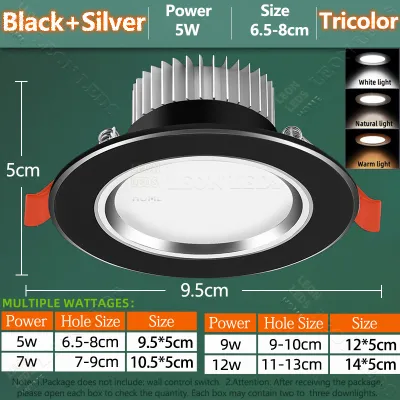
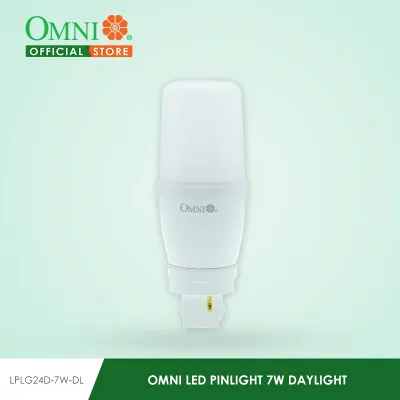
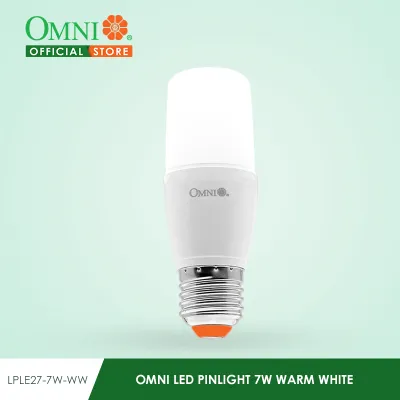
Prices are valid at publication and may change. Please refer to the product page for the latest price.
Lumen output and color temperature must be carefully matched to the size and function of your rooms. Because low ceilings bring the light source closer to your eyes, choosing the correct brightness is critical to avoid discomfort. For general ambient lighting in a small condo room, aim for a fixture that delivers approximately 80 to 100 lumens per watt, with a total output of 1,200 to 1,800 lumens depending on the square footage. Color temperature, measured in Kelvin (K), significantly influences the mood of your space. Warm white (3,000K) is ideal for creating a cozy, inviting atmosphere in living areas and bedrooms, while cool white (4,000K) offers a balanced, neutral light suitable for kitchens and study areas. Daylight (6,500K) is best reserved for utility spaces where high visibility is essential.
The quality of the diffuser is another vital factor in low-ceiling environments. A high-quality diffuser, typically made of frosted polycarbonate or polymethyl methacrylate (PMMA), softens the light and spreads it evenly across the room. This prevents harsh shadows and reduces glare, which can be particularly intense when the light source is positioned close to eye level. Ensure the diffuser material is UV-resistant to prevent yellowing over time, a common issue in tropical climates where fixtures are exposed to ambient sunlight and heat.
Finally, verify the dimmability requirements of your chosen fixtures. Dimmable ultra-slim flush mounts allow you to adjust the light levels to suit different times of day, which is especially useful in multi-purpose condo spaces. When purchasing a dimmable LED fixture, check that the integrated driver is compatible with standard wall dimmer switches, such as Triac dimmers. Using incompatible dimmers can lead to annoying flickering, buzzing, or premature failure of the LED driver.
Flush Mounts vs. Recessed Pin Lights: Which Fits Your Condo?
Deciding between a surface-mounted flush light and a recessed pin ligth fixture depends heavily on the structural design of your condo’s ceiling. Most high-rise residential developments in the Philippines utilize solid concrete slab ceilings. Installing a recessed pin ligth requires a hollow cavity behind the ceiling surface to house the fixture’s body and driver. To achieve this, you must install a suspended gypsum board or false ceiling, which typically lowers the overall room height by 10 to 15 centimeters. If your condo already has a low ceiling, sacrificing this vertical space to accommodate recessed lighting can make the rooms feel significantly smaller and more confined.

In contrast, ultra-slim flush mount lights require no ceiling cavity. They are designed to mount directly to a standard surface-mounted junction box, preserving every centimeter of your existing ceiling height. This makes flush mounts an excellent choice for retrofitting older condos or for spaces where installing a drop ceiling is structurally or financially impractical. While a recessed pin ligth provides a clean, minimalist look by hiding the fixture entirely within the ceiling, an ultra-slim flush mount achieves a very similar aesthetic effect with a fraction of the installation complexity and cost.
The light distribution patterns of these two fixture types also differ significantly. Recessed pin lights produce a focused, directional beam of light, creating distinct cones of illumination on the floor or walls. While this is excellent for task lighting or highlighting specific architectural features, it can leave corners in shadow if the fixtures are not spaced precisely. Ultra-slim flush mounts, with their wide-angle diffusers, cast a broad, ambient wash of light that bounces off walls and reflective surfaces, making compact rooms feel larger and more open.
For the ideal balance, consider a hybrid layering strategy if your ceiling structure permits. You can install a shallow drop ceiling along the perimeter of a room or over a kitchen counter to accommodate recessed pin ligth fixtures for task lighting, while keeping the central concrete ceiling exposed and utilizing an ultra-slim flush mount for general ambient illumination. This approach adds depth and visual interest to your condo without compromising the headroom of your primary living zones.
Room-by-Room Lighting Strategies for Compact Condos
To create a functional and comfortable lighting scheme, you must assess the primary activities in each zone of your condo. Positioning fixtures strategically helps avoid glare on television screens, computer monitors, and reflective kitchen countertops, while selecting the appropriate fixture sizes ensures that the lighting matches the scale of each room.
Living and Dining Areas
In the main living and dining zones, where family members gather and entertain guests, the lighting should be warm, inviting, and highly adaptable. Choose larger-diameter ultra-slim flush mounts (typically 30 to 40 centimeters in diameter) for the center of these spaces. A larger fixture distributes light over a wider area, reducing the contrast between the light source and the surrounding ceiling, which helps make the room feel more expansive. Opt for a warm white color temperature of 3,000K to 3,500K to create a relaxing atmosphere. Avoid overly ornate or heavy decorative designs; instead, select clean, minimalist profiles with white or metallic trim that align with the ceiling plane to maintain an unobstructed line of sight across the room.
Bedrooms and Hallways
Bedrooms require flexible lighting that supports both daytime activities and evening relaxation. Installing a dimmable ultra-slim flush mount in the center of the bedroom allows you to transition from bright, functional light during the day to a soft, low-glare glow before sleep. In narrow hallways and transition zones, vertical clearance is particularly critical to prevent head-strike hazards when moving furniture or carrying tall items. Prioritize ultra-slim profiles with a thickness of less than 2 centimeters in these areas. Ensure the fixtures are spaced evenly along the length of the hallway to eliminate dark corners, which can make narrow corridors feel tight and uninviting.
Kitchens and Bathrooms
Kitchens and bathrooms demand high-performance lighting that prioritizes safety, visibility, and moisture resistance. For the kitchen, where precise tasks like food preparation take place, select fixtures with a cool white color temperature (4,000K) and a high Color Rendering Index (CRI) of 80 or above to ensure colors appear natural and vibrant. In the bathroom, high humidity and steam can quickly damage standard indoor light fixtures. Always check product labels for damp or wet location ratings, and look for fixtures with an Ingress Protection (IP) rating of IP44 or higher. These sealed fixtures prevent moisture, dust, and insects from entering the housing, protecting the internal electronics and extending the lifespan of the LED driver in humid tropical conditions.
Pre-Purchase and Installation Safety Checklist
Before purchasing any ceiling fixtures for your condo, it is essential to verify several critical electrical and physical specifications to ensure a safe and successful installation.
- Voltage and Frequency Compatibility: Ensure the fixture is rated for the standard electrical supply in the Philippines, which is 220V to 240V at 60Hz. Many imported fixtures are designed for 110V or 50Hz systems; using these without a compatible transformer can damage the fixture or pose a fire hazard. Look for local certification marks, such as the Philippine Standard (PS) mark or the Import Commodity Clearance (ICC) sticker, to verify compliance with national safety standards.
- Junction Box Alignment: Check the type and condition of the existing junction boxes in your ceiling. Standard ultra-slim flush mounts are designed to attach to octagonal or round utility boxes. Measure the screw hole spacing on your existing box to ensure it matches the mounting bracket of the new fixture. If you are mounting directly to a concrete ceiling slab, ensure the anchor bolts or screws used to secure the mounting bracket are rated to support the weight of the fixture.
- Thermal Management: Although LED lights generate significantly less heat than incandescent or halogen bulbs, their internal drivers still produce heat that must be dissipated. Ensure the ultra-slim fixture has a built-in aluminum heat sink or a design that allows adequate airflow around the housing. Avoid packing insulation or combustible materials tightly against the back of the fixture, as trapped heat can degrade the LED chips and shorten the lifespan of the driver.
- Power Isolation: Always turn off the power at the main circuit breaker panel before attempting any electrical work. Do not rely solely on the wall switch to cut the power, as some wiring configurations may leave live current running to the ceiling box. Use a non-contact voltage tester to verify that the wires are completely dead before touching them.
- Professional Boundaries: While replacing an existing light fixture on a standard junction box can be a straightforward DIY task, you should hire a licensed electrician for more complex work. If you need to drill into a concrete ceiling slab to run new conduits, install a new junction box, or modify your condo's fixed wiring, professional expertise is required to avoid damaging structural rebar or violating building codes.
Frequently Asked Questions (FAQ)
Can I install a flush mount light without an existing ceiling box?
No, you should never install a hardwired flush mount light without a properly rated and secured ceiling junction box. The junction box serves several critical safety functions: it securely supports the weight of the fixture, houses the electrical wire connections, and contains any sparks or heat in the event of an electrical fault. Attempting to mount a fixture directly to drywall, plaster, or concrete using simple screws without a box violates electrical safety codes and poses a significant risk of the fixture falling or causing an electrical fire. If your ceiling lacks a junction box, or if the existing box is damaged or improperly positioned, consult a licensed electrician to install a new, code-compliant box and route the necessary wiring safely.
How do I clean ultra-slim flush mount fixtures safely?
To clean your ultra-slim flush mount fixtures safely, always start by turning off the power at the main circuit breaker to eliminate any risk of electrical shock. Allow the fixture to cool completely if it has been on. Use a clean, dry, and soft microfiber cloth to gently wipe away dust and cobwebs from the diffuser and outer frame. For stubborn dirt or grease, especially in kitchen areas, you can slightly dampen the microfiber cloth with water or a mild, non-abrasive soapy solution. Never spray water or liquid cleaning agents directly onto the fixture, as moisture can seep into the housing and damage the electronic components. Avoid applying heavy upward pressure while wiping, as this can bend the slim metal housing, damage the diffuser, or loosen the mounting hardware securing the fixture to the ceiling.

Community discussion
Share your experience or ask a question. Comments are reviewed before publication.