
Choosing the right drop ceiling light size requires matching the physical dimensions of your ceiling grid with the illumination needs of your room. In the Philippines, where suspended ceilings are common in commercial spaces, home offices, and renovated utility areas, selecting the wrong fixture size can lead to costly installation delays, sagging grids, or uneven lighting. To get the perfect fit, you must measure your existing T-bar grid openings, check the clearance space above the tiles, and plan a layout that distributes light evenly across the room.
Understanding Standard Drop Ceiling Grid Sizes
Drop ceiling systems, also known as suspended ceilings, rely on a metal T-bar grid that holds individual tiles in place. Before purchasing any drop ceiling light, you must understand that nominal tile sizes do not always match the actual physical openings of the grid. The most common nominal grid sizes are 2×2 feet (approximately 600×600 mm) and 2×4 feet (approximately 600×1200 mm). However, manufacturing standards can vary slightly between local suppliers and imported systems.
To ensure physical compatibility, you must measure the actual opening of the grid where the light fixture will sit. Use a reliable tape measure to check the distance from the inside edge of one T-bar flange to the inside edge of the opposite T-bar. Standard T-bar grids typically have a flange width of 15/16 inch (24 mm) or 9/16 inch (15 mm). If your grid uses non-standard or custom profiles, standard off-the-shelf LED panel lights may not sit securely on the flanges, risking a fall or creating gaps that let dust and insects through.
Products mentioned in this guide
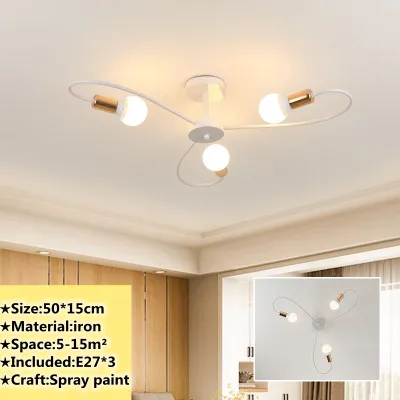

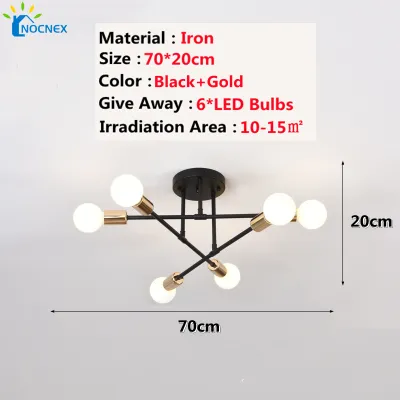
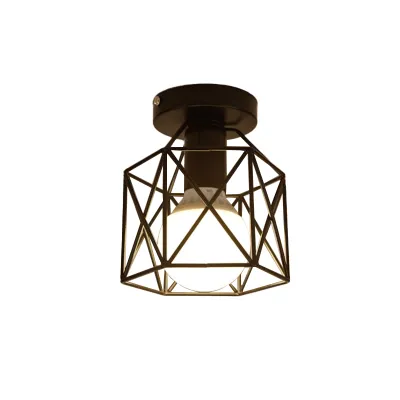
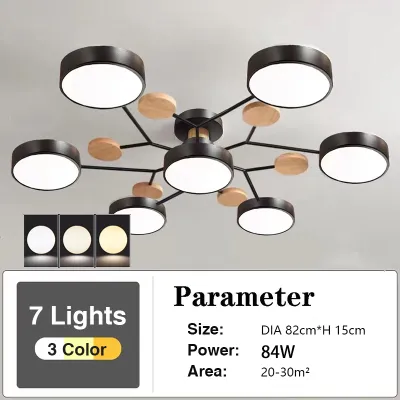
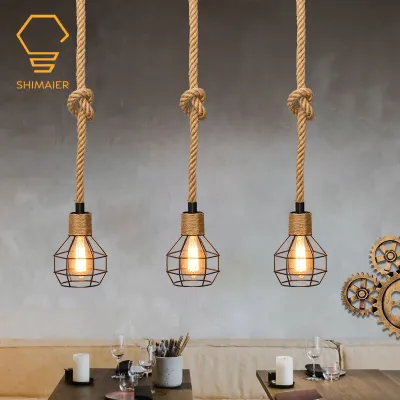
Prices are valid at publication and may change. Please refer to the product page for the latest price.
In the Philippine market, you may also encounter a mix of imperial and metric grid systems. Imperial grids typically require fixtures measuring exactly 603×603 mm or 603×1213 mm, while metric grids are designed for 595×595 mm or 595×1195 mm fixtures. Even a few millimeters of difference can prevent a light panel from dropping into the grid or cause it to slip through the opening, making precise measurement essential before buying.
Matching Light Dimensions to Your Ceiling Grid
Once you have verified your grid dimensions, you can select a compatible fixture profile. The two main styles of drop ceiling lights are flat LED panels and recessed troffers. Flat LED panels offer a modern, flush appearance and are highly popular for their slim profile, which requires minimal overhead clearance. Recessed troffers are deeper fixtures that often feature parabolic louvers or curved diffusers, which can help direct light downward and reduce glare in office environments.

If you are upgrading an existing space, you must decide between a full fixture replacement and a retrofit option. Retrofit kits allow you to convert older fluorescent troffers to LED technology without removing the entire housing from the ceiling grid. However, if your existing fixtures are damaged, corroded, or incompatible with modern LED drivers, a full fixture replacement is often the most reliable path.
Before finalizing your purchase, you must check the available plenum depth—the vertical space between the suspended grid and the structural concrete ceiling or roof joists. In many buildings, this overhead space is crowded with electrical conduits, air conditioning ducts, and plumbing pipes. A deep troffer fixture may not fit if there is an obstruction directly above the chosen grid tile. Measure the vertical clearance at several points across the room to ensure your selected fixture housing can be installed without forcing or bending the ceiling grid.
Planning the Layout Based on Room Size and Function
Achieving uniform illumination requires careful planning of the fixture layout rather than placing lights at random. To avoid dark corners and harsh shadows, you must apply general spacing principles based on the height of your ceiling and the dimensions of the room. For a standard ceiling height of 2.4 to 2.7 meters, spacing fixtures approximately 1.8 to 2.4 meters apart is a common starting point to ensure overlapping light beams.
The density of your fixtures should also match the primary function of the room. A home office, kitchen, or workshop requires higher light levels and tighter spacing to support detailed tasks. Conversely, a hallway, storage area, or pantry can function comfortably with fewer, more widely spaced fixtures.
Rather than relying solely on arbitrary rules of thumb, consult the manufacturer’s spacing guides and photometric data sheets for your specific drop ceiling light. These documents provide the beam angle and light distribution patterns, allowing you to calculate exactly how many fixtures are needed to achieve your desired illumination levels. This step is particularly important in tropical environments where high humidity can affect the perceived brightness and comfort of a space, making balanced, glare-free light distribution essential.
Checking Electrical and Installation Requirements
Installing drop ceiling lights involves working with electrical wiring and suspended structural components, which demands strict adherence to safety protocols. First, verify that the voltage rating of the fixture matches your local electrical supply, which is typically 220V in the Philippines. You must also ensure that the circuit breaker and existing wiring can handle the total wattage load of the new fixtures, especially if you are replacing low-efficiency fluorescent tubes with multiple high-output LED panels.
Another critical factor is the weight capacity of your ceiling grid suspension system. While modern LED panels are relatively lightweight, older grids may have been installed with minimal hanger wires or lightweight wall angles. Adding heavy troffers or multiple fixtures to an under-supported grid can cause the T-bars to sag, warp, or collapse. Always inspect the suspension wires above the grid and add auxiliary support wires directly from the structural ceiling to the light fixture housing where necessary.
Because fixed wiring and working at heights present serious safety hazards, always isolate the power at the main circuit breaker before attempting any installation or maintenance. If you are unfamiliar with local electrical codes, dealing with complex wiring configurations, or modifying the structural grid, stop and consult a licensed electrician. Professional installation helps ensure compliance with safety standards and reduces the risk of electrical hazards or structural failures.
Common Sizing and Layout Mistakes to Avoid
One of the most frequent mistakes is purchasing fixtures based solely on nominal tile names without measuring the actual physical grid opening. A tile labeled as “2×2” might not fit a grid designed for metric dimensions, leading to fixtures that are either too large to drop into place or too small to rest securely on the T-bar flanges.
Another common error is ignoring plenum depth constraints. Homeowners often purchase deep recessed troffers only to find that an air conditioning duct or structural beam blocks the fixture from sitting flush with the ceiling grid. Always measure the clearance above every single planned light location, not just one spot in the room.
Finally, avoid placing light fixtures too close to walls or directly over highly reflective surfaces like polished tile floors or glass desks. Positioning lights too close to walls can create harsh, distracting hot spots and highlight minor imperfections in the wall finish. Placing them directly over reflective surfaces can cause uncomfortable glare that leads to eye strain, particularly in workspaces.
Frequently Asked Questions (FAQ)
Can I use a smaller panel in a larger ceiling grid opening?
You cannot directly place a smaller light panel, such as a 2×2 foot fixture, into a larger 2×4 foot grid opening without additional support. Doing so will leave a large gap, causing the fixture to fall through or exposing the open plenum space above. To make this setup work, you must install a compatible adapter frame or add an extra cross T-bar to divide the larger opening into two smaller, standard-sized sections that can securely support the smaller panel.
How do I check the plenum space above my drop ceiling?
To check the plenum space safely, set up a stable ladder on a flat surface, wear protective eyewear and a dust mask, and carefully lift an existing ceiling tile upward and slide it to the side. Use a tape measure to find the vertical distance from the top of the T-bar grid to the lowest point of the structural ceiling, roof, or any overhead obstructions like pipes and ducts. Be sure to check the clearance at each specific location where you plan to install a light fixture, as plenum depth can vary significantly across a single room.

Community discussion
Share your experience or ask a question. Comments are reviewed before publication.