
An effective gaming room setup relies on lighting that enhances immersion without causing screen glare or visual fatigue. Choosing the right RGB LED strip light requires looking beyond basic color-changing capabilities to evaluate optical performance, control ecosystems, and electrical safety. In a tropical climate like the Philippines, where ambient room temperatures and humidity can run high, physical build quality and heat dissipation also play critical roles in ensuring your setup remains safe and functional over long gaming sessions. This guide breaks down the critical specifications and physical constraints you need to verify before purchasing and installing ambient lighting for your gaming space.
Evaluating Core Lighting Specs for Gaming Ambiance
To achieve a seamless glow rather than a series of harsh, distracting light spots, you must evaluate the physical density of the diodes. LED density is typically measured in LEDs per meter. Strips with low density, such as 30 LEDs per meter, often produce visible hotspots or individual dots of light when reflected off walls or placed behind monitors. Opting for higher-density strips, such as 60 or 120 LEDs per meter, ensures a continuous, uniform line of light that blends smoothly into the background.
The underlying color technology of the strip dictates the complexity of your lighting scenes. Standard RGB strips use three-in-one diodes that combine red, green, and blue to create colors, but they often struggle to produce a clean, neutral white. If you plan to use your gaming room as a productive workspace, look for RGBW strips, which feature a dedicated white diode for high-quality, functional white light. For dynamic, flowing lighting effects that react to in-game action, addressable RGB (ARGB) strips are essential. Unlike standard strips where the entire length changes to a single color, ARGB strips allow you to control each individual LED diode independently, enabling complex gradients and motion effects.
Products mentioned in this guide
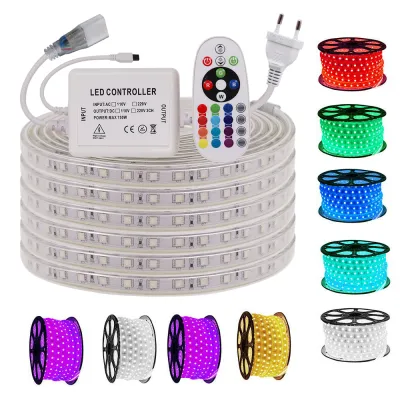
![[Support Lalamove Bulk Order] RGB LED Neon Strip Light Outdoor Waterproof Neon Rope Light Phone APP Bluetooth Controller Dimmable Music Sycn Included Remote Cove Ceiling Home Decoration](https://img.lazcdn.com/g/p/63681b5266aa4dabb2e5988340488c7a.jpg_400x400q80.jpg_.webp)
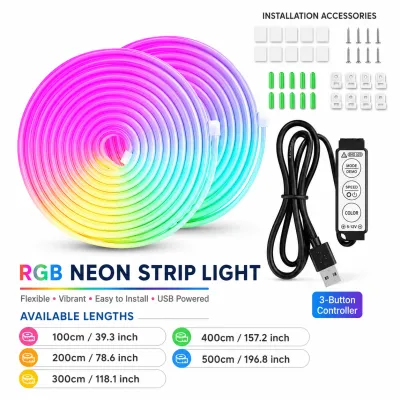
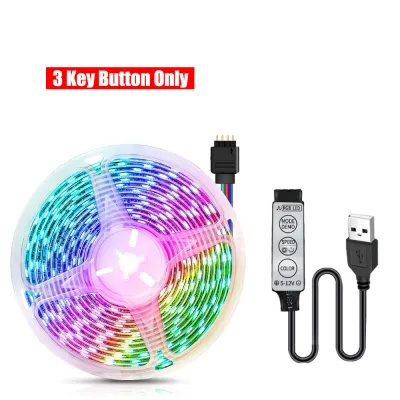

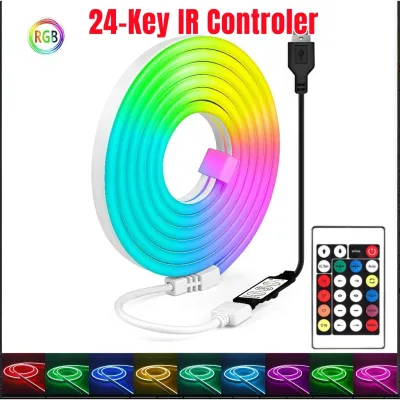
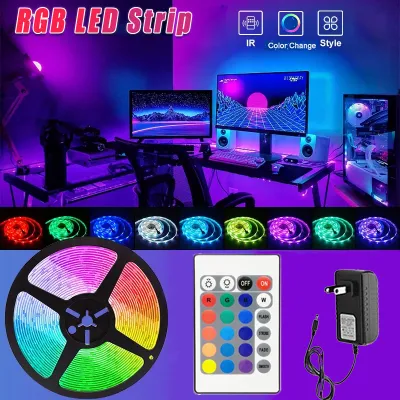
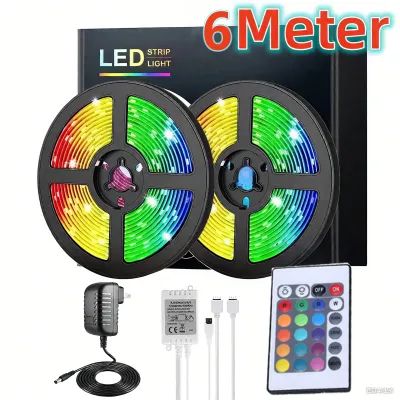
Prices are valid at publication and may change. Please refer to the product page for the latest price.
Brightness output and dimming capabilities are equally critical for maintaining visual comfort. A strip that is too bright can cause screen glare and eye strain during late-night gaming sessions, while a strip that is too dim will be washed out by daytime ambient light. Verify the lumen output specifications and ensure the strip supports a wide dimming range, preferably down to 1% or 5% brightness. This flexibility allows you to transition the room from vibrant, high-energy gameplay accents to low-level, relaxing bias lighting that reduces contrast-induced eye fatigue. Note that decorative style, perceived color temperature, and spatial effects are highly subjective preferences, so choosing a strip with wide adjustability is key to matching your personal comfort.
Choosing Smart Controls and Game Syncing Features
Integrating your lighting with your existing gaming ecosystem requires careful consideration of control interfaces. Physical infrared (IR) remotes and inline controllers offer basic, reliable adjustments but lack customization. Mobile applications operating over Bluetooth or Wi-Fi provide deeper control, allowing you to program schedules, customize color palettes, and adjust brightness from your phone. For a seamless desktop experience, look for strips that offer dedicated PC software control, enabling you to adjust your room’s ambiance directly from your keyboard or mouse.

Ecosystem compatibility is a major factor if you want your room lighting to match your PC hardware. Before purchasing, check the product packaging or manufacturer specifications for official sync certifications rather than relying on generic compatibility claims. Many high-end strips integrate directly with popular motherboard lighting software or dedicated smart home platforms. Verifying these integrations beforehand ensures that your strip lights will synchronize perfectly with your PC fans, RAM, and peripherals without requiring multiple conflicting background applications.
For advanced setups that feature screen-syncing or audio-reactive lighting, you must understand the hardware and software requirements. Screen-syncing technology captures the dominant colors on your monitor and projects them onto the wall behind it, expanding the visual field of your game. Some systems achieve this via desktop software that analyzes screen pixels, which can consume system resources. Other systems utilize dedicated hardware sync boxes or external capture cards that process the video signal directly, bypassing your PC’s processor entirely to ensure zero impact on game performance.
Checking Power Requirements and Installation Safety
Planning the electrical layout of your LED strips is vital to prevent performance issues and safety hazards. Every LED strip has a specific wattage limit and power consumption rate, usually detailed as watts per meter. To calculate your total wattage requirement, multiply the strip’s per-meter wattage by the total length you plan to install. When choosing a power adapter, ensure its maximum rated output exceeds your calculated total wattage by a safety margin of at least 20%. Running a power supply at its absolute limit can cause overheating, flickering, and premature component failure.
Voltage selection directly influences the maximum continuous run length of your lighting setup. Most consumer RGB strips operate on either 12V or 24V direct current (DC). 12V strips are highly accessible and easy to cut, but they are susceptible to voltage drop—a phenomenon where electrical resistance causes the light to dim or shift color at the far end of a long run, typically after 5 meters. If your layout requires long, continuous runs around the ceiling or baseboards, 24V strips are highly recommended, as they can carry current over longer distances without visible dimming.
Electrical safety must always be your top priority during installation. Always isolate the power supply by unplugging it or turning off the circuit breaker before cutting, soldering, or connecting any wires. Carefully review the manufacturer’s installation instructions regarding maximum load limits, voltage compatibility, and wiring diagrams. If your project involves fixed wiring, mounting power supplies inside walls, or making permanent architectural modifications, do not attempt to DIY the electrical connections. Instead, consult a qualified professional electrician to ensure your setup complies with local electrical codes and safety standards.
Verifying Build Quality and Physical Limitations
The physical durability of an LED strip determines how well it will perform over years of use. Look for strips constructed with a dual-layer or triple-layer printed circuit board (PCB) and a higher copper weight. Thicker PCBs offer better structural integrity, making them less likely to tear during installation, and they dissipate heat much more effectively. In warm, humid tropical environments, efficient heat dissipation is crucial; excess heat is the primary cause of premature LED diode degradation and color shifting.
While evaluating build quality, consider the Ingress Protection (IP) rating of the strip. For a standard, dry indoor gaming room, an IP20 (non-waterproof) rating is generally sufficient. While it might be tempting to purchase highly waterproof strips (such as IP65 or IP67) for perceived durability, these strips are encased in thick silicone sleeves that can trap heat. Unless your gaming room is subject to high humidity or moisture, choosing a non-waterproof strip allows the diodes to run cooler, extending their overall lifespan.
Customizing your strip to fit your desk or walls requires identifying the designated cut lines and copper soldering pads. Cutting a strip anywhere other than these marked lines will permanently damage that section of the circuit. To navigate sharp 90-degree corners, avoid bending the strip itself, as this can crack the internal copper traces. Instead, use dedicated solderless corner connectors or solder short jumper wires between the cut segments. For the ultimate clean look and optimal thermal management, mount your strips inside aluminum diffusion channels. These channels act as heat sinks to draw warmth away from the diodes while diffusing the light to eliminate harsh hotspots.
Planning Your Gaming Room Lighting Layout
A successful lighting layout prioritizes indirect illumination to create a comfortable, glare-free environment. Direct line-of-sight to bare LED diodes can cause intense glare on your monitor screen and lead to severe eye strain. Position your strips so the light bounces off surfaces, such as behind your desk (under-glow), behind your monitor (bias lighting), or tucked inside ceiling coves. This technique creates a soft, ambient glow that frames your gaming station beautifully while keeping the light source hidden from your direct field of view.
Accurate measurement is key to a clean installation and avoiding wasted materials. Map out your entire installation path, noting where the strip will start, turn, and end. When calculating the required length, add a 10% buffer to your final measurement to account for slack around corners, connection points, and potential cutting mistakes. If you are budgeting for your setup, high-quality addressable kits can range from ₱1,500 to ₱4,000 depending on the length and control features, so precise measurements help you buy exactly what you need without overspending.
Finally, plan your cable management routes and controller placement before peeling off the adhesive backing. The controller and power adapter should be placed in accessible locations so you can easily reset or manually adjust the lights if needed. Use adhesive cable clips, under-desk trays, or raceways to hide power bricks and excess wiring. Keeping your cables organized not only maintains a clean, professional aesthetic but also prevents accidental tugs that could damage the delicate solder joints or connectors on your LED strips.
Frequently Asked Questions (FAQ)
Can I connect multiple RGB strips to a single power adapter?
Yes, you can connect multiple RGB strips to a single power adapter, provided the adapter’s total wattage capacity is at least 20% higher than the combined wattage of all connected strips. However, you must avoid daisy-chaining too many strips end-to-end. Running excessive current through the thin copper traces of the first strip can cause overheating and severe voltage drop, resulting in dimming or incorrect colors at the end of the line. To prevent this, use parallel wiring by running separate power lines from the adapter to each strip, or use power injection cables to deliver fresh power directly to the far ends of the setup.
Does syncing RGB lights with gameplay affect PC performance?
The performance impact of syncing your RGB lights with gameplay depends entirely on the synchronization method you choose. Hardware-level syncing, which uses dedicated external control boxes or motherboard headers to process lighting signals, has virtually zero impact on your PC’s performance. Conversely, software-level syncing relies on desktop applications to capture and analyze your screen’s pixels in real-time, which can consume CPU and GPU resources. If you are running demanding games on a mid-range PC, check the system requirements of your lighting software and monitor your system’s resource usage during initial setup to ensure it does not cause frame rate drops.

Community discussion
Share your experience or ask a question. Comments are reviewed before publication.