
To choose the right LED down light for your ceiling, you must verify its physical dimensions, light output, color characteristics, beam angle, and safety ratings. Matching these technical specifications to your specific ceiling structure and room requirements ensures a secure installation, optimal energy efficiency, and comfortable illumination.
In tropical climates like the Philippines, where high humidity and concrete or gypsum ceiling structures are common, selecting the correct fixture specifications is particularly important. Checking these details beforehand prevents costly installation errors and ensures your lighting performs reliably over time.
Physical Fit: Cut-Out Size and Housing Dimensions
When planning your ceiling layout, physical compatibility is the first hurdle. The most critical dimension to check is the cut-out size, which refers to the exact diameter of the hole required in your ceiling board. This is entirely different from the outer trim diameter, which is the wider, visible face of the fixture that sits flush against the ceiling surface.
Products mentioned in this guide
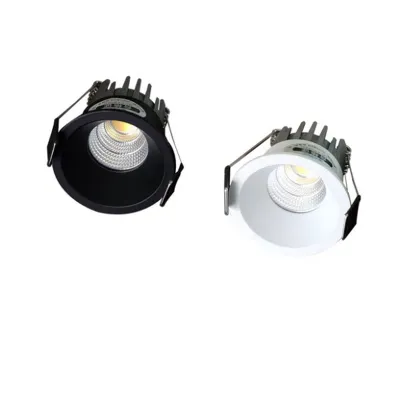
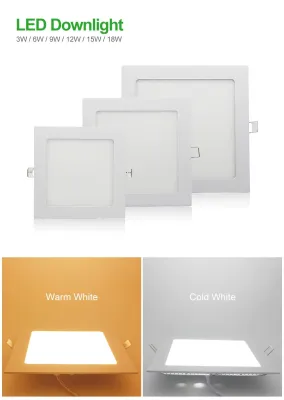
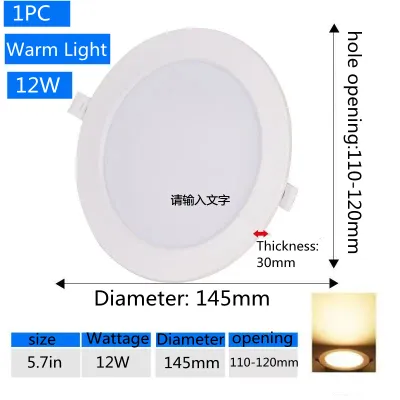
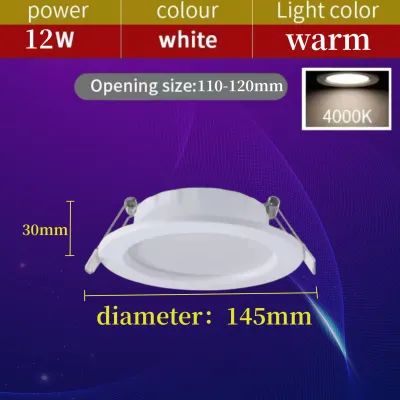
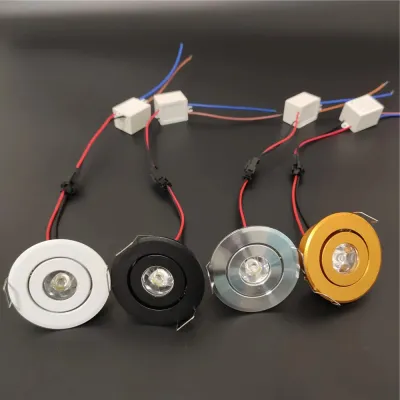
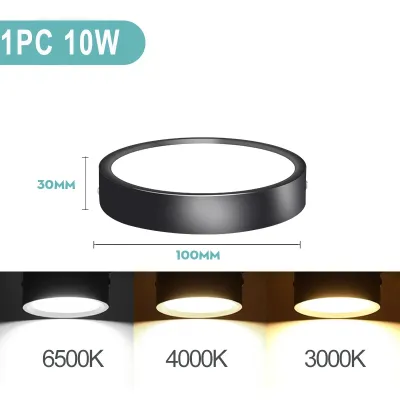
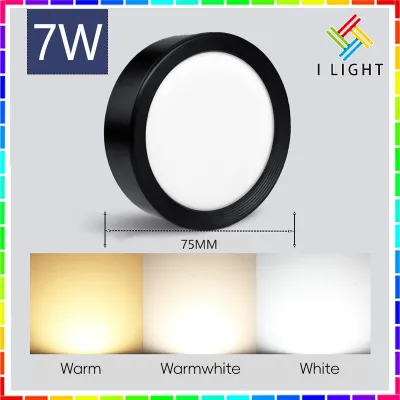
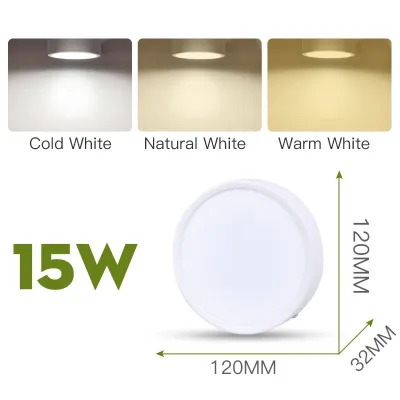
Prices are valid at publication and may change. Please refer to the product page for the latest price.
Before purchasing, measure your ceiling cavity depth and the spacing between joists. LED downlights often feature integrated heat sinks or external driver boxes that require adequate physical clearance to dissipate heat safely. If your ceiling cavity is shallow, you may need to look for ultra-thin or slim-profile panel designs.
The mounting mechanism must also match your ceiling material. Most downlights use spring-loaded clips or torsion springs to grip the ceiling board. Ensure the clips can accommodate the thickness of your gypsum board, plywood, or concrete slab plastering to guarantee a secure, flush fit.
Brightness and Power: Lumens, Wattage, and Efficacy
To evaluate how much light a fixture produces, prioritize lumens over wattage. Wattage simply measures the electrical power the fixture draws, whereas lumens indicate the actual visible light output. Relying solely on wattage can lead to purchasing fixtures that consume unnecessary energy without delivering the desired brightness.

Check the luminous efficacy on the manufacturer’s specification sheet, which is expressed as lumens per watt (lm/W). A higher efficacy rating means the fixture converts electricity into light more efficiently, helping to manage your monthly electricity bills.
When deciding on the brightness level for a room, match the total lumens to your specific room dimensions and ceiling height. Rather than relying on rigid mathematical formulas, consult the manufacturer’s guidelines or lighting layout recommendations to determine the appropriate spacing and light levels for your living spaces.
Visual Comfort: Color Temperature and CRI
The appearance of light in your home is determined by its Correlated Color Temperature (CCT), measured in Kelvin (K). Lower Kelvin values, such as 2700K to 3000K, produce a warm, yellowish glow suitable for relaxing areas like bedrooms and living rooms. Higher values, such as 4000K to 6500K, offer a cool, bluish-white light that enhances alertness in kitchens, home offices, and utility areas. These settings are highly dependent on personal preference and the specific function of the room, rather than representing a universal standard of performance.
Color accuracy is another vital specification, measured by the Color Rendering Index (CRI). A higher CRI value indicates that the light will render colors, textures, and skin tones more naturally and vividly. For spaces where visual tasks or decor presentation are important, look for fixtures with a high CRI rating.
Always rely strictly on the printed specification label or official product data sheets for exact CCT and CRI values. Visual representations in product photos or online listings can be misleading due to screen calibration differences and photographic lighting.
Light Spread: Beam Angle and Trim Design
The beam angle determines how light is distributed across your room. A narrow beam angle concentrates light into a focused spot, making it ideal for accent lighting to highlight artwork, architectural features, or specific work surfaces. A wide beam angle spreads light across a larger area, providing general, even illumination for high-traffic zones.
Trim design also plays a significant role in visual comfort and light shaping. Deep baffle trims recess the light source further into the ceiling, which helps reduce direct glare and makes the light source less visible from a distance. Flush lenses, on the other hand, maximize light spread but may increase glare if positioned directly in your line of sight.
If your room layout requires flexibility, consider adjustable gimbal trims. These fixtures allow you to tilt and rotate the light source, giving you the ability to redirect the beam toward specific walls, shelves, or task areas as your interior needs change.
Safety and Compatibility: Ratings, Dimming, and Installation
Safety is paramount when installing electrical fixtures in your ceiling. If you are planning installations in bathrooms, kitchens, or covered outdoor areas like patios, check the Ingress Protection (IP) rating. An appropriate IP rating ensures the fixture is sufficiently protected against moisture, steam, and dust.
For ceilings that contain thermal insulation, verify whether the fixture has an Insulation Contact (IC) rating. IC-rated downlights are designed to operate safely even when in direct contact with building insulation, preventing heat buildup that could pose a fire hazard. If your ceiling cavity contains insulation and the fixture lacks this rating, you must maintain the manufacturer-specified clearance distances.
If you plan to dim your lights, confirm that the LED driver is compatible with your specific dimmer switch type, such as leading-edge or trailing-edge dimmers. Incompatible components can cause annoying flickering, buzzing, or premature driver failure. Always check the manufacturer’s compatibility list before purchasing.
Additionally, verify that the fixture’s operating voltage matches your home’s electrical supply and check for recognized electrical safety certifications on the packaging. Observe strict safety boundaries during any installation or maintenance. Always isolate the power at the main circuit breaker before handling any wiring. For creating new ceiling cut-outs, altering fixed wiring, working at heights, or when dealing with unclear structural conditions, always consult a licensed electrician to ensure compliance with local electrical codes.
Frequently Asked Questions (FAQ)
Can I replace an old halogen downlight with an LED down light for ceiling?
Yes, you can replace older halogen fixtures, but you must verify several physical and electrical specifications first. Start by measuring the existing ceiling cut-out size to find an LED replacement that fits the same opening without requiring ceiling repairs.
Additionally, check if your old halogen system uses a low-voltage transformer. Most modern integrated LED downlights operate directly on mains voltage, which means any old transformers must be safely bypassed or removed. Ensure the new LED fixture has sufficient clearance in the ceiling cavity to meet its specific heat dissipation requirements.
Do I need a special LED downlight for an insulated ceiling?
Yes, if your ceiling cavity contains thermal insulation, you must check the manufacturer’s specifications for an Insulation Contact (IC) rating. This rating indicates that the fixture is designed to run cool enough to be safely covered by or placed adjacent to insulation material.
If the fixture’s rating is unclear, missing, or if it conflicts with the specific type of insulation used in your home, stop the installation immediately. Consult a qualified professional or the manufacturer to determine the safe clearance requirements or to select a compatible fixture.

Community discussion
Share your experience or ask a question. Comments are reviewed before publication.