
To maximize space and comfort in a condo with low ceilings, the ideal flush mount light should have a profile height of 3 to 6 inches (7.5 to 15 cm) to maintain at least 7 feet (2.13 meters) of floor clearance. The fixture’s diameter should be calculated by adding the room’s length and width in feet, then converting that sum directly into inches. Selecting the correct center light for ceiling installations in these compact spaces is essential to prevent a cramped, cave-like atmosphere while ensuring safe passage.
In modern high-rise developments across the Philippines, structural concrete slabs often limit finished ceiling heights, making traditional hanging fixtures impractical. By choosing a flush mount fixture with the right dimensions, you can maintain essential headroom, distribute light evenly, and create an open, airy feeling throughout your living space.
Understanding Low Ceilings and the Ideal Center Light for Ceiling Applications
In many urban condominium developments in Metro Manila, Cebu, and other major metropolitan areas, developers often design units with ceiling heights of 2.4 meters (approximately 7.87 feet) or lower to maximize floor count. While a standard residential ceiling typically measures 2.7 meters (9 feet) or higher, a low ceiling of 2.4 meters or less presents unique design and functional challenges. In utility zones such as kitchens, entryways, and bathrooms, the clearance can drop even further due to structural beams or concealed utility ducts.
Products mentioned in this guide
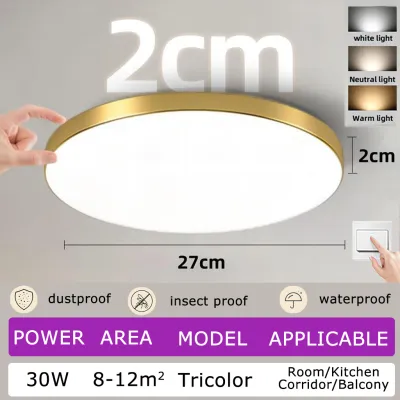
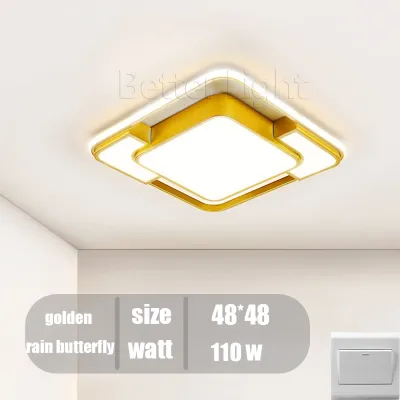
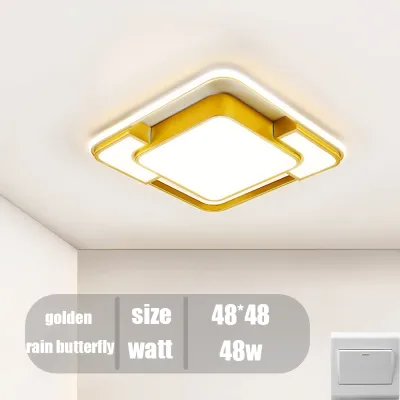
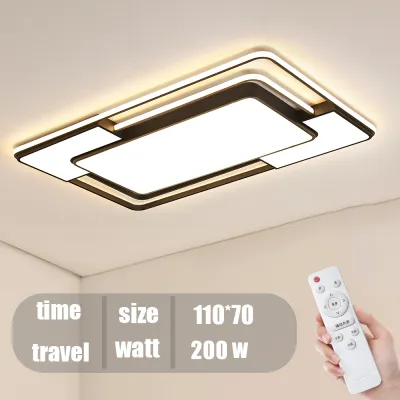
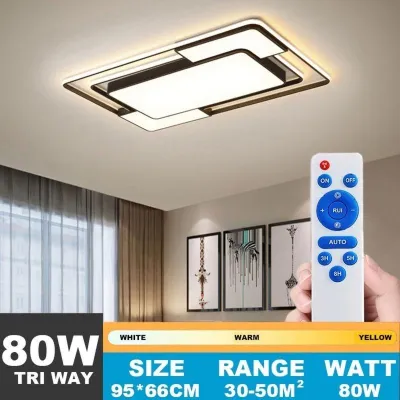
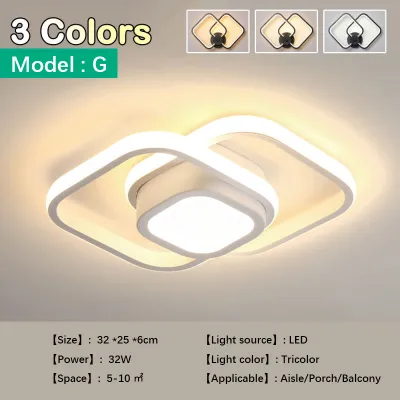
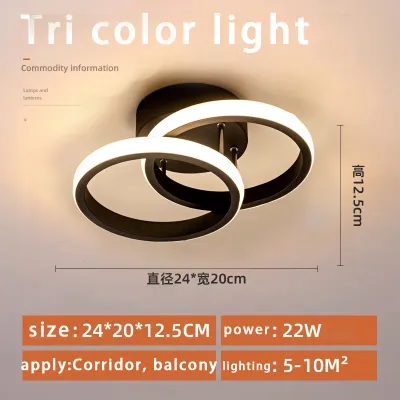
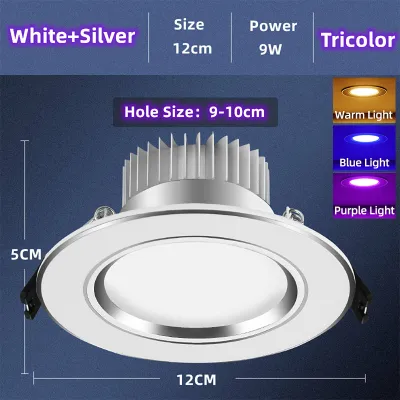
Prices are valid at publication and may change. Please refer to the product page for the latest price.
Installing a deep or hanging light fixture in a low-ceiling room has immediate physical and visual consequences. A fixture that protrudes too far down cuts off the visual sightlines of the room, drawing the eye downward and emphasizing the lack of vertical space. Physically, it creates a hazard for taller occupants and limits where you can safely place furniture or carry everyday items.
A flush mount fixture serves as the ultimate center light for ceiling installations in these compact layouts. Because these lights mount directly against the ceiling surface without any gap, they preserve maximum vertical clearance. They provide a clean, streamlined look that distributes ambient light outward, helping to eliminate dark corners and make the entire room feel more spacious and less restrictive.
How to Determine the Right Flush Mount Light Size
Selecting the correct diameter for your ceiling fixture is a balancing act. A light that is too small will look lost and fail to provide adequate illumination, while a fixture that is too large will dominate the room and make the ceiling feel lower than it actually is. To find the perfect proportions, you can use a simple, industry-standard sizing formula based on your room’s physical dimensions.

To calculate the ideal fixture diameter, measure the length and width of the room in feet. Add these two numbers together, and then convert that total directly into inches. For example, if you are lighting a compact condo bedroom that measures 10 feet by 10 feet (approximately 3 meters by 3 meters), add 10 and 10 to get 20. The ideal fixture diameter for this room is approximately 20 inches (50 cm). If your room is 12 feet by 14 feet, the sum is 26, pointing to a 26-inch (66 cm) fixture.
While the formula provides an excellent starting point, you should adjust the size based on the specific zone of your condo:
- Narrow Hallways and Foyers: These transitional spaces require smaller fixtures to prevent a cluttered look. Stick to a diameter of 10 to 12 inches (25 to 30 cm) to keep the pathway clear and visually open.
- Bathrooms and Kitchens: For these functional areas, a diameter of 12 to 16 inches (30 to 40 cm) is usually ideal. Ensure the fixture is rated for damp locations to handle the high humidity typical of the Philippine climate.
- Open-Plan Living and Dining Areas: In a combined studio layout, a single large fixture of 18 to 24 inches (45 to 60 cm) can serve as a beautiful focal point over the main seating area. Alternatively, you can use two smaller, matching flush mounts to define the separate living and dining zones.
Beyond physical measurements, consider the visual weight of the fixture. A flush mount with a thick, dark metal frame or a solid drum shade has high visual weight and can make a low ceiling feel lower. Conversely, a fixture with a slim profile, a white or light-colored finish, and a frosted glass or acrylic diffuser has low visual weight. These minimalist designs blend into a light-colored ceiling, providing ample light without drawing unnecessary attention to the low clearance.
Choosing the Ideal Height and Profile for Low Ceilings
While diameter determines the visual balance of the room, the fixture’s height—often referred to as its profile or extension—determines safety and physical comfort. In low-ceiling environments, every centimeter of vertical clearance matters to prevent head-bumping hazards and maintain a comfortable flow of movement.
The primary safety standard to follow is the 7-foot clearance rule. This rule dictates that the bottom of any ceiling-mounted fixture must be at least 7 feet (2.13 meters) above the finished floor. This height ensures that most people can walk freely underneath the light without any risk of contact, and it allows for normal daily activities like changing clothes or making a bed without hitting the fixture.
To calculate the maximum allowable height for your light fixture, you must know your exact ceiling height. Start with your floor-to-ceiling measurement, then subtract 7 feet (213 cm). The remaining number is the absolute maximum height your fixture can be. For example, if your condo ceiling is exactly 2.4 meters (240 cm) high, subtracting 213 cm leaves you with 27 cm (approximately 10.6 inches). If your condo has thick flooring, such as engineered hardwood or elevated tiles, or if you plan to place a thick rug under the light, subtract that thickness as well to maintain a safe buffer.
Before making a purchase, always check the product specifications for the exact “profile height” or “extension.” Many online listings feature photos taken from a low angle, which can make a fixture look much thinner than it is. Verifying the exact physical dimensions in the product manual is the only way to guarantee a proper fit.
Ultra-Thin vs. Standard Flush Mount Profiles
When shopping for a center light for ceiling installations, you will generally choose between ultra-thin and standard flush mount profiles, each suited for different ceiling constraints:
- Ultra-Thin LED Flush Mounts: These modern fixtures feature integrated LEDs and have an exceptionally slim profile, often measuring between 0.5 and 1.5 inches (1.3 to 3.8 cm) in thickness. They are the ideal choice for extremely low ceilings or concrete slab ceilings common in high-rise condos, where drilling deep holes for recessed lighting is structurally impossible or prohibited by building administration. They offer a clean, recessed-like appearance without requiring any ceiling cavity.
- Standard Dome or Drum Flush Mounts: These traditional fixtures typically have a profile height of 3 to 7 inches (7.6 to 17.8 cm) and use replaceable LED bulbs (often with E27 bases). They offer a wider variety of decorative styles, from classic glass domes to fabric drum shades. While they add more design character, they require slightly more vertical space and are best suited for rooms where the ceiling is at least 2.4 meters high.
Placement, Spacing, and Installation Clearances
Installing a ceiling fixture in a condominium requires careful planning to avoid physical conflicts with existing utilities and furniture. Unlike spacious landed homes, condo units pack multiple mechanical and structural systems into a limited ceiling area.
Before selecting a mounting location, identify and map out all existing condo infrastructure. Your ceiling light must maintain safe clearances from air conditioning vents (both split-type and window-type units), fire sprinkler heads, smoke detectors, and structural concrete beams. Blocking an AC vent can restrict airflow and cause condensation issues, while placing a light too close to a sprinkler head or smoke detector can interfere with safety sensors or water distribution in an emergency.
You must also calculate clearances for moving elements within the room. Ensure the fixture is placed well outside the swing path of tall wardrobe doors, kitchen cabinet doors, and utility closets. If you have a bunk bed or a loft bed in a studio unit, keep the ceiling fixture at least 3 feet (91 cm) away from the edge of the bed. This prevents occupants from accidentally touching a hot bulb or striking the fixture while sitting up or moving.
Electrical safety is paramount during installation. In the Philippines, residential electricity is standardly supplied at 220V to 240V at 60Hz. Before purchasing, verify that your chosen fixture is compatible with this voltage and carries local safety certifications, such as the Import Commodity Clearance (ICC) sticker or the Philippine Standard (PS) mark.
For any installation work, always isolate the power supply by turning off the main circuit breaker at your unit’s distribution panel. Because condo ceilings are typically solid concrete slabs, mounting a fixture requires drilling into concrete and using specialized masonry anchors. If your installation involves fixed wiring, upgrading a junction box, working at heights, or drilling into structural concrete, do not attempt a DIY installation. Always hire a licensed electrician or a qualified professional to ensure the work complies with the Philippine Electrical Code and condo association guidelines.
Common Sizing and Placement Mistakes to Avoid
Avoiding common pitfalls during the planning phase can save you from the hassle of returning products or dealing with a poorly lit, cramped living space.
One of the most frequent mistakes is choosing a fixture that is physically or visually too heavy for the room. A large, dark metal or multi-layered glass fixture can easily overwhelm a small condo living room. Even if it technically fits within the 7-foot clearance rule, its heavy visual weight will make the ceiling feel lower and create a claustrophobic environment. Stick to minimalist designs with light finishes that blend into the ceiling.
Another common error is ignoring the light distribution pattern of the fixture. Some flush mount lights feature opaque metal or dark fabric shades that direct all light downward in a tight cone. This creates a harsh “spotlight” effect, leaving the upper corners of the room in deep shadow. In a room that relies on a single center light for ceiling illumination, this uneven light distribution makes the space feel smaller and darker. To avoid this, select fixtures with frosted acrylic or glass diffusers that scatter light evenly in all directions, including upward to softly illuminate the ceiling surface itself.
Finally, many buyers fail to check the weight and size limits of their existing ceiling junction box. Standard plastic utility boxes installed during condo construction are often only rated to support light fixtures up to 15 pounds (6.8 kg). Installing a heavy glass or metal flush mount on an inadequate box can lead to structural failure and serious safety hazards. Always verify the weight capacity of your junction box, and if your chosen fixture is heavy, ensure it is secured directly to the concrete slab using appropriate masonry expansion bolts.
Frequently Asked Questions (FAQ)
Can I use a semi-flush mount light in a condo with low ceilings?
Semi-flush mount lights, which hang down slightly on a short stem, are generally not recommended for condos with ceilings lower than 2.4 meters (7.87 feet). These fixtures typically require a ceiling height of at least 8.5 to 9 feet to maintain the mandatory 7-foot floor clearance rule. Using a semi-flush mount in a low-ceiling room reduces headroom, creates a physical hazard, and makes the space feel visually cluttered.
How do I light a low-ceiling room without a center ceiling light?
If your condo ceiling is a solid concrete slab without a pre-installed central junction box, you can create a bright, open feel using alternative lighting layers. Install wall sconces that direct light upward (uplighting) to bounce off the ceiling, making it appear higher. Combine these with slim floor lamps in corners and table lamps on sideboards. You can also use plug-in track lighting systems run along the perimeter of the room to distribute light without structural drilling.
What is the best color temperature for low-ceiling condo rooms?
For general living areas, kitchens, and home offices in low-ceiling condos, a neutral white color temperature of 4000K is highly recommended. This crisp, clean light mimics natural daylight, helping to open up tight spaces and make low ceilings feel slightly higher. For bedrooms, a warmer color temperature of 3000K is better suited to create a cozy, relaxing atmosphere, though you should ensure the fixture is dimmable to maintain flexibility.

Community discussion
Share your experience or ask a question. Comments are reviewed before publication.