
To transform a bedroom into a relaxing sanctuary, arranging fairy lights for room styling is one of the most effective and accessible design upgrades. The soft, scattered glow of tiny bulbs immediately softens the sharp shadows of a room, creating a cozy ambiance that helps you wind down after a long day. Achieving this look requires more than just hanging a string of lights randomly; it involves deliberate planning, selecting the right specifications, and executing a safe, damage-free installation.
By understanding how to choose the correct power sources, map out your space, and secure the wires safely, you can create a stunning visual focal point. Whether you are decorating a compact condo or a spacious bedroom, a thoughtful layout ensures your lighting setup is both beautiful and electrically secure.
Planning Your Bedroom Fairy Light Layout
Before purchasing your lights, take a moment to evaluate your bedroom’s existing layout and identify natural focal points. The bed is the most common center of attention, but you can also highlight a cozy reading nook, a vanity table, or a display shelf. Introducing accent lighting to these specific zones helps distribute light evenly across the room rather than concentrating it in a single, overly bright spot.
Products mentioned in this guide
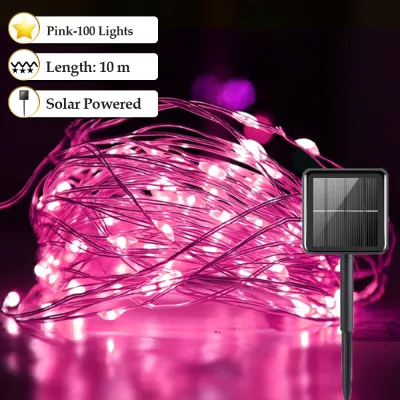
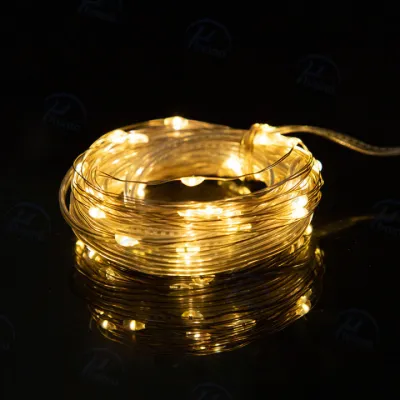
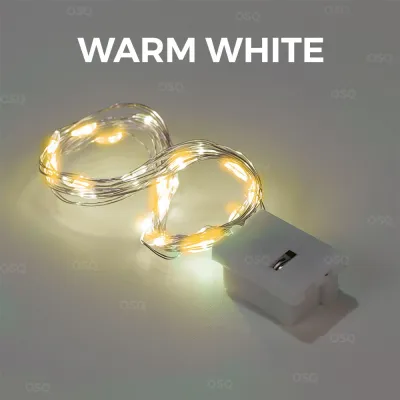
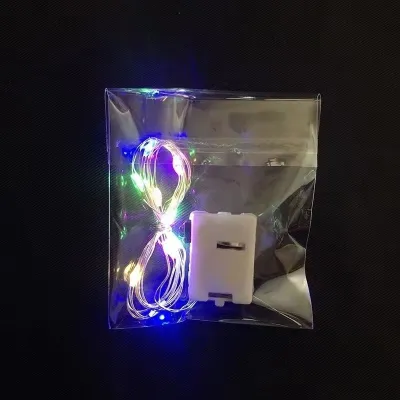
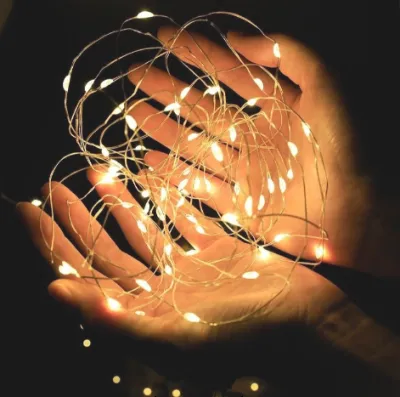
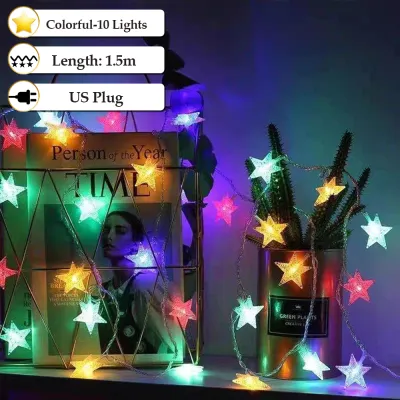
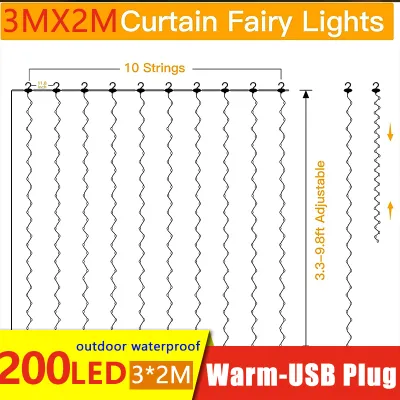
Prices are valid at publication and may change. Please refer to the product page for the latest price.
Choosing the right color temperature is key to setting the desired mood. Warm white lights (typically 2700K to 3000K) emit a gentle, golden glow that mimics candlelight, which is highly recommended for creating a restful, sleep-ready environment. Cool white lights (4000K to 6000K) offer a much brighter, bluer light suited for modern, high-contrast aesthetics. Because color temperature and spatial effects are highly subjective, select the tone that aligns with your personal comfort and design preferences.
Your choice of power source will dictate where you can position your lights. Plug-in models provide consistent brightness but require proximity to a wall outlet. In the Philippines, standard household electricity runs at 220V and 60Hz; always verify that your light adapter’s input specifications match this local voltage to prevent electrical damage or fire hazards. Alternatively, battery-operated strings (usually powered by AA or AAA batteries) offer complete placement freedom but require regular battery replacements. USB-powered lights bridge this gap, allowing you to run them off portable power banks or standard phone charger blocks.
Environmental factors also play a role in your planning. If you intend to hang lights near an open window, close to indoor plants that require regular misting, or in a room prone to high tropical humidity, check the ingress protection (IP) rating of the product. An IP44 rating or higher is recommended for areas exposed to minor moisture or damp drafts, protecting the internal wiring from short-circuiting.
Finally, measure the target areas using a flexible measuring tape before making a purchase. When calculating the required length, add an extra 10% to 15% to your total. This extra length allows the wires to drape gracefully rather than being pulled into rigid, straight lines, which looks harsh and puts unnecessary tension on the string.
Tools and Materials for a Damage-Free Installation
To secure your lights safely without damaging your walls, paint, or furniture, compile a dedicated installation kit. This is particularly important for renters or condo dwellers who must avoid permanent alterations to their living space. Having the right tools on hand prevents the frustration of falling light strings and peeling paint.

Recommended Installation Supplies
- Transparent adhesive hooks: These blend seamlessly into the background and hold light wires securely without drilling.
- Reusable mounting putty: Ideal for lightweight copper wire strings and temporary adjustments on delicate surfaces.
- Small plastic cable clips: Excellent for guiding wires along the edges of wooden furniture or baseboards.
- Flexible zip ties: Useful for securing wires to metal bed frames or curtain rods without slipping.
Avoid using metal nails, staples, or heavy-duty mounting tape to hang your lights. Nails and staples can easily pierce the protective plastic insulation of the wire, creating a severe shock or fire hazard. Heavy-duty tapes often leave a sticky, stubborn residue or peel off chunks of drywall paint when removed.
For a lasting bond, prepare the wall surface thoroughly. Wipe the target area with rubbing alcohol and let it dry completely before applying any adhesive hooks. This step removes surface oils, dust, and moisture, which is vital in humid climates where condensation can cause adhesives to slide off the wall. Always consult the hook manufacturer’s instructions for specific weight limits and curing times before hanging the lights.
Step-by-Step Guide to Draping and Positioning Fairy Lights
Creating a Ceiling Canopy or Wall Drape
To achieve a dreamy, starry-night effect overhead, map out your anchor points carefully. Use a pencil and a level to mark where each adhesive hook will go. If you are working at heights to mount a ceiling canopy, always use a stable step stool or ladder, and ensure the power source is fully disconnected before you begin hanging the strings.
Decide on the pattern that best suits your space. A zigzag pattern across the ceiling creates an immersive canopy, while a series of gentle swags along the upper wall offers a softer, more traditional look. If you prefer a minimalist style, run a straight perimeter line directly along the ceiling molding.
When hanging the lights, always leave a gentle slack in the wire between each hook. Tight wires put constant tension on the adhesive backing of your hooks, which can cause them to fail and fall. Furthermore, excessive tension can strain or snap the delicate copper strands inside the wire, permanently damaging the light string.
Framing the Headboard and Bed Area
Framing your bed with lights establishes it as the ultimate cozy zone. If you have a slatted wooden or metal headboard, weave the string gently through the slats to secure it in place. For solid headboards, mount small adhesive clips along the back outer edge to outline the silhouette of the frame.
Safety must be your top priority when placing electrical items near your sleeping area. Keep all light bulbs and wires away from flammable bedding, pillows, and blankets. Always consult the product label and your bedding manufacturer’s care guidelines to ensure compatibility with decorative accent lighting.
Only use low-heat, low-voltage LED fairy lights for setups that come into close contact with fabrics. Older, traditional incandescent bulb strings generate substantial heat when left on for extended periods and present a serious fire hazard if they touch sheets or curtains. LED bulbs remain cool to the touch, making them the only safe choice for bedside installations.
Accenting Shelves, Mirrors, and Window Treatments
Adding lights to secondary features in your bedroom creates layers of depth. To accent a window, wrap the light string loosely around your curtain rod. This creates a soft backlight that filters beautifully through sheer curtains, diffusing the glare and casting a gentle wash of light across the room.
For floating shelves or mirror frames, weave the wire along the edges, securing it with mounting putty or small clips. Outlining a full-length mirror not only provides practical, warm illumination for dressing but also reflects the lights, making a compact bedroom feel significantly larger.
If the individual LED bulbs feel too bright or create a harsh glare when you look directly at them, use diffusion techniques. Place the light strings behind translucent decorative objects, inside frosted glass jars, or behind paper screens. This scatters the light, softening the overall visual impact and enhancing the relaxing atmosphere.
Safety Checks and Power Management
Before mounting your lights, unroll the entire string and plug it in to conduct a thorough physical inspection. Look closely for any signs of fraying insulation, exposed copper wire, cracked plastic sockets, or loose bulbs. If you spot any of these defects, discard the string immediately; attempting to patch damaged decorative wiring can lead to short circuits or electrical shocks.
Managing your cables properly keeps the room looking tidy and prevents tripping hazards. Secure bulky power adapters, battery packs, or excess cords behind your headboard or nightstand using hook-and-loop Velcro strips. For clean wire routing along walls or baseboards, use paintable plastic cord covers that match your wall color.
Never daisy-chain multiple light strings together by plugging the end of one string into the beginning of another, unless the manufacturer’s instructions explicitly state that the product is connectable. Even then, never exceed the maximum number of connected strings specified by the manufacturer. Overloading a single outlet or extension cord can cause overheating and trip your home’s circuit breaker.
As a general safety rule, always turn off your fairy lights when you leave the bedroom or go to sleep. Only leave them running unattended if the product carries a certified rating for continuous, unattended indoor use. To make power management effortless, plug your lights into a mechanical outlet timer or a smart plug, allowing you to schedule them to turn off automatically at a set time each night.
Testing and Adjusting the Ambiance
Once your installation is complete, turn off your main overhead ceiling lights and bedside lamps to evaluate the fairy lights in complete darkness. This allows you to see exactly how the ambient light interacts with your furniture, walls, and mirrors.
Step back and view the room from different angles, including lying down on your bed. Look for any exposed bulbs that shine directly into your eyes or create distracting, harsh reflections in mirrors. If you notice any uncomfortable glare, adjust the position of the wire, tuck the offending bulbs behind a frame, or add a small piece of translucent tape over the bulb to diffuse the light.
If your fairy lights include a controller, experiment with the different settings. While flashing or chasing patterns can be fun, a steady, non-blinking glow or a very slow, gentle fade is usually best for promoting relaxation. Integrating a smart plug allows you to control the setup via voice commands or a mobile app, completing your cozy bedroom transformation.
Frequently Asked Questions (FAQ)
Can I leave fairy lights on all night while sleeping?
While low-voltage, certified LED fairy lights generate minimal heat, it is generally safer to turn them off or use an automatic timer before you fall asleep. Leaving electrical devices running unattended overnight carries a minor risk of electrical faults, and prolonged light exposure can disrupt your natural sleep cycle. Always check the manufacturer’s safety label for specific usage limits.
How do I hide the battery pack or plug near the bed?
You can conceal bulky battery packs by mounting them to the back of your headboard or nightstand using heavy-duty Velcro strips. For plug-in models, route the power cord along the baseboard using paintable plastic cord covers, or place the power strip inside a ventilated decorative cable management box to keep the floor area clean and clutter-free.

Community discussion
Share your experience or ask a question. Comments are reviewed before publication.