
Placing solar jellyfish lights for an optimal visual impact in your garden requires balancing daytime sunlight exposure with strategic nighttime positioning. To achieve a mesmerizing, organic look, you should arrange these swaying, fiber-optic fixtures in staggered, odd-numbered clusters near natural focal points like garden beds, pathways, or low-lying shrubs. By avoiding rigid straight lines and ensuring the solar panels receive unobstructed tropical sunlight, you can create a dynamic, layered landscape that comes alive at sunset.
These decorative fixtures are highly valued for their unique, fluid motion, which mimics the gentle drifting of marine life. Unlike static spotlights or traditional path lights, jellyfish lights rely on thin, flexible fiber-optic strands that catch the wind. To make the most of this kinetic feature, your placement strategy must focus on highlighting their movement while keeping the technical limitations of solar power in mind.
Assess Your Garden Layout and Lighting Goals
Before pushing any stakes into the ground, take a walk through your garden both during the day and after dusk to identify key zones. Look for natural focal points that already draw the eye, such as a specimen palm, a pocket of lush ferns, a small water feature, or the edge of a paved patio. These areas are prime candidates for accent lighting, where the unique, organic shape of jellyfish lights can complement the existing landscape architecture.
Products mentioned in this guide
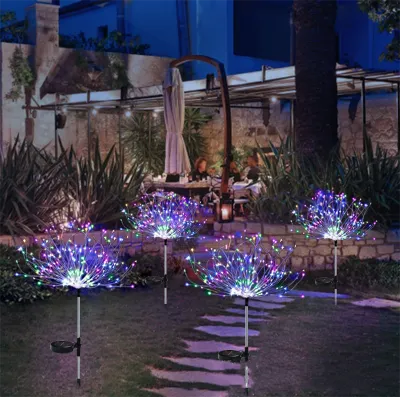
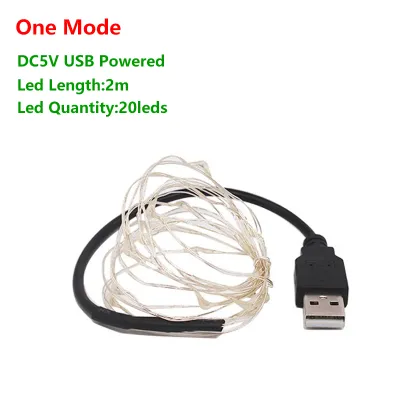
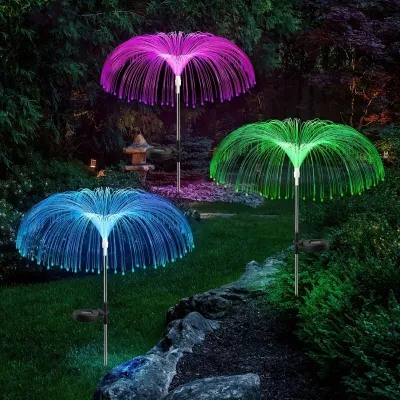
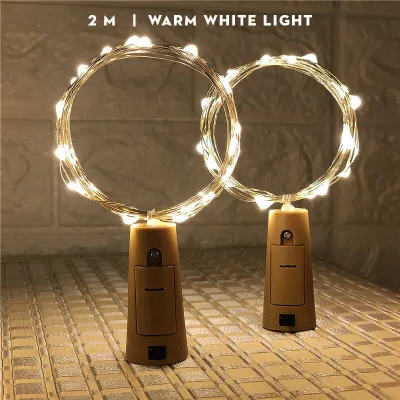
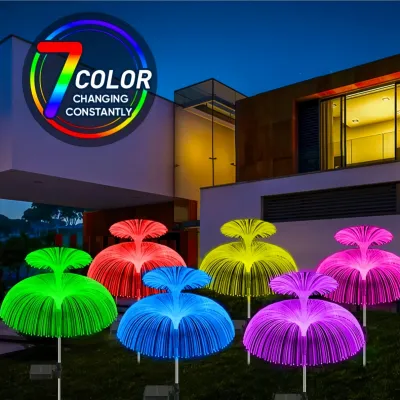
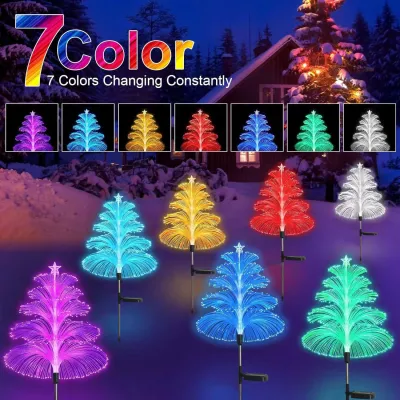
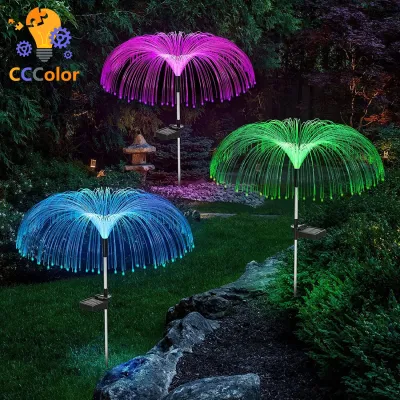
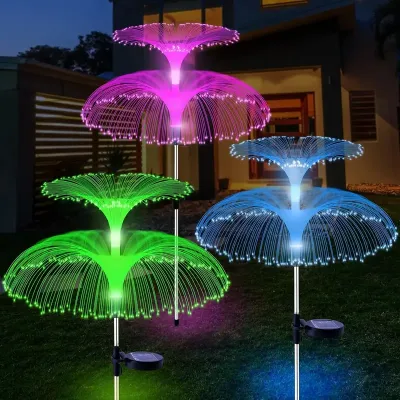
Prices are valid at publication and may change. Please refer to the product page for the latest price.
Next, define what you want these lights to accomplish in each specific zone. Are you looking to guide guests along a winding garden path, or do you want to establish a soft, ambient mood around an outdoor seating area? Clearly defining the purpose helps you determine whether the fixtures should be spaced out as subtle markers or grouped closely together to form a dramatic visual statement.
Do not forget to evaluate your garden from key viewing angles. Consider how the lights will look when viewed from your indoor living room windows during a rainy evening, as well as how they appear when walking up the driveway. Positioning the fixtures with these sightlines in mind ensures that your outdoor lighting design delivers maximum enjoyment whether you are relaxing inside or entertaining outdoors.
Balance Solar Charging Needs with Aesthetic Placement
One of the most common challenges with solar landscape lighting is finding a spot that looks beautiful at night but still receives enough sunlight during the day. To plan your layout effectively, start by checking the product packaging or label to see if your solar jellyfish lights feature a built-in panel on each stake or a split-panel design. This technical detail dictates where the fixtures can physically go.

For models with built-in solar panels on the individual stems, you must find a compromise between daytime sun exposure and nighttime visibility. In tropical environments like the Philippines, afternoon cloud cover or sudden downpours can limit charging times, so these panels need direct, unshaded sunlight for several hours. Avoid placing built-in models directly under thick shrubbery or deep roof eaves where shadows block the sun for most of the day.
If your fixtures utilize a split-panel design—where a separate solar collector connects to the light bodies via an extension cable—you have much more creative freedom. You can mount the central solar collector in a high-sun area, such as a sunny lawn patch or along a fence line, while weaving the delicate jellyfish light bodies deep into shaded garden beds or under a dense tree canopy.
Additionally, observe the ambient light levels in your yard after dark before finalizing your placement. Avoid positioning your solar jellyfish lights directly beneath bright streetlamps, security floodlights, or intense porch lights. Strong external light sources can trick the built-in dusk-to-dawn sensors into thinking it is still daytime, preventing your decorative lights from turning on, or they can simply wash out the delicate, glowing fiber-optic strands.
Design Strategies for Maximum Visual Impact
To elevate your garden from a simple outdoor space to an enchanting nighttime retreat, you need to apply deliberate design principles. How you group, layer, and space these kinetic fixtures determines whether they look like a cohesive artistic installation or a random collection of stakes.
Creating Focal Points and Guiding Pathways
To guide the eye naturally through your outdoor space, avoid placing your lights in rigidly straight, symmetrical lines, which can look clinical or resemble an airport runway. Instead, stagger the fixtures on alternating sides of your walkways or driveway edges. This alternating pattern provides safe walking clearance, defines the path clearly, and creates a more organic, inviting flow.
You can also use these glowing shapes to trace the natural contours of your landscape architecture. Try forming soft, curving borders around raised flower beds, retaining walls, or the edges of a garden pond. Highlighting these physical boundaries adds structure to your yard at night, making the overall space feel larger and more organized.
While it is tempting to pack many fixtures close together, preserving adequate negative space between each light is crucial. The defining feature of jellyfish lights is their delicate, swaying fiber-optic tentacles that move with the evening breeze. Leaving enough empty space between each stake allows individual fixtures to stand out, preventing the swaying strands from tangling or merging into a single, cluttered mass of light.
Layering, Grouping, and Color Coordination
When grouping lights in garden beds or open lawn areas, always arrange them in odd numbers such as clusters of three or five. Odd-numbered groupings mimic natural growth patterns found in nature, making the arrangement look spontaneous and artistic rather than rigid and artificial.
To add vertical depth to your landscape, layer your solar jellyfish lights with other types of low-profile outdoor fixtures. For example, you can combine them with ground-level well lights or low-glare path lights. Placing shorter, upward-pointing lights behind or beneath the swaying jellyfish stems creates a multi-dimensional lighting scheme that highlights both the ground cover and the mid-level foliage.
Finally, coordinate your color choices to match the overall theme of your garden. Many solar jellyfish lights offer options for steady warm white light or dynamic color-changing modes; verify these switching capabilities on the product packaging before installation. Warm white modes work beautifully for elegant, serene garden settings, while color-changing modes can add a festive, playful atmosphere to entertainment zones or patio borders.
Installation, Safety, and Environmental Checks
Before installing your lights, read the manufacturer’s instructions carefully to verify the recommended ground spike depth and soil requirements. In tropical climates, soil can become incredibly hard and compacted during the dry season, or overly soft and muddy during the rainy season. Avoid forcing the plastic or metal stakes into dry, rocky ground, which can crack the poles; instead, moisten the soil slightly beforehand to ease the installation.
Next, check the product’s water-resistance rating (such as an IP65 or IP44 label) and environmental limits on the packaging. While designed for outdoor use, solar jellyfish lights should not be placed in low-lying areas of your yard where water naturally pools after a heavy tropical downpour. You should also position them away from the direct, high-pressure spray paths of automatic lawn sprinklers to prevent water ingress over time.
Safety is paramount, especially in high-traffic areas where children or pets play. Ensure that all connecting cables, extension wires, or the flexible light stems themselves do not cross walkways or create tripping hazards. Secure any loose wires flat against the ground using landscape staples, or bury them slightly beneath mulch or soil according to the product guidelines.
Keep in mind that these decorative solar stakes are designed for simple, low-voltage DIY setup. If your garden lighting plans expand to include fixed outdoor wiring, high-altitude mounting on trees or structures, or any structural modifications to your home’s exterior, stop and consult a qualified professional. Working with mains electricity in damp outdoor environments requires proper isolation and professional installation to ensure safety.
Maintenance for Consistent Nightly Glow
To keep your solar jellyfish lights glowing brightly night after night, establish a simple routine maintenance schedule. Dust, pollen, and bird droppings can quickly accumulate on the solar panel surfaces, blocking sunlight and reducing charging efficiency. Wipe the panels down regularly with a soft, damp microfiber cloth, avoiding harsh chemical cleaners that could scratch or degrade the protective plastic coating.
You should also inspect the flexible fiber-optic tentacles periodically. Fast-growing tropical vegetation, weeds, or low-hanging branches can easily drape over the lights, blocking their light output or tangling the delicate strands. Gently untangle any caught fibers and trim back surrounding plants to keep the fixtures clear and free to sway in the breeze.
Over time, the performance of the internal rechargeable batteries will naturally decline. When you notice the nightly runtime decreasing significantly even after sunny days, refer to the manufacturer’s guidelines to check and replace the rechargeable batteries. Always use the exact battery type and capacity specified by the manufacturer to maintain safe operation and prevent damage to the internal circuitry.
Lastly, be prepared for extreme weather events. During severe tropical storms or typhoons, high winds and torrential rains can damage the delicate fiber-optic strands or dislodge the stakes entirely. It is highly recommended to temporarily remove the fixtures and store them safely indoors or in a protected shed according to the manual’s storage recommendations until the weather clears.
Frequently Asked Questions (FAQ)
Can I place solar jellyfish lights under dense tree canopies?
Standard solar jellyfish lights with built-in panels on the stakes will not charge effectively if placed under a dense tree canopy or thick shrubbery. The lack of direct sunlight will result in very dim lighting or a complete failure to turn on at night. If you want to illuminate a shaded garden bed, look for models that feature a separate solar panel connected by an extension cable. This allows you to position the decorative light bodies under the shady canopy while mounting the solar collector in a nearby sunny clearing.
How far apart should I space them along a walkway?
The recommended spacing depends on the specific model’s brightness and your desired visual effect. Check the product packaging for any details regarding the illumination radius or beam spread. For a continuous, well-lit path where the light pools slightly overlap, spacing the stakes roughly 1 to 1.5 meters apart is generally effective. If you prefer a more subtle, rhythmic accent effect where each glowing jellyfish stands out as an individual focal point, you can space them 2 to 3 meters apart.

Community discussion
Share your experience or ask a question. Comments are reviewed before publication.