
Choosing a modern LED panel ceiling light requires balancing aesthetic appeal with technical specifications. To find the right fixture, you must evaluate your ceiling’s physical structure, calculate the necessary light output, and verify electrical compatibility. In tropical climates like the Philippines, where ambient heat and humidity can accelerate wear on electronic components, paying close attention to material quality and thermal management is equally vital. By focusing on these core criteria, you can select a panel that integrates seamlessly into your home while providing reliable, energy-efficient illumination. This guide walks you through the essential steps to make an informed decision, from measuring your ceiling cavity to selecting the correct color temperature and ensuring safe installation.
Assess Your Ceiling Structure and Mounting Constraints
Before purchasing any modern ceiling light, you must determine which mounting style your ceiling can physically support. Recessed LED panels sit flush with the ceiling surface, creating a clean, minimalist look, but they require a hollow cavity behind the ceiling board to accommodate the fixture’s depth and its driver. If you have a solid concrete ceiling without a dropped or gypsum board ceiling, a recessed panel is generally not viable without major structural modifications. In such cases, surface-mounted panels, which attach directly to the ceiling surface, or suspended panels, which hang from cables, offer practical alternatives.
If you are replacing an existing recessed fixture, accurate measurement of the current cut-out hole is critical. Do not rely on the outer dimensions of your old light, as the actual hole in the ceiling is always smaller than the outer trim. Measure the diameter or the width and length of the cut-out cavity itself. Your new LED panel must match these dimensions, or you will need to patch and recut the ceiling material. If the new panel is slightly larger, you can often enlarge the existing hole, but choosing a panel with adjustable spring clips can make retrofitting much easier.
Products mentioned in this guide
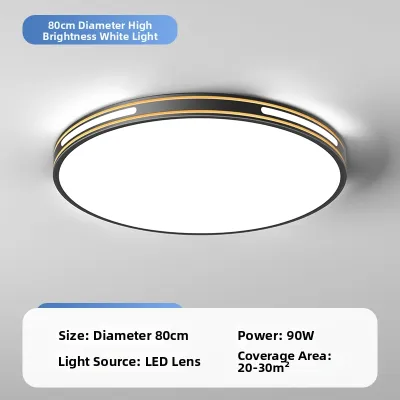
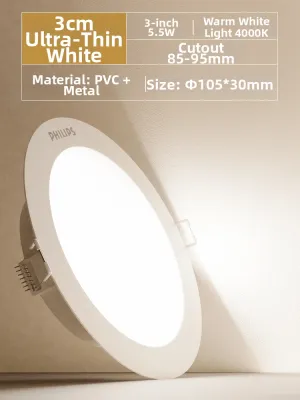
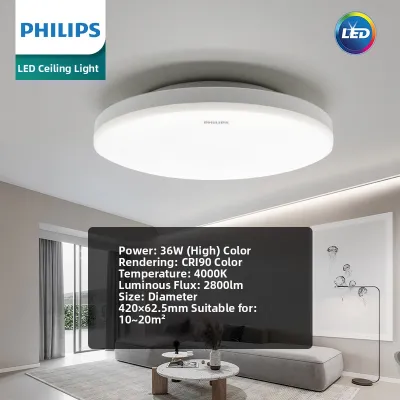
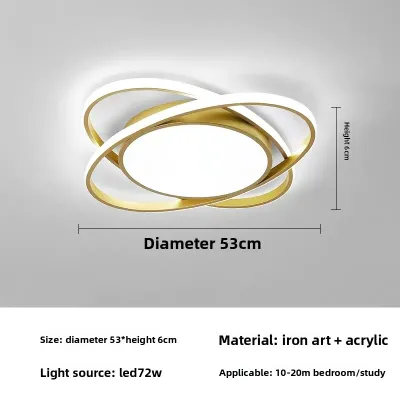
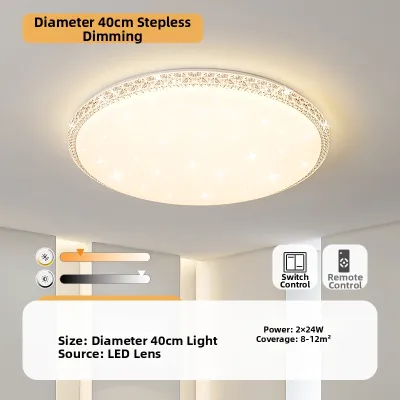
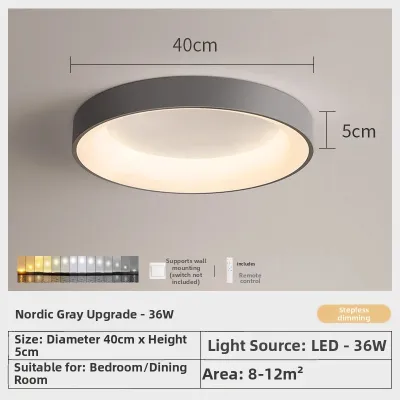
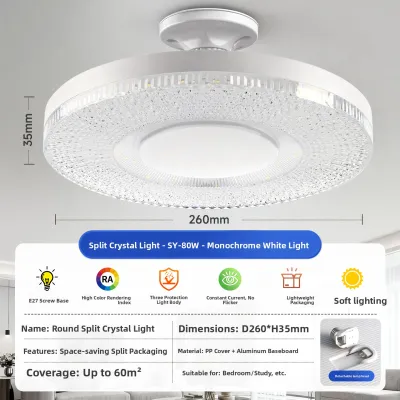
Prices are valid at publication and may change. Please refer to the product page for the latest price.
The choice between edge-lit and back-lit LED panels also directly impacts your ceiling depth requirements. Edge-lit panels feature LED chips arranged along the inner frame, directing light sideways through a light guide plate that diffuses it downward. This design allows the panel to be incredibly thin, often less than half an inch, making it ideal for shallow ceiling cavities. Back-lit panels, on the other hand, place the LEDs directly behind the diffuser. While they require more vertical clearance to allow the light to spread evenly without creating hot spots, they are often more energy-efficient because light does not have to travel through a guide plate.
Calculate Required Brightness and Color Temperature
Determining the correct brightness for your space requires looking at lumen output rather than wattage. In older lighting technologies, wattage was a reliable indicator of brightness, but modern LED panels produce far more light while consuming a fraction of the power. To choose the right fixture, check the product specification sheet for the total lumens (lm). A general rule of thumb for residential spaces is to aim for 30 to 40 lumens per square foot in active areas like kitchens, and 10 to 20 lumens per square foot in relaxing areas like bedrooms.

Color temperature, measured in Kelvin (K), dictates the visual warmth or coolness of the light and should align with the room’s primary function. Warm white light (2700K to 3000K) creates a cozy, inviting atmosphere suitable for living rooms and bedrooms. Neutral white light (4000K) offers a clean, natural appearance that works well in kitchens, study areas, and home offices. Cool white light (6000K to 6500K) provides high contrast and clarity, which is beneficial for task-oriented spaces or utility rooms, though it can feel clinical if used in relaxation areas.
To ensure visual comfort, pay close attention to the panel’s diffuser quality and beam angle. High-quality diffusers, often made of polycarbonate or polymethyl methacrylate (PMMA), distribute light evenly across the panel surface to eliminate harsh glare and shadows. A wide beam angle, typically around 120 degrees, is standard for LED panels and helps distribute light uniformly across a large area. If you are lighting a workspace or a reading nook, look for panels with a low Unified Glare Rating (UGR) to prevent eye strain during extended use.
Verify Electrical Compatibility and Dimming Controls
Electrical safety begins with verifying that the LED panel is rated for your local power supply. In the Philippines, the standard residential voltage is 220V at a frequency of 60Hz. Many modern LED panels feature wide-voltage drivers (often rated from 85V to 265V) that can handle voltage fluctuations safely. Always check the product label or packaging to confirm that the input voltage matches your home’s electrical system before attempting installation.
If you plan to adjust the brightness of your modern ceiling light, you must verify that both the LED panel and its driver are explicitly labeled as dimmable. Standard LED drivers are not compatible with dimmer switches and will flicker, buzz, or fail prematurely if dimmed. Furthermore, you must match the dimming technology of the panel—such as Triac, 0-10V, or digital dimming—with a compatible wall dimmer switch. Consulting the manufacturer’s compatibility list is the most reliable way to ensure smooth, flicker-free operation.
The placement and quality of the LED driver, which converts high-voltage alternating current (AC) to low-voltage direct current (DC), is another critical factor. Some panels feature integrated internal drivers, making the fixture self-contained and easier to handle. Others utilize external drivers connected by a quick-disconnect cable. External drivers are often easier to replace if they fail, but you must ensure there is sufficient physical space in your ceiling cavity to place the driver safely away from insulation and structural beams.
Check Build Quality, Safety Marks, and Moisture Ratings
In tropical environments characterized by high ambient temperatures and humidity, effective heat dissipation is essential for preserving the lifespan of LED chips. Look for panels constructed with aluminum frames rather than cheap plastics. Aluminum acts as an efficient heat sink, drawing warmth away from the delicate electronics inside the panel. If heat is allowed to build up within the fixture, the light output will degrade rapidly, and the panel may fail long before its rated lifespan.
Prioritize safety by checking for recognized electrical certification marks on the product packaging or specification sheet. In the local market, look for the Philippine Standard (PS) quality mark or the Import Commodity Clearance (ICC) sticker, which indicate that the product has undergone rigorous safety testing. Other international certifications, such as CE, RoHS, or UL, also provide assurance that the fixture meets strict environmental and electrical safety standards.
The installation environment dictates the level of moisture protection your LED panel requires. For standard living rooms and bedrooms, a basic indoor rating is sufficient. However, if you are installing the light in a bathroom, kitchen, or outdoor balcony, you must check the Ingress Protection (IP) rating. A rating of IP44 or higher is recommended for damp areas, as it ensures the fixture is protected against water splashes and dust intrusion, preventing short circuits and corrosion over time.
Final Pre-Purchase Checklist and Installation Boundaries
Before finalizing your purchase, compile a quick checklist to confirm that all physical and electrical specifications align. Verify the exact cut-out dimensions, the available ceiling depth, and the physical size of the driver. Compare the retail price in ₱ against the manufacturer’s warranty period and estimated operating hours. A slightly higher upfront investment in a reputable brand with a multi-year warranty often yields better long-term value than a cheap, unbranded alternative.
When you are ready to install your new modern ceiling light, always prioritize electrical safety. Turn off the main power supply at the circuit breaker before handling any wiring. For fixed wiring installations, working at heights, or mounting heavy fixtures, always consult a licensed electrician to ensure compliance with local electrical codes and to prevent structural or electrical hazards.
Frequently Asked Questions (FAQ)
Can I install a recessed LED panel in a concrete ceiling?
Recessed LED panels require a hollow cavity behind the ceiling surface to house the fixture body, mounting clips, and electrical driver. Because solid concrete ceilings lack this empty space, you cannot install a recessed panel directly into them. To achieve a similar look, you can either construct a dropped false ceiling using gypsum board to create the necessary cavity, or opt for a surface-mounted LED panel that screws directly into the concrete surface.
Why does my new dimmable LED panel flicker?
Flickering in dimmable LED panels is almost always caused by an incompatibility between the LED driver and the wall dimmer switch. Traditional dimmer switches designed for incandescent bulbs do not deliver the consistent, low-wattage control that LEDs require. To resolve this issue, verify that your dimmer switch is rated for LED loads, and check the panel manufacturer’s documentation for a list of tested, compatible dimmer models.
What is the difference between edge-lit and back-lit panels?
Edge-lit panels place the LED chips along the frame, directing light sideways through a diffuser plate, which allows for an extremely thin profile suitable for shallow ceilings. Back-lit panels place the LEDs directly behind the diffuser, requiring a deeper frame to prevent visible hot spots but often offering higher energy efficiency. Your choice should depend on your available ceiling depth and whether you prioritize an ultra-slim design or maximum energy savings.

Community discussion
Share your experience or ask a question. Comments are reviewed before publication.