
To choose the right ceiling pin light, you must prioritize physical compatibility, light quality, and environmental safety. Selecting the wrong fixture can lead to costly ceiling repairs, flickering lights, or safety hazards in high-humidity areas. By verifying these technical details before purchasing, you ensure a seamless installation that matches your home’s layout and electrical system.
Cut-Out Size and Physical Dimensions
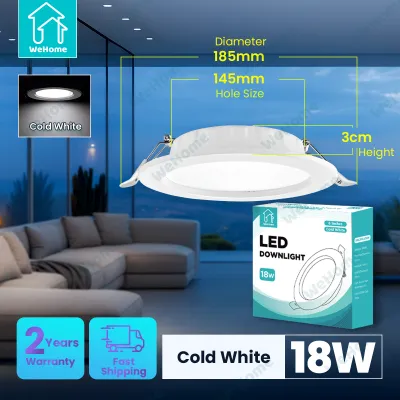
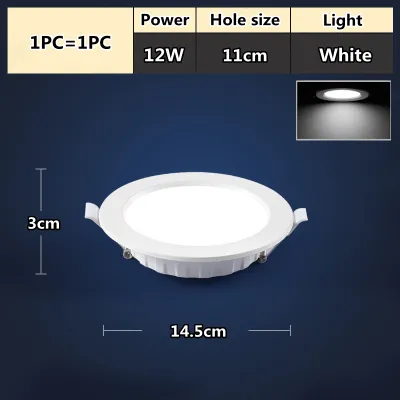
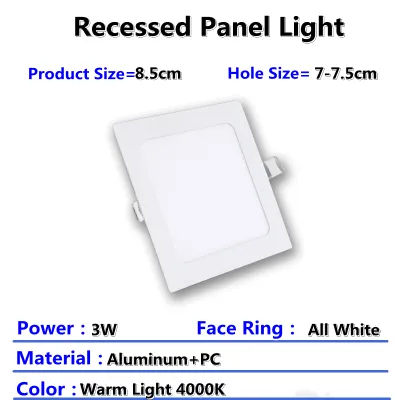
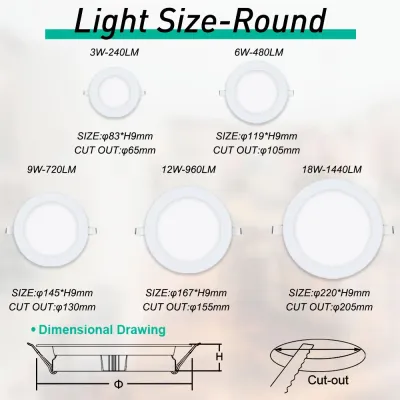
In tropical climates like the Philippines, ceiling cavities can trap heat, making physical clearance even more critical. Distinguish between the cut-out size—the actual hole diameter needed in the gypsum or board ceiling—and the outer bezel diameter, which is the visible trim that covers the hole’s edges. If you are replacing existing pin lights, measure the existing hole diameter directly rather than relying on the outer trim size. For new installations, use a stud finder to locate ceiling joists before cutting, ensuring your planned holes do not compromise structural supports. Always check the manufacturer’s specification sheet for the required recess depth; fixtures need adequate vertical clearance in the ceiling cavity to accommodate spring clips and allow heat to dissipate safely.
Wattage vs. Lumens for Brightness
Many homeowners mistakenly rely on wattage to judge how bright a pin light will be. Wattage only measures electrical power consumption, whereas lumens indicate the actual amount of visible light emitted by the fixture. When transitioning to energy-efficient LEDs, a lower-wattage bulb can produce the same or greater light output than an older, high-wattage halogen. To plan your lighting, identify whether a space requires ambient illumination for general living areas or focused task lighting for kitchen counters or study desks. Review the lumen rating on the product packaging and compare it against your room’s functional needs. Additionally, look for local energy efficiency certification labels and the rated operating lifespan to ensure long-term performance and lower utility costs.
Products mentioned in this guide
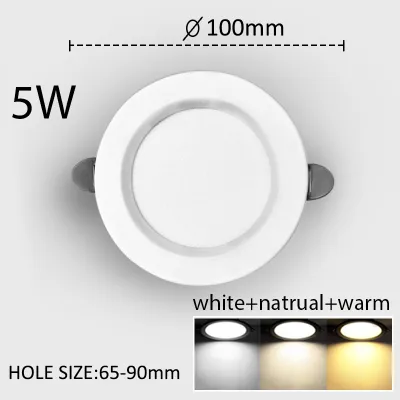
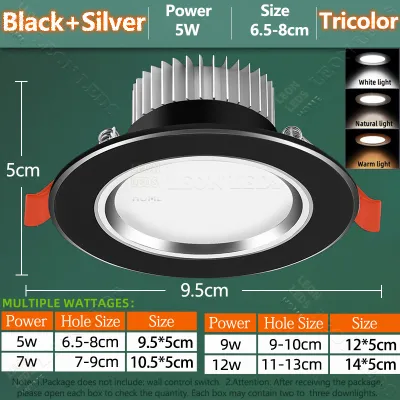
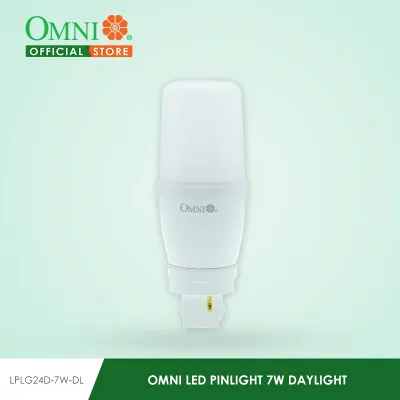
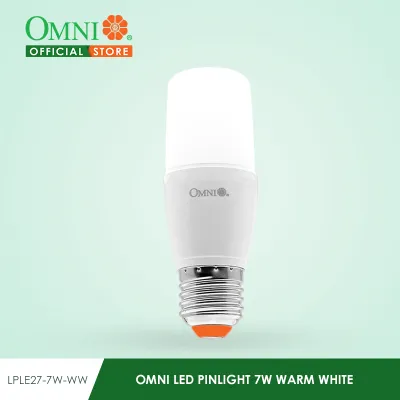
Prices are valid at publication and may change. Please refer to the product page for the latest price.

Color Temperature and Beam Angle
The atmosphere of your room depends heavily on color temperature, measured in Kelvin (K), and how the light spreads. Warm white light, typically around 2700K to 3000K, creates a cozy, relaxing environment suitable for bedrooms and living rooms. Cool white or daylight options, ranging from 4000K to 6500K, offer a crisp, energizing light that aids visibility in kitchens, home offices, and utility spaces. Beyond color, the beam angle determines how the light is distributed: a narrow beam angle under 40 degrees concentrates light to highlight specific features like artwork, while a wide beam angle of 60 degrees or more disperses light broadly for general room illumination. To avoid a disjointed visual effect, ensure all pin lights installed on the same ceiling plane share the same color temperature and color rendering properties.
IP Rating for Different Environments
In high-humidity environments, protecting your electrical fixtures from moisture is vital for safety and longevity. The Ingress Protection (IP) rating system uses two digits to indicate how well a fixture resists solid objects and liquids. The first digit measures protection against dust and solids, while the second digit measures resistance to water. For standard dry areas like living rooms and bedrooms, a basic IP20-rated pin light is generally sufficient. However, damp or wet zones—such as bathrooms, covered patios, or kitchen cooking areas prone to steam—require higher protection, such as IP44 or IP65 ratings, to prevent moisture from penetrating the housing. Always consult local building codes and the manufacturer’s specific installation guidelines to verify the minimum IP rating required for your specific wet or damp zones.
Voltage, Dimming, and Electrical Safety
Before purchasing any ceiling pin light, you must verify that its rated voltage matches your home’s electrical supply, which is typically 220V in the Philippines. Connecting an incompatible fixture can cause immediate product failure or electrical hazards. If you plan to use dimmable pin lights, confirm that the LED driver supplied with the fixture is explicitly compatible with your specific type of dimmer switch, as mismatched components often lead to annoying flickering or buzzing. Working with electrical systems carries inherent risks, especially in damp areas or when dealing with fixed wiring and ceiling modifications. Always isolate the power at the main circuit breaker before inspecting or installing fixtures, and hire a licensed electrician to handle all fixed wiring, structural ceiling cuts, and load calculations to ensure compliance with safety standards.
Frequently Asked Questions (FAQ)
Can I replace my existing halogen pin lights with LED versions?
Yes, you can upgrade to LED, but you must verify the compatibility of your existing setup. Halogen systems often use magnetic or electronic transformers designed for high-wattage loads; these may not register the low wattage of an LED pin light, causing flickering or failure to light up. Additionally, compare the physical dimensions and heat dissipation requirements, as halogens run extremely hot and require different spacing than LED modules. If your existing transformer is incompatible, you will need to replace it with a dedicated LED driver or install a direct-mains LED pin light.
Do I need a separate driver or transformer for ceiling pin lights?
This depends entirely on the design of the pin light you select. Some fixtures feature an integrated or built-in driver, allowing you to connect them directly to your home’s electrical wiring. Others utilize an external driver that must be housed within the ceiling cavity alongside the fixture. If your chosen pin light uses an external driver, ensure your ceiling cavity has sufficient physical space to accommodate it safely away from insulation. Always read the input voltage range printed on the driver’s label before completing the installation to confirm it matches your local power supply.

Community discussion
Share your experience or ask a question. Comments are reviewed before publication.