
Rooms with low ceilings require lighting fixtures that maximize vertical clearance while distributing light evenly to prevent a cramped, cave-like atmosphere. When floor-to-ceiling space is at a premium, selecting the right fixture style is the difference between a room that feels open and airy and one that feels claustrophobic. By prioritizing low-profile fixtures—specifically flush mounts, semi-flush mounts, and ultra-slim recessed LED panels—you can maintain essential headroom while achieving excellent illumination.
Defining Low Ceilings and Essential Clearance Rules
In residential architecture, a ceiling is generally classified as “low” if it sits at or below 2.4 meters (approximately 8 feet) from the finished floor. Many modern condominiums, townhouses, and standard subdivision developments in the Philippines feature ceiling heights within this range, particularly in secondary bedrooms, hallways, and utility areas. When dealing with these dimensions, standard hanging fixtures like traditional chandeliers or long pendants are impractical because they physically and visually obstruct the limited vertical space.
To maintain safety and comfort, interior designers and builders rely on the standard 7-foot (2.1-meter) clearance rule. This rule dictates that the bottom of any ceiling-mounted fixture must hang no lower than 2.1 meters from the floor. This clearance ensures that tall residents and guests can walk freely throughout the space without the risk of physical contact with the fixture. It also prevents the psychological discomfort of having a light source positioned too close to one’s head, which can make a room feel smaller than its actual physical dimensions.
Products mentioned in this guide
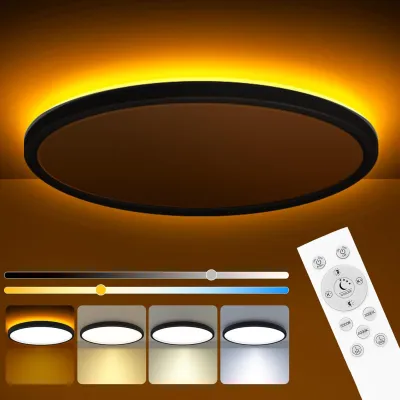
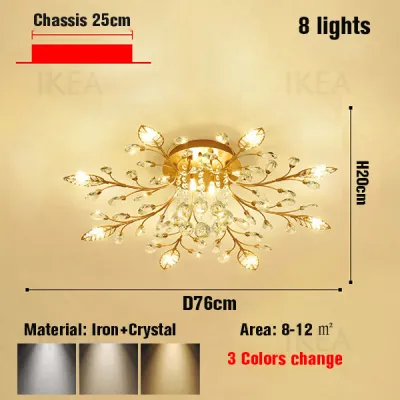
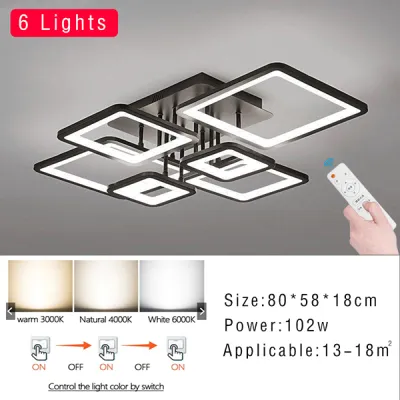
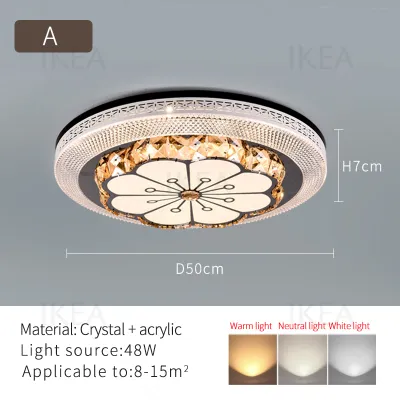
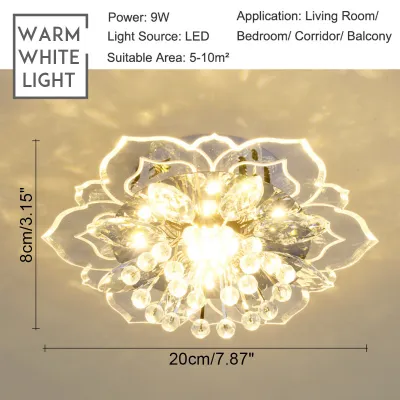
Prices are valid at publication and may change. Please refer to the product page for the latest price.
Beyond physical safety, the visual weight of a light fixture heavily influences how spacious a room feels. Visual weight refers to how much attention a fixture attracts based on its size, color, material, and light direction. A large, dark-colored fixture with a complex design draws the eye downward, creating a strong focal point that emphasizes the low ceiling. Conversely, a minimalist, light-colored, or translucent fixture blends into the ceiling plane, keeping the visual field open. Furthermore, fixtures that direct light upward (uplighting) bounce illumination off the ceiling surface, which visually stretches the height of the room, whereas fixtures that direct light strictly downward can create a stark contrast that makes the ceiling feel lower.
Best Fixture Styles for Low-Ceiling Spaces
When floor-to-ceiling space is limited, minimizing the vertical drop of your light fixtures is the most effective way to maintain an airy, spacious feel. Every centimeter saved vertically translates directly into a more comfortable and open living environment.

To achieve this balance, homeowners typically choose from three primary low-profile lighting categories: flush mount lights, semi-flush mount lights, and ultra-slim recessed LED panels or downlights. Each of these options offers distinct advantages in terms of installation depth, light distribution, and aesthetic integration, allowing you to tailor your selection to the specific structural and functional needs of each room.
Flush Mount and Semi-Flush Mount Lights
Flush mount lights are designed to sit directly against the ceiling surface, leaving no gap between the fixture’s canopy and the ceiling. They typically have a very shallow profile, often dropping only 5 to 12 centimeters (2 to 5 inches) from the ceiling. This ultra-low profile makes them the ideal choice for high-traffic, narrow spaces such as hallways, entryways, and small bedrooms where maintaining maximum clearance is paramount.
Semi-flush mount lights, on the other hand, hang slightly below the ceiling on a short stem or collar, leaving a gap of about 10 to 20 centimeters (4 to 8 inches) between the ceiling and the light shade. This gap allows light to escape from both the bottom and the top of the fixture. The upward light bounces off the ceiling, softening the overall illumination and reducing harsh shadows. Semi-flush mounts are highly suited for dining areas, larger bedrooms, or living rooms where you want a decorative visual anchor without the excessive drop of a traditional pendant.
When selecting either style, the design of the diffuser or shade is critical. Look for frosted glass, opal acrylic, or fabric diffusers that scatter light evenly. Clear glass shades with exposed bulbs can create intense glare and harsh ceiling “hotspots,” which draw unwanted attention to the low ceiling height. In the humid tropical climate of the Philippines, ensure that the metal components of these fixtures feature rust-resistant coatings, and opt for enclosed designs in areas prone to insects to keep the interior of the diffuser clean.
Ultra-Slim Recessed LED Panels and Downlights
For the ultimate space-saving solution, ultra-slim recessed LED panels and downlights eliminate vertical drop entirely by sitting flush with the ceiling plane. These modern fixtures provide a clean, seamless, and unobtrusive look that visually integrates into the architecture, making them a favorite for minimalist interiors and open-plan layouts.
Before choosing recessed lighting, you must evaluate your ceiling’s structural construction. In the Philippines, many residential ceilings are made of solid concrete slabs (buhos), which cannot accommodate recessed housings unless a secondary drop ceiling (typically made of gypsum board or fiber cement board on a metal double-furring frame) is installed. If you have a drywall or gypsum drop ceiling, you must verify the available ceiling cavity depth and locate the ceiling joists or metal framing. Fortunately, modern ultra-slim LED panels require very little clearance—often as little as 1.5 to 2.5 centimeters of cavity depth—allowing them to fit easily beneath standard joists without structural modifications.
When shopping for slim panels, you will encounter edge-lit and back-lit designs. Edge-lit panels place the LED chips along the frame, directing light through a light guide plate to produce an incredibly even, glare-free glow with an ultra-thin profile. Back-lit panels place the LEDs directly behind the diffuser, which can offer higher brightness but may require a slightly deeper profile to prevent visible dark spots. These seamless options are exceptionally well-suited for kitchens, bathrooms, and modern living rooms where high-utility, shadow-free illumination is required.
Sizing and Spacing Rules to Prevent Visual Clutter
Installing the wrong size fixture or placing lights incorrectly can quickly make a low-ceilinged room feel cluttered and overwhelming. To avoid these common design pitfalls, you can use simple sizing formulas and layout guidelines to establish visual balance.
To determine the ideal diameter for a flush or semi-flush mount fixture, use the standard room-dimension formula. Measure the length and width of the room in feet, add those two numbers together, and convert the sum directly into inches. For example, if a bedroom measures 10 feet by 12 feet, the sum is 22. Therefore, a fixture with a diameter of approximately 22 inches (about 56 centimeters) will be proportionally scaled to the room. If you prefer to work entirely in metric, a rough equivalent is to multiply the sum of the room’s dimensions in meters by 10 to get the fixture diameter in centimeters (e.g., a 3m x 3.5m room equals 6.5, which suggests a 65cm fixture).
For recessed lights and slim panels, proper spacing is essential to ensure even light distribution and prevent the ceiling from looking like a chaotic grid or a commercial runway. A reliable rule of thumb is to space your recessed lights at a distance equal to your ceiling height divided by two. For a standard 2.4-meter (8-foot) ceiling, this means spacing the fixtures approximately 1.2 meters (4 feet) apart. Keep the outer fixtures about 0.6 meters (2 feet) away from the walls to avoid casting harsh, narrow cones of light down the wall surfaces.
Avoid the common mistake of choosing oversized, heavy statement pieces in an attempt to make a design impression; these fixtures visually compress the vertical space and make the room feel cramped. Conversely, scattering too many small, low-lumen fixtures across the ceiling creates visual clutter and a chaotic aesthetic. Striking a balance with fewer, well-proportioned, high-quality fixtures yields a much cleaner and more open result.
Installation Checks and Electrical Safety Boundaries
Before embarking on any lighting installation, several practical and safety checks must be performed to protect your home’s structural integrity and electrical system. This is especially true for low-profile and recessed fixtures, which interact closely with ceiling structures.
Always check the ceiling joist depth, structural integrity, and the presence of any existing insulation or utility pipes before cutting holes for recessed housings or slim panels. If your ceiling contains insulation, ensure that the recessed fixtures are rated as “IC” (Insulation Contact), which means they can safely come into direct contact with insulation materials without posing a fire hazard. For non-IC rated fixtures, maintain the manufacturer-specified clearance gap to prevent heat buildup.
Heat management is equally critical for enclosed flush mount fixtures. While LED bulbs generate far less heat than traditional incandescent bulbs, they are highly sensitive to thermal stress. Poor heat dissipation inside a tightly enclosed flush mount can lead to rapid LED degradation, color shifting, and premature driver failure. Ensure the fixture is rated for the specific wattage of the bulbs you intend to use, and verify that the housing allows for adequate passive cooling.
When installing heavier semi-flush fixtures, verify that the existing junction box or electrical box is securely mounted to a ceiling joist and rated to support the weight of the fixture. Standard plastic outlet boxes may not be sufficient for heavier metal or glass fixtures.
In the Philippines, residential electrical systems operate on 220V AC at 60Hz. Ensure that any fixture you purchase is fully compatible with these electrical specifications and carries valid safety certifications, such as the Philippine Standard (PS) mark or the Import Commodity Clearance (ICC) sticker. Working with fixed electrical wiring carries inherent risks of electrical shock and fire. Always isolate the power at the main circuit breaker before touching any wiring. If your project involves installing new circuit runs, cutting into concrete slabs, mounting heavy suspended loads, or setting up complex multi-panel dimming systems, stop DIY efforts and hire a licensed electrician in the Philippines to ensure compliance with the Philippine Electrical Code (PEC).
Frequently Asked Questions (FAQ)
Can I use a chandelier in a room with a low ceiling?
Yes, but only under specific spatial conditions. You can safely install a mini-chandelier or a linear pendant if it is positioned directly over a permanent piece of furniture, such as a dining table, a kitchen island, or a bed. In these scenarios, the 7-foot (2.1-meter) walking clearance rule does not apply because people will not walk directly beneath the fixture. However, ensure the scale of the chandelier remains proportional to the furniture and does not overwhelm the room’s vertical boundaries.
Do flush mount lights provide enough brightness for a large room?
Yes, flush mount lights can provide ample brightness for large rooms if you plan your lighting layout strategically. Instead of relying on a single central fixture, consider installing multiple flush mounts or high-lumen LED panels to distribute light evenly across the space. Additionally, implement a layered lighting design by combining your ceiling fixtures with wall sconces, floor lamps, and table lamps. This approach ensures sufficient brightness while eliminating dark corners and reducing the visual reliance on the ceiling plane.

Community discussion
Share your experience or ask a question. Comments are reviewed before publication.