
Finding the perfect replacement lampshade for living room stand setups requires matching the physical proportions of your lamp base, verifying the physical attachment mechanism, and selecting materials that suit your local environment. A mismatched lampshade can make an otherwise beautiful lamp look awkward, cast harsh shadows, or even present a safety hazard if it sits too close to a hot bulb. By taking a few precise measurements and identifying your lamp’s hardware, you can easily find a compatible, visually balanced shade that elevates your living space.
To ensure your new shade fits securely and functions safely, you must evaluate the socket type, check the manufacturer’s maximum wattage rating, and understand how the shade connects to the stand. This guide will walk you through the step-by-step process of measuring your existing floor lamp, choosing the correct fitting type, calculating the ideal dimensions, and selecting durable materials that can withstand tropical climates.
Measure Your Existing Floor Lamp Base
Before browsing online marketplaces or local home decor shops, you must establish the physical baseline of your current floor lamp stand. Having precise measurements prevents the hassle of returning a shade that is too small, too large, or physically incompatible with your lamp’s hardware. For the most accurate readings, use a flexible measuring tape rather than a rigid metal ruler, as the tape easily conforms to rounded bases and curved columns.
Products mentioned in this guide
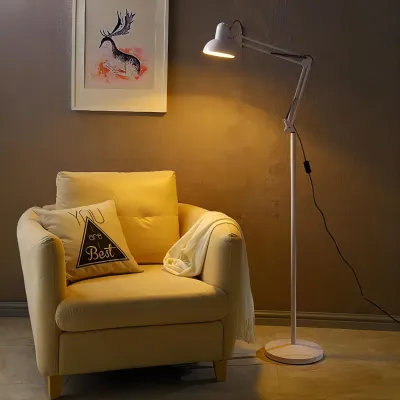
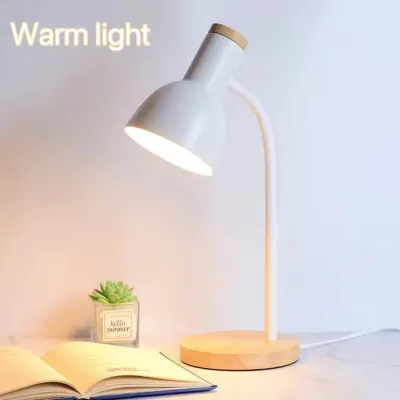
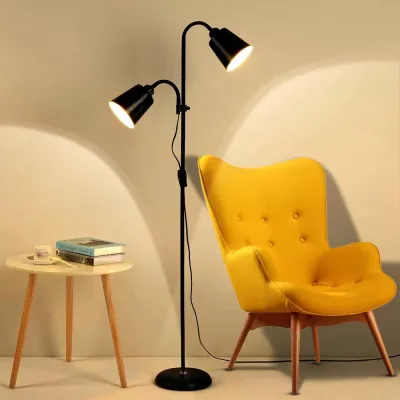
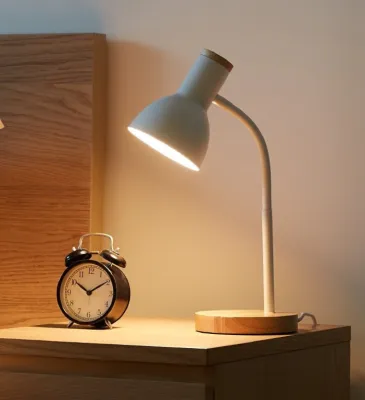
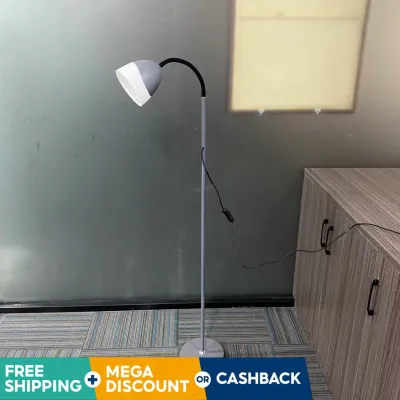
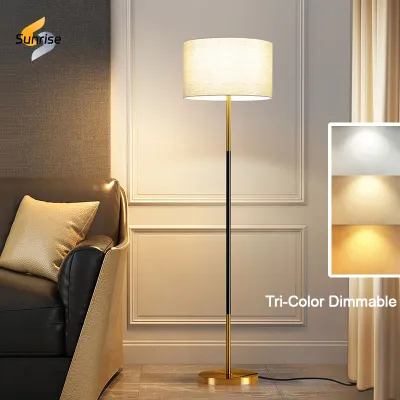
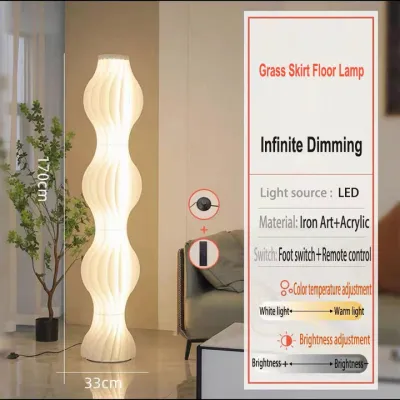
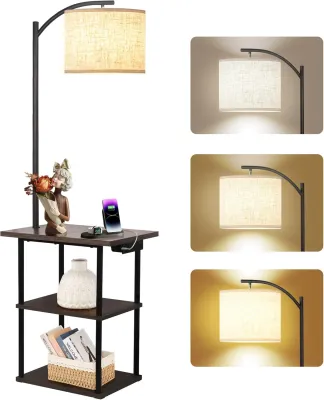
Prices are valid at publication and may change. Please refer to the product page for the latest price.
Begin by measuring the base width, which is the widest part of the floor lamp stand at its very bottom. This measurement is critical for maintaining visual balance. A floor lamp requires a stable visual foundation; if the replacement shade has a diameter narrower than the widest part of the base, the entire fixture will look top-heavy and awkward. For a balanced, cohesive look, the bottom diameter of your lampshade should always be equal to or greater than the width of the lamp’s base.
Next, measure the total height of the stand. Place the end of your measuring tape flat on the floor and extend it straight up to the top of the electrical socket, excluding any existing shade, harp, or decorative finial. This height determines the overall scale of the lamp and helps you calculate the correct proportional height for your new shade. If your lamp features a harp—the U-shaped metal wire frame that mounts below the socket and arches over the bulb—measure from the bottom bracket of the harp (the saddle) to the very top threaded post where the finial screws on.
Finally, perform a critical safety check by inspecting the electrical socket for its maximum wattage rating. This rating is typically printed on a sticker inside or around the metal socket casing. The maximum wattage dictates the amount of heat the socket can safely handle, which directly influences your choice of lampshade material and size. Exceeding this wattage limit or placing a flammable material too close to a high-wattage bulb creates a serious fire hazard. Always verify this limit before selecting a new shade.
Identify the Correct Lampshade Fitting Type
Lampshades do not connect to lamp stands in a uniform way. To avoid buying a shade that cannot be mounted, you must identify the exact connector mechanism required by your specific floor lamp hardware. The three most common fitting types found on living room floor lamps are spider, Uno, and clip-on fittings.

- Spider Fittings: This is the most common fitting type for standard living room floor lamps. A spider shade features a built-in wire frame at the top that resembles a wheel with spokes. These spokes meet at a small central ring, which rests directly on top of a metal harp. The shade is then secured in place by screwing a decorative cap, called a finial, onto the threaded post of the harp. If your floor lamp stand currently has a metal harp installed around the socket, you will need a shade with a spider fitting.
- Uno Fittings: Common on smaller, modern, or imported floor lamps, the Uno fitting features a large central ring that threads directly onto the electrical socket itself. Unlike spider shades, which sit above the bulb, an Uno shade is suspended below the socket. To install an Uno shade, you must unscrew the plastic or metal collar ring from the socket, slide the shade's central ring over the socket threads, and then screw the collar ring back on to lock the shade in place. The light bulb is screwed in last. This fitting is ideal for downward-pointing task lamps or reading lights.
- Clip-On Fittings: These fittings feature a wire frame designed to clip directly onto the glass envelope of a standard light bulb. While highly convenient, clip-on fittings are generally only suitable for small, lightweight accent shades. They are not recommended for large, heavy living room floor lamps, as the weight of the shade can cause the lamp to tilt, put stress on the bulb socket, or even crack the bulb if the lamp is bumped.
- Adapter Options: If you fall in love with a spider-fitting shade but your floor lamp stand only has a bare socket without a harp, you can purchase an Uno-to-Spider adapter. These adapters include a ring that attaches to the socket and built-in metal arms that support a standard harp. Before installing an adapter, always check the manufacturer's weight limits to ensure your socket can support the combined weight of the adapter, harp, and new shade.
Calculate the Ideal Lampshade Dimensions
Achieving the right visual proportions is both an art and a science. A lampshade that is too small will make the stand look unfinished, while an oversized shade can overpower your living room decor and make the lamp prone to tipping. To find the perfect fit, follow these established lighting industry rules of thumb.
For the width or bottom diameter, your lampshade should be at least as wide as the widest part of the lamp base. For a standard living room floor lamp, the ideal shade width typically ranges from 18 to 24 inches. A reliable rule of thumb is that the bottom rim of the shade should extend at least 2 to 3 inches beyond the outer edge of the base on all sides. This horizontal clearance ensures that the lamp looks grounded and proportional when placed next to sofas or armchairs.
For the height, the shade should represent roughly one-third to one-quarter of the total height of the lamp, measured from the floor to the very top of the shade. For example, if your floor lamp stand is 60 inches tall, a shade height of 15 to 20 inches will create a balanced silhouette. Additionally, the shade must be deep enough to completely conceal the electrical socket, the neck of the bulb, and the harp hardware when viewed from a normal standing or seated eye level in the room. Seeing bare hardware or a glaring bulb beneath the rim of a shade disrupts the visual appeal of your living space.
Crucially, you must also maintain proper physical clearance inside the shade. Ensure there is at least 2 to 3 inches of open space between the light bulb and the inner lining of the lampshade. This clearance allows heat to dissipate safely, preventing the shade material from scorching, discoloring, or catching fire. This safety margin is especially important in warm environments or when using high-wattage incandescent bulbs.
To simplify your search, use this quick reference table to map standard floor lamp heights to recommended shade dimensions:
| Floor Lamp Stand Height | Recommended Shade Width (Diameter) | Recommended Shade Height | Recommended Setting |
|---|---|---|---|
| 54 to 58 inches | 16 to 18 inches | 12 to 14 inches | Low-profile reading nooks, bedside corners |
| 58 to 64 inches | 18 to 24 inches | 14 to 18 inches | Standard sofa-side lighting, general ambient light |
| 64 to 70 inches | 20 to 26 inches | 16 to 20 inches | High-ceiling living rooms, spacious open layouts |
Choose Materials and Styles for Humid Living Rooms
In tropical climates like the Philippines, high humidity and ambient heat are important factors when choosing lampshade materials. Poorly chosen materials can degrade quickly, warp, or even harbor mold in non-air-conditioned or semi-outdoor living areas. Selecting durable, moisture-resistant fabrics ensures your lampshade remains clean, structural, and beautiful for years.
Avoid untreated paper, delicate silk, or highly absorbent natural fibers if your living room is prone to high humidity or lacks consistent air conditioning. These materials readily absorb moisture from the air, which can cause the shade to sag, develop unsightly water spots, or warp out of shape. Instead, look for tightly woven cotton, linen blends, or synthetic fabrics like polyester. These materials are highly resistant to moisture absorption, maintain their tension over time, and are much easier to wipe down or dust with a dry microfiber cloth.
Additionally, consider how the inner lining of the lampshade affects both durability and light quality in your living room:
- White Linings: White or light-colored fabric linings reflect the maximum amount of light outward through the shade. This creates a bright, crisp illumination that is ideal for reading corners or task-oriented living spaces.
- Gold Linings: Gold or brass-colored inner linings absorb some light but cast a warm, rich, and cozy glow. This is excellent for creating a relaxing, intimate ambiance in the evening, especially when paired with warm-white LED bulbs.
- Hardback Linings: Hardback shades feature a plastic inner liner (usually made of durable polystyrene) that keeps the fabric stretched tight. This solid barrier directs light strictly upward and downward rather than letting it diffuse through the sides, which helps reduce glare on television screens.
When it comes to color and pattern, neutral tones like beige, cream, grey, or soft off-white are highly versatile choices that blend seamlessly with most interior styles. Keep in mind that dark-colored or heavily patterned shades will absorb a significant amount of light. If you choose a dark navy, forest green, or charcoal shade, you may need to use a bulb with higher lumens to achieve the same level of brightness in your living room.
Install the Shade and Verify Stability
Once you have selected the correct size, fitting, and material, you are ready to assemble your lamp. Prioritizing safety during installation prevents electrical shocks, physical damage to your new shade, or accidental tipping hazards in your home.
First, always unplug the floor lamp from the wall outlet before removing the old shade, installing the new one, or adjusting any hardware. Working on a live electrical fixture carries a risk of shock, especially if you accidentally touch the metal socket contacts while handling the bulb.
To install a spider shade, place the central ring of the shade directly onto the flat top of the harp. Ensure the shade sits level, then screw the decorative finial onto the threaded post until it is snug. Do not overtighten the finial, as this can strip the threads or bend the harp. For an Uno shade, remove the socket ring, slide the shade’s central ring onto the threaded socket, and screw the socket ring back down firmly to lock the shade in place. Once the shade is secured, carefully screw in your light bulb.
After installation, perform a gentle wobble test to verify the lamp’s physical stability. Because floor lamps are tall, adding a large or heavy replacement shade can shift the center of gravity upward, making the lamp top-heavy. Gently nudge the stand near the top; if the lamp sways excessively or feels prone to tipping, the shade may be too heavy for the base. To resolve this, you must either use a lighter shade material or place the lamp on a completely flat, solid surface away from high-traffic areas, children, or pets.
Finally, plug the lamp back in, turn it on, and conduct a visual and heat check. Stand back and view the lamp from your favorite seating positions to ensure no bare hardware or bulb necks are visible. Let the lamp run for 15 minutes, then carefully place your hand near the outside of the shade. The shade should feel cool or only slightly warm to the touch. If the shade feels hot, turn off the lamp immediately and verify that you have maintained the required 2-to-3-inch clearance between the bulb and the shade lining.
Frequently Asked Questions (FAQ)
Do I need to replace the harp when buying a new lampshade?
You only need to replace the harp if your new spider-fitting shade has a different drop length than your old one. The drop is the distance from the top of the shade’s spider ring to the bottom rim of the shade. If your new shade is taller or shorter, using your old harp might cause the electrical socket or bulb neck to peek out from underneath the bottom rim. Harps are inexpensive and widely available in heights ranging from 7 to 12 inches. You can easily swap them out by squeezing the bottom prongs of the harp inward to release them from the saddle base.
How do I know if a lampshade will block too much light?
The amount of light a shade blocks depends on its shape, color, and inner lining. Dark-colored shades, thick hardback linings, and narrow drum shapes restrict light from diffusing sideways, directing it instead in a focused beam upward and downward. If you want maximum ambient light to fill your entire living room, opt for a light-colored, softback shade made of linen or cotton with a white lining. This setup allows light to gently filter through the fabric sides, providing soft, even illumination throughout the space.

Community discussion
Share your experience or ask a question. Comments are reviewed before publication.