
To choose the right LED downlight for a low ceiling, you must balance the physical depth of your ceiling cavity with the fixture’s profile height, while selecting a wider beam angle and appropriate diameter to prevent glare and visual crowding. In residential spaces with limited vertical clearance, such as modern high-rise condominiums or homes with dropped gypsum ceilings, standard deep-can recessed fixtures often cannot fit. Instead, ultra-slim recessed LED downlights or surface-mounted flush fixtures provide the ideal solution, allowing for a seamless look without compromising safety or light quality.
When dealing with low ceilings, every millimeter of vertical space matters. Selecting the wrong fixture can lead to installation failures, damaged drywall, or an uncomfortably cramped room. By understanding how to measure your ceiling cavity and matching those measurements to the right fixture specifications, you can achieve a clean, modern aesthetic that makes your space feel open and bright.
Understanding Ceiling Clearance and Downlight Profiles
Before purchasing any lighting fixtures, you must evaluate the physical limits of your ceiling. This process begins by distinguishing between the raw floor-to-ceiling height and the actual cavity depth. The cavity depth, or plenum space, is the hollow area between the visible ceiling surface (such as gypsum board or plywood) and the structural slab or joists above.
Products mentioned in this guide
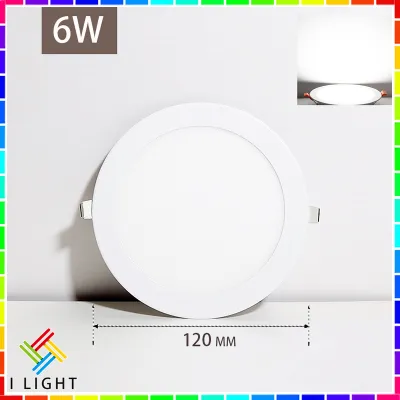
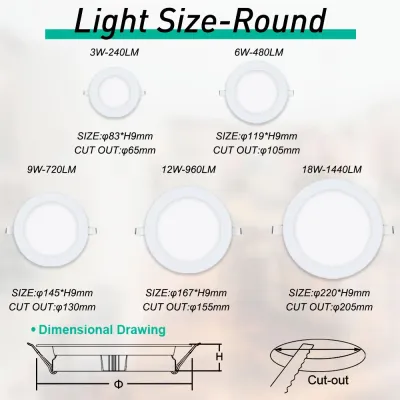
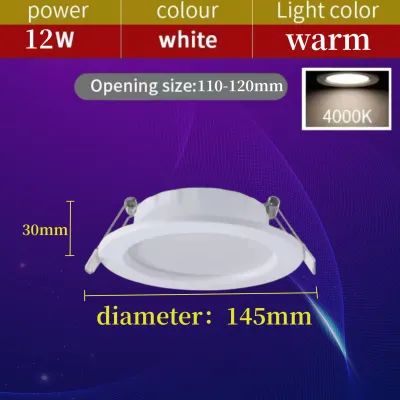
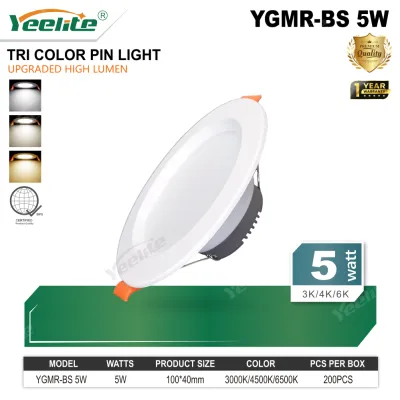
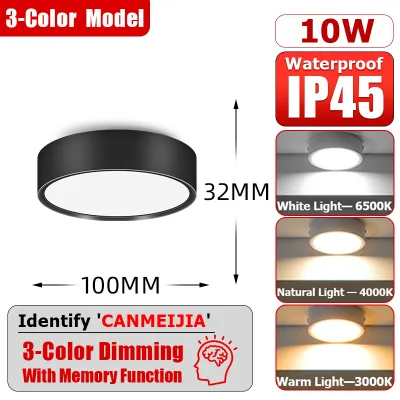
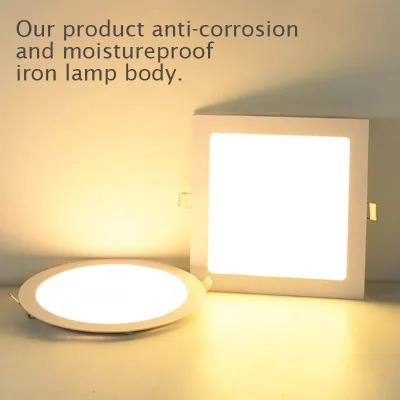
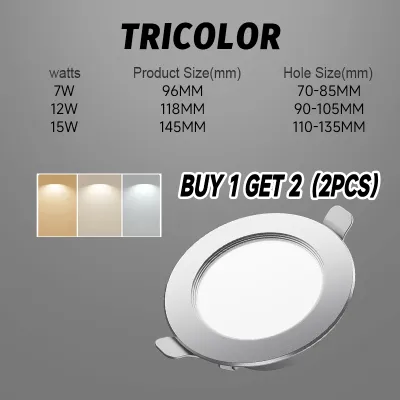
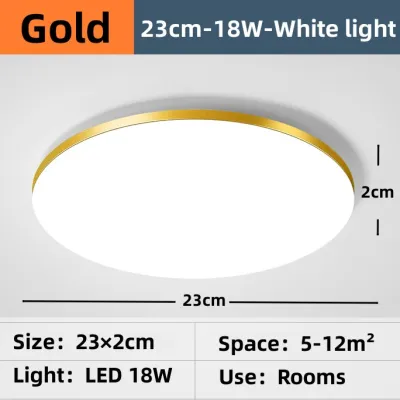
Prices are valid at publication and may change. Please refer to the product page for the latest price.
To measure this cavity depth accurately, you can use an existing fixture cutout or carefully drill a small pilot hole in an inconspicuous area. Insert a stiff wire or a measuring tape into the hole until it meets the solid structure above, then mark and measure the distance. This measurement represents your absolute maximum housing depth.
Traditional recessed downlights typically require a housing depth of 100 to 150 millimeters to accommodate the bulb, socket, and protective can. If your cavity depth is less than this, these fixtures will not fit. In contrast, ultra-slim recessed LED downlights—often referred to as wafer lights—have a profile height of only 10 to 30 millimeters, making them highly suitable for shallow ceilings.
When reading product specification sheets, look closely at terms like “profile height,” “housing depth,” and “required clearance.” Profile height refers to the thickness of the fixture itself, while housing depth is the total vertical space the fixture occupies inside the ceiling. Required clearance is the additional safety gap recommended by the manufacturer to prevent contact with structural elements.
You must also account for the space needed for wiring connectors, external LED drivers, and heat sinks. Even if a downlight is ultra-thin, its external driver box must be tucked into the ceiling cavity alongside the fixture. Ensure that the cutout diameter is large enough to allow the driver box to pass through easily during installation.
Selecting the Right Diameter and Beam Angle for Low Spaces
The physical size of the downlight trim affects how spacious a room feels. In rooms with low ceilings, large-diameter fixtures can dominate the ceiling plane and create a cluttered, heavy appearance. Opting for smaller diameters, such as 3-inch or 4-inch fixtures, helps maintain visual balance and keeps the ceiling looking clean and expansive.

Beam angle is equally critical when light sources are positioned closer to the floor and eye level. A narrow beam angle creates concentrated pools of light with sharp edges, which can make a low-ceilinged room feel like a series of spotlights, casting harsh shadows. A wider beam angle, typically between 90 and 120 degrees, distributes light more evenly across the space, softening shadows and visually opening up the room.
Because the light source is physically closer to your eyes in a low-ceilinged room, glare can quickly become an issue. To prevent discomfort, prioritize downlights with anti-glare designs, such as deep-regressed trims where the light source is recessed back into the fixture, or fixtures equipped with high-quality frosted diffusers. These designs soften the light output and shield the direct light source from your immediate line of sight.
Color temperature also plays a significant role in how the space is perceived. While warm white (3000K) creates a cozy, inviting atmosphere suitable for living areas, cool white (4000K) offers a clean, modern look that works well in kitchens and workspaces. Avoid overly bright or harsh daylight temperatures in low-clearance areas, as they can make the ceiling feel oppressively bright.
Finally, consider the visual weight of the fixture’s trim. Trimless or ultra-thin bezel downlights blend seamlessly into the plasterboard, reducing the number of visual breaks on the ceiling. This seamless integration tricks the eye into perceiving the ceiling as a single, continuous plane, which helps the room feel taller.
Essential Electrical and Compatibility Checks
Before finalizing your purchase, you must perform a thorough check of your home’s electrical system to ensure compatibility. In the Philippines, the standard residential electrical supply is 220 volts at 60 hertz. Verify that the LED downlights and their accompanying drivers are rated specifically for this voltage to prevent electrical malfunctions or premature failure.
If you plan to install dimmable downlights to adjust the ambiance, you must verify compatibility between the LED driver and your dimmer switch. Standard incandescent dimmers often cause LED lights to flicker, buzz, or fail to dim smoothly. Look for drivers that specify compatibility with TRIAC, electronic low voltage (ELV), or 0-10V dimming systems, and match them with a compatible wall switch.
Electrical safety should always be a priority. Look for recognized certification marks on the product packaging, fixture body, or instruction manual. In the local market, look for the Philippine Standard (PS) mark or the Import Commodity Clearance (ICC) sticker, which indicate that the product has undergone rigorous safety and quality testing.
Heat dissipation is another critical factor, especially in confined ceiling cavities where heat can easily become trapped. Although LEDs generate significantly less heat than traditional halogen bulbs, the electronic components in the driver and the LED junction still produce thermal energy. Ensure the fixture features a robust aluminum heat sink and check the manufacturer’s specifications regarding maximum operating temperatures and ventilation requirements.
Installation Safety and Professional Boundaries
Working with electrical fixtures requires strict adherence to safety protocols to prevent shocks, short circuits, or fire hazards. Always turn off the main power supply at the circuit breaker before inspecting, removing, or installing any lighting fixtures. Use a reliable non-contact voltage tester to confirm that the wires are completely de-energized before proceeding with any work.
If your ceiling cavity contains thermal or acoustic insulation, you must verify if the downlight is IC-rated (Insulation Contact). An IC-rated fixture is designed to be in direct contact with insulation without posing a fire risk. If the fixture is non-IC rated, you must maintain the manufacturer-specified clearance distance—often at least 75 millimeters—between the fixture and any insulation material.
Always follow the manufacturer’s specific mounting instructions regarding structural support and weight limits. Ensure that the ceiling material, whether gypsum board or plywood, is structurally sound and capable of supporting the spring clips or mounting brackets of the downlight without sagging or cracking over time.
While replacing an existing plug-and-play downlight is often straightforward, modifying fixed wiring, running new electrical lines, or cutting into structural ceiling joists requires professional expertise. If you encounter complex wiring configurations, lack a proper installation manual, or need to alter your home’s electrical panel, stop immediately and consult a licensed electrician to ensure compliance with the Philippine Electrical Code.
Frequently Asked Questions (FAQ)
Can I use recessed downlights if my ceiling has no hollow cavity?
If your ceiling consists of a solid concrete slab with no drop ceiling or hollow cavity, standard recessed downlights cannot be installed because there is no space to house the fixture body. In this scenario, surface-mounted LED downlights are the ideal alternative. These fixtures mount directly to a standard junction box attached to the concrete surface, requiring no ceiling cutouts while maintaining a clean, modern, low-profile appearance.
Do ultra-thin LED downlights overheat faster in low ceilings?
Ultra-thin LED downlights are engineered with integrated heat sinks designed to dissipate heat laterally, making them highly efficient even in shallow spaces. However, because they are installed in tight cavities with limited airflow, they can experience heat buildup if they are poor quality or improperly installed. To prevent overheating, always choose fixtures with robust aluminum bodies, ensure they are installed in environments that match the manufacturer’s thermal specifications, and avoid packing insulation tightly around non-IC-rated models.

Community discussion
Share your experience or ask a question. Comments are reviewed before publication.