
Quick Answer: Sizing and Brightness Basics
Finding the right living room ceiling light requires balancing physical dimensions with light output. For a standard living room, a general guideline is to aim for approximately 150 to 200 lumens per square meter of floor area. Physically, the panel size should scale with your ceiling: smaller rooms benefit from distributed 30×30 cm panels, while spacious areas can accommodate larger 60×60 cm or 30×120 cm fixtures. Always verify the actual lumen output on the product packaging rather than relying solely on wattage, as LED efficiency varies significantly between brands and models.
Step 1: Measure Your Living Room and Ceiling Space
Before purchasing any living room ceiling light, you must determine the physical limits of your space. Start by measuring the length and width of your living room floor. Multiply these numbers to find the total floor area in square meters. For example, a room that is 4 meters wide and 5 meters long has an area of 20 square meters. This number serves as the foundation for your lighting calculations.

Next, measure your ceiling height. Standard residential ceilings in the Philippines typically range from 2.4 to 2.7 meters. Higher ceilings require more powerful light sources because light intensity decreases over distance.
Products mentioned in this guide
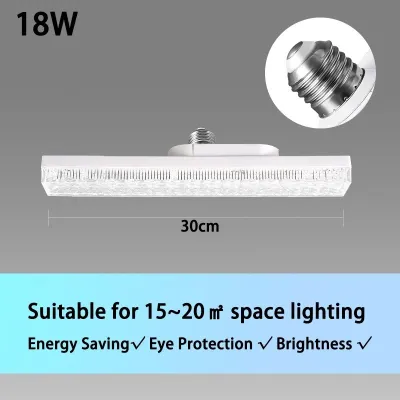
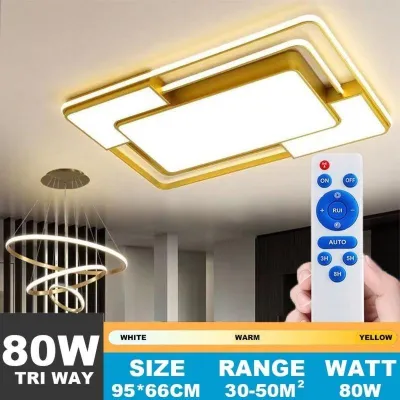
Prices are valid at publication and may change. Please refer to the product page for the latest price.
If you plan to install recessed panels, you must also measure the vertical clearance inside the ceiling cavity. Access the ceiling plenum through an existing fixture hole to measure the distance between the concrete slab and the gypsum board. Ensure there is sufficient space for both the depth of the LED panel and its external driver, leaving at least a few centimeters of clearance for heat dissipation. Finally, inspect the ceiling support structure to ensure the metal furring or wooden joists can safely support the fixture’s weight.
Step 2: Calculate the Required Brightness (Lumens)
Determining the correct brightness for your living room requires shifting your focus from wattage to lumens. Wattage indicates how much electrical power a fixture consumes, whereas lumens measure the actual amount of visible light emitted. Because modern LED technology is highly efficient, wattage is an unreliable indicator of brightness.
To calculate your target brightness, multiply your total floor area by your desired illuminance level. For general living room activities like relaxing or watching television, an illuminance level of 150 to 200 lumens per square meter is generally sufficient. If your living room is 20 square meters, your target range would be 3,000 to 4,000 total lumens.
This baseline must be adjusted for environmental factors. If your living room features dark accent walls or minimal natural light, the surfaces will absorb more light, requiring you to aim for the higher end of the lumen range. Conversely, rooms with white walls and highly reflective tiled floors will feel bright with fewer lumens. High tropical humidity can also cause dust to cling to light diffusers over time, slightly reducing light transmission, so planning a small buffer in your total lumen target can help maintain long-term comfort.
Step 3: Select the Right Panel Dimensions and Layout
Once you know your total lumen requirement, you must decide how to distribute that light across your ceiling. You can choose between installing a single, large central panel or distributing multiple smaller panels across the ceiling.
A single large panel, such as a 60×60 cm or 30×120 cm fixture, creates a clean, minimalist focal point in the center of the room. This layout works well in square or compact living spaces where a single source can reach all corners. However, in long, narrow, or L-shaped living rooms, a single central light may cast deep shadows in the corners.
For larger or irregularly shaped rooms, distributing several smaller panels, such as 30×30 cm square fixtures, provides much more uniform illumination. When planning a multi-light layout, space the fixtures evenly to ensure their light beams overlap slightly at floor level. This prevents dark spots between seating areas.
Before cutting into your ceiling, always check the manufacturer’s specifications for the exact cut-out dimensions. The outer frame of a recessed panel is always larger than the hole required to install it. Cutting a hole based on the outer frame dimensions will leave you with a gap that cannot support the fixture.
Step 4: Check Color Temperature and Dimming Compatibility
The performance and comfort of your living room ceiling light also depend on color temperature and electrical compatibility. Color temperature is measured in Kelvin (K) and dictates the warmth or coolness of the light. This is a matter of personal preference and functional need rather than a fixed performance rule.
For a cozy, relaxing living room environment, warm white light (2700K to 3000K) is highly popular. If you use your living room for reading or detailed tasks, a cool white light (4000K) offers a clearer, more neutral balance. Daylight panels (6000K to 6500K) provide a very bright, bluish-white light that resembles midday sun, which some prefer for high-visibility areas but others find too clinical for a relaxing living space. Tri-color LED panels, which allow you to toggle between these temperatures using a wall switch, offer excellent flexibility.
If you plan to use a dimmer switch, you must verify compatibility before purchasing. Not all LED panels are dimmable. Read the product label carefully to ensure it explicitly states “dimmable.” Furthermore, check that your existing dimmer switch is rated for LED loads. Older dimmers designed for incandescent bulbs often cause LEDs to flicker, buzz, or fail prematurely. If the packaging specifications do not clearly state compatibility with your specific dimmer model, consult the manufacturer or a qualified professional before proceeding.
Installation Safety and When to Call a Professional
Working with ceiling-mounted electrical fixtures carries inherent risks, particularly regarding electrical shock and working at heights. Before inspecting existing wiring or installing a new panel, you must isolate the power. Turn off the corresponding circuit breaker at your home’s main electrical panel, and use a non-contact voltage tester to verify that the wires are completely dead before touching them.
Ensure your ladder is placed on a flat, stable surface, and avoid overreaching while working to prevent falls. When mounting the fixture, secure it directly to the structural framing, such as metal furring or wooden joists. Never rely solely on gypsum board or plasterboard to hold the weight of a heavy LED panel, as the material can crumble under tension, causing the fixture to fall.
If your installation involves running new fixed wiring, modifying your home’s electrical circuits, or integrating complex dimming systems, do not attempt to do it yourself. Hire a licensed electrician to complete the work safely and ensure compliance with local electrical codes.
Frequently Asked Questions (FAQ)
Can I install a recessed LED panel in a solid concrete ceiling?
Recessed LED panels require a hollow cavity behind the ceiling surface to accommodate the body of the fixture, the mounting springs, and the external driver. You cannot install a recessed panel directly into a solid concrete slab without creating a dropped or false ceiling. If you have a solid concrete ceiling, you must either build a gypsum board false ceiling to create the necessary plenum space or select a surface-mounted LED panel light instead. Always consult a qualified structural contractor before attempting any modifications to concrete slabs.
How do I know if my existing dimmer switch works with LED panels?
To determine compatibility, you must check the technical specifications of both the LED panel and your dimmer switch. The LED panel’s packaging or manual must explicitly state that the fixture is dimmable. Next, verify that your dimmer switch is specifically rated for LED loads, as older incandescent dimmers operate on different electrical principles and can cause flickering or hardware damage. If you cannot find compatibility information on the product labels, or if you experience buzzing or flickering during use, consult a licensed electrician to verify or replace the switch.

Community discussion
Share your experience or ask a question. Comments are reviewed before publication.