
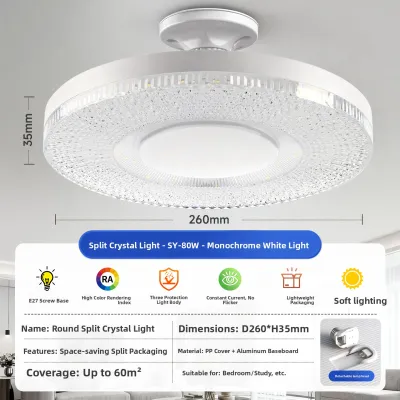
Selecting the right ceiling fixture for a condominium bedroom requires balancing aesthetics with strict physical constraints. When dealing with a 2.4-meter ceiling—a standard height in many modern urban developments—every centimeter of vertical space counts. To prevent the room from feeling cramped or cave-like, the ideal choice is a low-profile flush mount light with a fixture height of 15 centimeters or less and a diameter scaled to your room’s footprint. This combination preserves essential headroom while ensuring the space remains bright, open, and visually balanced.
Calculating Safe Profile Heights for 2.4-Meter Ceilings
Standard architectural recommendations suggest maintaining a minimum clearance of 2.1 meters from the floor to the bottom of any hanging fixture in active walking zones. With a total ceiling height of 2.4 meters, this leaves you with a strict budget of 30 centimeters for your light fixture’s total drop. Adhering to this limit ensures that tall family members and guests can walk freely without any risk of bumping into the light.
To measure your space accurately, do not rely solely on product photos, which can distort scale. Use a tape measure from the finished ceiling surface down to the lowest point of the proposed fixture, making sure to include any decorative trim, glass bowls, or hanging elements in your calculation. If your condo has a dropped gypsum ceiling to hide air conditioning ducts or plumbing, measure from the lowest point of that dropped ceiling, as this further reduces your available vertical space.
Products mentioned in this guide
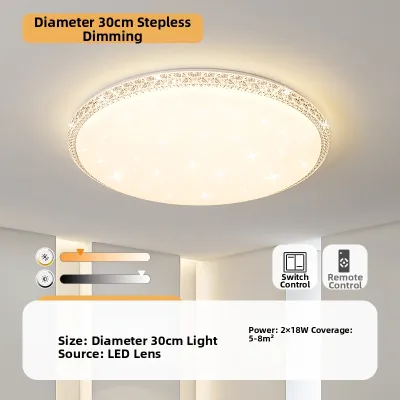
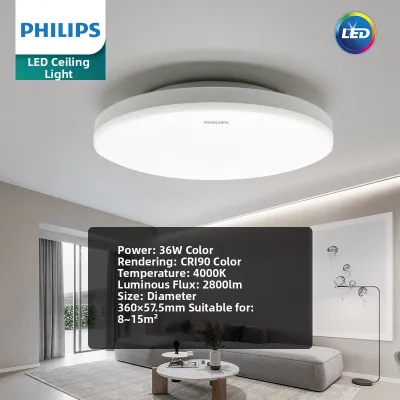
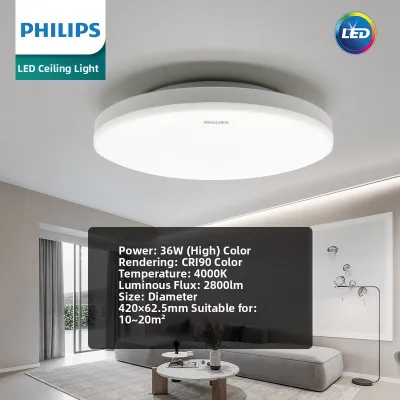
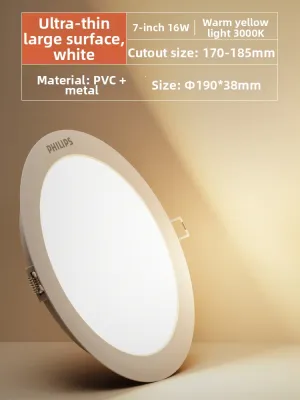

Prices are valid at publication and may change. Please refer to the product page for the latest price.
Your bedroom’s furniture layout also dictates your profile choices. If the light fixture is positioned directly over a bed, the risk of walking into it is minimized, but you must still account for daily activities like changing fitted sheets, tossing pillows, or sitting up suddenly. If you have tall wardrobes with doors that swing outward, or if you plan to install a loft bed, an ultra-thin flush mount under 5 centimeters in height is highly recommended to prevent accidental contact and allow doors to swing freely.
Sizing the Fixture Diameter for Balanced Bedroom Illumination
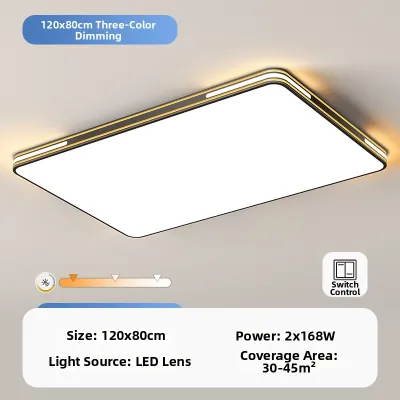
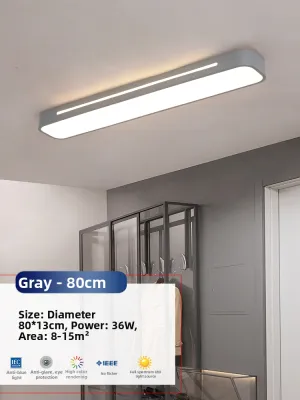
To avoid a fixture that looks like a tiny dot or a massive, overwhelming disc on your ceiling, use a simple sizing framework based on your room’s dimensions. Add the length and width of the bedroom in meters, then multiply the sum by 10 to get a baseline diameter in centimeters. For instance, a compact 3m x 3m bedroom yields a sum of 6, suggesting a fixture diameter of approximately 60 centimeters if it is the sole light source, or scaled down to 30 to 40 centimeters if supplemented by bedside lamps or recessed spotlights.

The mounting location also dictates the ideal diameter. A centrally mounted fixture needs to be large enough to distribute light to all four corners. However, if your condo layout places the ceiling junction box off-center—perhaps closer to the wardrobe or directly over the bed—you should opt for a slightly smaller diameter, around 30 centimeters, to keep the visual weight balanced and prevent the offset placement from looking awkward.
When evaluating sizes, also look at the fixture’s light output and wattage limits. A smaller fixture with a high-wattage bulb can create intense, concentrated glare. Conversely, a wider fixture with a larger diffuser area allows the light to spread out, providing a softer, more comfortable glow. Always check the manufacturer’s specifications to ensure the fixture can accommodate the necessary lumens for bedroom tasks without exceeding safe thermal limits for enclosed spaces.
Reducing Visual Weight and Glare in Compact Bedrooms
In a compact condo bedroom, especially in tropical climates where a breezy, open feel is desirable, heavy or dark ceiling fixtures can make the ceiling feel lower than it actually is. To combat this, focus on materials and finishes that minimize visual bulk. Frosted glass, opal acrylic, and fabric diffusers are excellent choices because they soften the light and blend easily with the ceiling. Acrylic diffusers are particularly practical for condos; they are lightweight, highly durable, and easy to handle when standing on a stepladder.
The design of the light distribution also plays a crucial role. Direct-downlight fixtures push all their light straight down, which can create harsh shadows on the walls and make the upper corners of the room dark, emphasizing the low ceiling. Instead, look for edge-lit LED designs or fixtures with a slight back-light effect that bounces a soft glow off the ceiling itself. This upward reflection visually “lifts” the ceiling, making the entire bedroom feel taller and more spacious.
Finally, coordinate the fixture’s frame and hardware with your room’s existing elements. A matte white frame will seamlessly blend into a standard white ceiling, making the fixture almost invisible when turned off. If you prefer a contrast, match the metal finish, such as brushed brass, chrome, or matte black, to your bedroom door handles, cabinet pulls, or bedside lamp bases to create a cohesive, intentional design.
Verifying Electrical Compatibility and Mounting Safety
Before purchasing your new flush mount light, it is essential to verify the structural and electrical setup of your condo. Many condominium units feature solid concrete ceilings with embedded junction boxes, while others use suspended gypsum board ceilings. Access the existing junction box to check its condition, weight capacity, and mounting screw alignment. Heavy glass or metal fixtures require a sturdy, securely anchored box, whereas lightweight acrylic LED fixtures are much easier to mount on standard boxes.
Electrical specifications must also be verified. In the Philippines, residential electrical systems operate on 220V at 60Hz. Ensure that any fixture you purchase—especially those ordered from international online marketplaces—is fully compatible with this voltage and carries recognized safety certifications, such as the Philippine Standard (PS) mark or the Import Commodity Clearance (ICC) sticker. Using an incompatible voltage rating can damage the fixture’s internal driver or pose a serious fire hazard.
Safety must always be your top priority during installation. Always turn off the power at the main circuit breaker before attempting any electrical work. If you discover damaged wiring, lack a clear grounding wire, or find that the mounting bracket does not align with your concrete ceiling’s junction box, do not attempt to force the installation. Stop immediately and consult a qualified, licensed electrician to safely complete the wiring and mounting upgrades.
Frequently Asked Questions (FAQ)
Can I use a semi-flush mount light instead of a true flush mount in a 2.4-meter bedroom?
Semi-flush mount lights typically feature a small stem that suspends the fixture body 15 to 30 centimeters below the ceiling. In a bedroom with a 2.4-meter ceiling, this drop can easily compromise safe headroom, leaving less than the recommended 2.1 meters of clearance. A semi-flush mount is generally not recommended for active walking paths in low-ceiling rooms. However, it can be viable if placed directly over a permanent piece of furniture, such as a bed or a side table, where no one will walk. Even in these cases, ensure the total drop does not interfere with changing sheets or sitting up.
How do I clean a flush mount light without removing the entire fixture?
Routine maintenance keeps your fixture looking bright and prevents dust buildup, which is especially common in humid tropical environments. Always turn off the power at the wall switch and allow the bulbs to cool completely before cleaning. For weekly dusting, use an extendable microfiber duster to gently sweep the exterior. For a deeper clean, refer to the manufacturer’s instructions to see if the diffuser can be easily unlatched or twisted off. Wipe the removed diffuser with a soft, damp microfiber cloth and mild soapy water, dry it completely to prevent water spots, and carefully reinstall it. Never spray water or cleaning solutions directly onto the mounted fixture.

Community discussion
Share your experience or ask a question. Comments are reviewed before publication.