
Quick Answer: Sizing Your LED Panels and Recessed Lights
To find the right size and quantity of Omni LED ceiling lights, you must match the physical dimensions of your room and its ceiling height to the total light output, measured in lumens. As a general rule of thumb, standard residential ceilings of 2.4 to 2.7 meters (about 8 to 9 feet) pair well with 4-inch to 6-inch recessed downlights spaced roughly 1.2 to 1.5 meters apart. Larger spaces or commercial areas often benefit from 300x300mm or 600x600mm LED panels. To determine the exact layout, calculate your room’s total square footage, identify the required lumens for its specific use, and divide that total by the lumen output of your chosen fixture. Always consult the manufacturer’s product specification sheets for exact beam angles, and hire a licensed electrician to ensure safe installation and compliance with local electrical codes.
Measure Your Room Dimensions and Ceiling Height
Before purchasing any lighting fixtures, you must accurately measure your physical space to establish a baseline for your calculations. To find the total square footage of a standard rectangular room, multiply the length of the room by its width. For irregularly shaped spaces, such as L-shaped living areas common in modern townhomes, divide the room into smaller rectangular sections, calculate the area of each, and add the sums together.

Ceiling height plays a critical role in determining how light behaves in a room. The height of your ceiling dictates the beam angle and light spread of your recessed or panel lights. A standard ceiling height allows for a wider beam angle (around 90 to 120 degrees) to distribute light evenly across the floor. Conversely, higher ceilings require narrower beam angles or higher-lumen fixtures to project light effectively down to the living plane without losing intensity.
Products mentioned in this guide

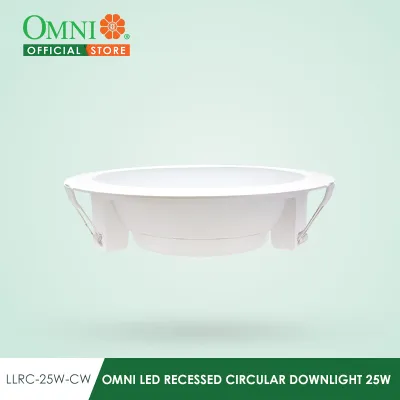
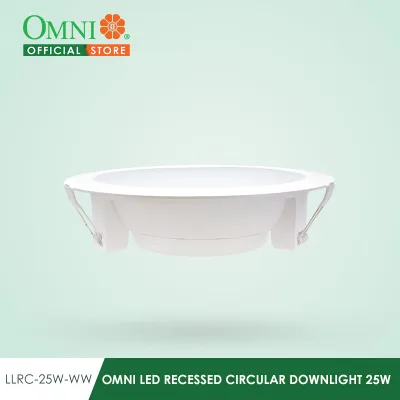
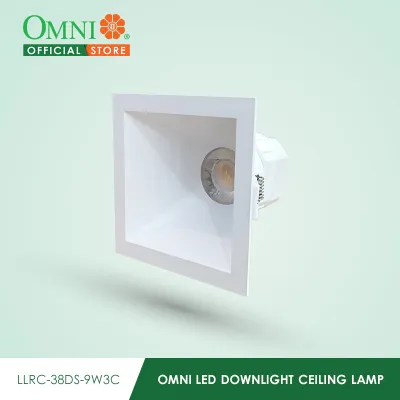

Prices are valid at publication and may change. Please refer to the product page for the latest price.
Additionally, you must identify physical obstructions behind or on the ceiling before finalizing your layout. Check for ceiling joists, concrete beams, HVAC vents, or existing utility pipes that could block the installation of recessed housings or slim LED panels. In many homes in the Philippines, concrete slab ceilings are common, which may require surface-mounted LED panels rather than recessed models unless a dropped gypsum board ceiling is installed.
Calculate the Required Lumens for Your Space
To achieve proper illumination, you must determine the total light output needed based on the room’s specific function and size. A common mistake is relying solely on wattage to judge brightness. Wattage measures electrical energy consumption, whereas lumens measure the actual amount of visible light emitted by the fixture. When planning your lighting, always use lumens as your primary metric.
Different room types require different levels of brightness, often measured in lumens per square foot (or foot-candles). For instance, task-heavy areas like kitchens, home offices, and bathrooms demand higher illumination levels, typically requiring 30 to 40 lumens per square foot. In contrast, relaxing spaces such as bedrooms and living rooms generally require a softer ambiance, needing only 10 to 20 lumens per square foot.
You should also adjust your baseline calculations to account for specific environmental factors. Dark wall colors, deep wood finishes, and matte textures absorb more light, meaning you may need to increase your total lumen target. High ceilings also require an upward adjustment to compensate for the distance the light must travel. Finally, consider creating dedicated task lighting zones—such as over a kitchen island or a study desk—by adding localized fixtures rather than over-illuminating the entire room.
Select Panel Sizes and Calculate Fixture Quantity
Once you know your total lumen requirement, you can translate this figure into a specific combination of LED panel sizes and fixture counts. Common residential recessed downlights typically come in 3-inch, 4-inch, and 6-inch diameters, while larger commercial or modern residential spaces often utilize square or rectangular panels like 300x300mm or 600x600mm. Each size offers a different range of lumen outputs, which you must verify on the product packaging.
To find the exact quantity of fixtures needed, divide the total required lumens for the room by the lumen output of a single chosen fixture. For example, if your kitchen requires 3,000 lumens and you select a 6-inch Omni LED ceiling light that produces 900 lumens, you will need approximately 3.33 fixtures. In this scenario, rounding up to four fixtures is advisable to maintain a balanced, symmetrical layout.
Planning a symmetrical layout grid is essential for achieving even light distribution and avoiding dark corners or overlapping hot spots. Space your fixtures evenly across the ceiling plane. A reliable guideline is to keep the distance between the outer fixtures and the walls at half the distance of the spacing between the fixtures themselves. This layout prevents harsh shadows near the perimeter of the room and ensures a clean, professional aesthetic.
Verify Installation Clearances and Electrical Compatibility
Before finalizing your purchase, you must ensure that your chosen sizes and quantities are physically and electrically viable for your specific ceiling structure. Measure the ceiling cavity depth to verify that there is sufficient clearance for recessed housings or slim LED panels. Even though LED fixtures generate significantly less heat than traditional incandescent bulbs, they still require adequate ventilation space to dissipate heat from their drivers, preventing premature component failure.
Next, verify your home’s electrical compatibility. Check the existing wiring capacity, voltage compatibility (the standard in the Philippines is 220V to 240V at 60Hz), and the limits of your circuit breaker. Adding multiple high-wattage fixtures to a single circuit can lead to overloading, so it is crucial to calculate the total electrical load of your new lighting plan. Always verify that the fixtures carry the appropriate electrical safety certifications for your region.
Safety must always be your top priority during installation. Before performing any electrical work, turn off the main power supply at the circuit breaker panel and verify that the wires are dead using a reliable voltage tester. Always follow the manufacturer’s installation instructions carefully. If your project involves running new wiring, cutting into structural ceiling elements, working at height, or installing fixtures in damp areas like bathrooms, hire a licensed professional electrician to handle the installation safely and legally.
Common Sizing Mistakes to Avoid
Avoiding frequent planning errors can save you from poor illumination and costly installation adjustments. One common mistake is overlooking the impact of high ceilings on light spread and intensity. Installing low-lumen fixtures on a high ceiling often results in a dim, under-illuminated room because the light dissipates before reaching the floor.
Another frequent error is relying solely on wattage when comparing different LED models or brands. Because LED efficiency varies, one brand’s 9-watt fixture might produce significantly fewer lumens than another brand’s 9-watt model. Always compare the actual lumen output listed on the product specifications.
Finally, avoid placing fixtures too close to walls or tall cabinets. This placement causes harsh glare, creates unbalanced shadows, and highlights minor imperfections in your wall plaster or paint. Keep fixtures at a reasonable distance from vertical surfaces to ensure a smooth, even wash of light.
Frequently Asked Questions (FAQ)
Can I mix different sizes of LED panels in the same room?
Yes, you can mix different sizes of LED panels in the same room, provided you maintain a cohesive design and consistent color temperature. For example, you might use larger 6-inch panels for general ambient lighting and smaller 3-inch or 4-inch fixtures to highlight specific features or task areas. To prevent a disjointed look, ensure all fixtures share the same color temperature, such as 3000K (warm white) or 4000K (cool white), and arrange them in a balanced layout that avoids visual clutter on your ceiling.
Do I need a dimmer switch for my LED ceiling panels?
Whether you need a dimmer switch depends on your personal preference and the specific room function, but you must verify compatibility before installation. Check the product label or packaging for explicit dimmable certification, as non-dimmable LED drivers can buzz, flicker, or fail prematurely if connected to a dimmer. Additionally, you must match the dimmable LED driver with a compatible LED-specific dimmer switch (such as a trailing-edge or triac dimmer) to ensure smooth, flicker-free operation.

Community discussion
Share your experience or ask a question. Comments are reviewed before publication.