
Choosing the right solar street lights for your home in the Philippines requires balancing illumination needs with the realities of a tropical climate. With abundant sunshine throughout the year punctuated by intense rainy seasons, high humidity, and typhoons, residential outdoor lighting must be both highly efficient and exceptionally durable. Homeowners must look beyond basic wattage labels and focus on battery chemistry, solar panel efficiency, ingress protection, and physical mounting security to ensure their investment survives local weather conditions while keeping driveways, gates, and perimeters safely lit.
By understanding how to evaluate technical specifications and match them to your specific residential layout, you can secure reliable, zero-electricity lighting that enhances your home’s safety and curb appeal. Investing time in verifying these factors beforehand prevents premature product failure and ensures your outdoor spaces remain bright even during extended power outages.
Core Specifications to Evaluate for Solar Street Lights
When shopping for solar street lights, lumen output is the most reliable measure of actual brightness, whereas wattage often refers to the solar panel or the theoretical maximum of the LED array. For residential areas like gates, pathways, or small backyards, a range of 1,000 to 3,000 lumens is typically sufficient, while larger driveways or perimeter walls might require higher outputs. It is also essential to evaluate the available lighting modes. Continuous dusk-to-dawn modes provide constant illumination but drain the battery faster, whereas motion-activated modes dim the light to a low standby level and boost to full brightness only when movement is detected, conserving energy for rainy nights.
Products mentioned in this guide
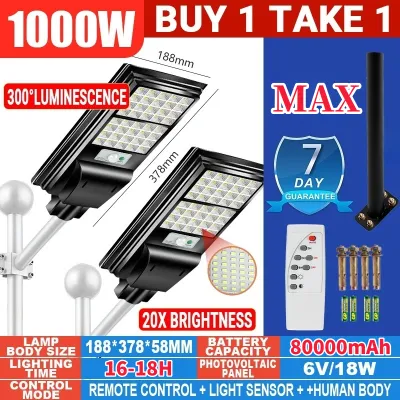
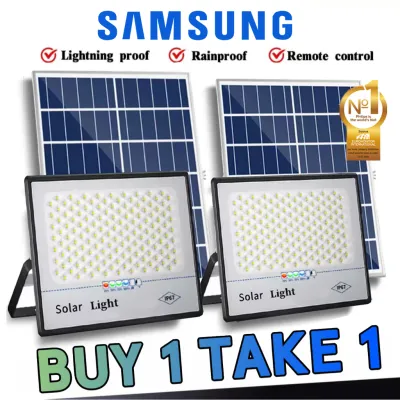
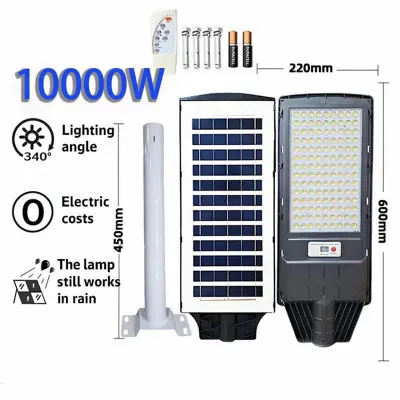
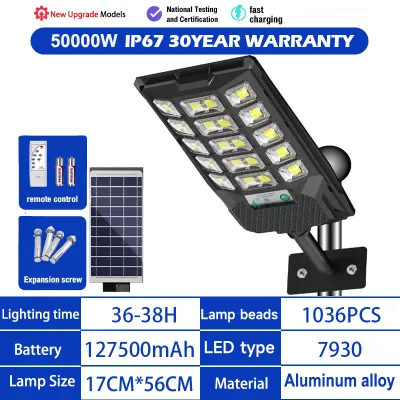
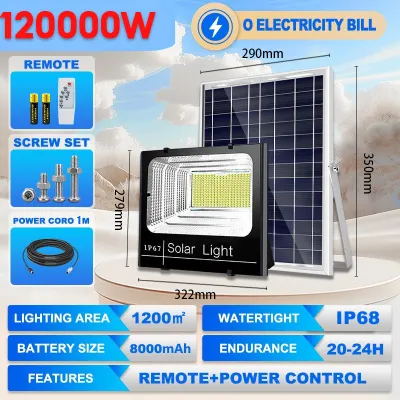
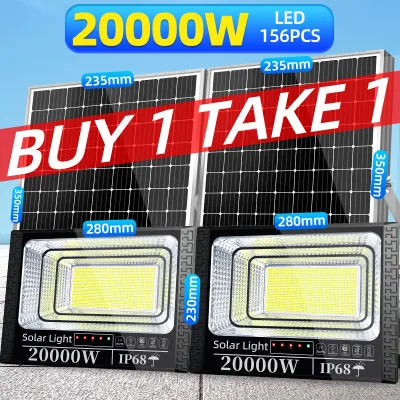
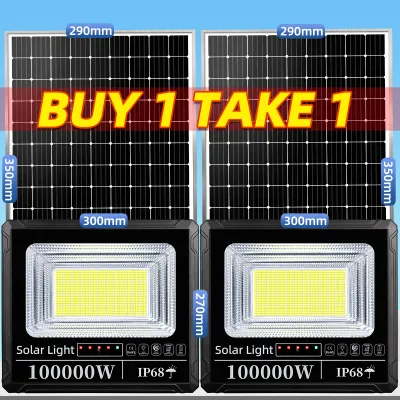
Prices are valid at publication and may change. Please refer to the product page for the latest price.
Battery capacity and chemistry are critical for determining how long the light will run overnight and how many years the fixture will last. Lithium Iron Phosphate (LiFePO4) batteries are highly recommended for tropical climates because they offer superior thermal stability, reducing the risk of overheating under direct, intense sunlight. They also boast a significantly longer cycle life—often lasting several thousand charge-discharge cycles compared to standard Lithium-ion (Li-ion) options. Always check the battery capacity, usually measured in milliampere-hours (mAh) or watt-hours (Wh), to ensure it can sustain the light through consecutive rainy days.
The solar panel acts as the engine of the system, and its efficiency determines how quickly the battery charges. Monocrystalline solar panels are more efficient than polycrystalline alternatives, especially in low-light or overcast conditions, making them ideal for the wet season. The panel’s wattage must be properly paired with the battery capacity and LED power consumption; an underpowered panel will fail to fully charge the battery during short or cloudy days. Look for panels with high conversion efficiency ratings to maximize energy capture during peak sunlight hours.
Outdoor fixtures face torrential rains, high humidity, and blowing dust, making Ingress Protection (IP) ratings a vital safety and durability metric. The IP rating indicates the fixture’s resistance to these elements, where the first digit measures solid protection and the second measures liquid protection. For residential solar street lights, an IP65 rating is the minimum standard, indicating complete protection against dust and resistance to water jets. For highly exposed areas or coastal regions prone to severe storms, upgrading to IP66 or IP67 provides greater peace of mind against water ingress and internal corrosion.
Matching Light Output to Your Residential Layout
The height at which you mount your solar street light directly dictates the spread and intensity of the light on the ground. Mounting a light too low concentrates the beam in a small, intensely bright spot while leaving the surrounding areas dark. Conversely, mounting it too high dilutes the brightness, rendering the illumination ineffective for security. For typical residential driveways and gates, a mounting height of 3 to 5 meters strikes the right balance, providing broad coverage without requiring specialized high-reach equipment for installation or maintenance.

Beam angle and lens design determine how wide the light spreads from the fixture. Standard street lights often feature an asymmetric beam angle designed to project light forward and laterally along a pathway rather than in a simple circle. This design is crucial for residential properties to prevent light trespass, which is the shining of unwanted, bright light directly into your neighbors’ windows or bedroom areas. Evaluating the lens design ensures that the light is directed precisely where it is needed, such as along your perimeter wall or driveway surface, while minimizing dark spots.
Passive Infrared (PIR) motion sensors are vital for security-focused zones. When positioning your lights near gates, backyards, or blind spots, check the sensor’s detection range and its detection angle, which is often between 120 and 180 degrees. The sensor should be sensitive enough to detect approaching vehicles or pedestrians at a reasonable distance, allowing the light to transition to full brightness before the visitor reaches your door. Ensure the sensor path is clear of swaying tree branches or laundry lines to prevent constant, false triggers that drain the battery prematurely.
While technical performance is paramount, aesthetic preferences like color temperature also play a role in your layout. Cool white light (around 5,000K to 6,500K) is generally preferred for security zones because it provides high contrast and clear visibility. Warm white light (around 3,000K), on the other hand, offers a softer, more welcoming ambiance suitable for garden pathways or patio areas. Treat these color temperatures as conditional preferences based on the specific zone of your home rather than universal indicators of light quality.
Installation Prerequisites and Safety Boundaries
Solar street lights, especially those with integrated heavy batteries and large solar panels, can exert significant physical stress on mounting structures. Before securing a fixture to a residential wall, wooden post, or concrete pole, you must assess the structural integrity of the mounting surface. Heavy wind loads during typhoon season can turn a poorly secured solar light into a dangerous hazard. Ensure that all brackets, expansion bolts, and mounting poles are rated for outdoor wind resistance and securely anchored into solid concrete or structural framing rather than simple drywall or thin wooden fascia boards.
The performance of any solar lighting system depends entirely on its access to direct sunlight. When planning your installation locations, observe the sun’s path across your property throughout the day. Even partial shading from overhanging tree branches, roof eaves, or adjacent buildings can drastically reduce the solar panel’s charging efficiency. In tropical regions, panels should ideally face south or be positioned horizontally with a slight tilt to maximize year-round solar exposure and facilitate natural rainwater runoff, which helps keep the panel surface clean.
While many residential solar lights are marketed as DIY-friendly, certain scenarios demand professional assistance. If your installation requires working at significant heights, mounting heavy poles, or pouring concrete footings for ground-mounted poles, hiring a qualified local contractor or structural technician is essential to prevent accidents. Furthermore, if you plan to integrate the solar light with existing electrical systems—such as a backup grid-power switch or smart home automation—always isolate the power supply and consult a licensed electrician to ensure compliance with local electrical codes and safety standards.
Routine Maintenance and Basic Troubleshooting
Over time, solar panels accumulate a layer of dust, pollen, bird droppings, and organic debris, which acts as a physical barrier to sunlight. In tropical environments, high humidity can cause this debris to bake onto the glass surface, significantly reducing charging efficiency. Establish a routine to clean the panels at least once every few months, or more frequently during the dry season. Use a soft microfiber cloth, a squeegee, and plain water to gently wipe the surface. Avoid abrasive sponges, harsh chemical detergents, or high-pressure washers, which can scratch the tempered glass or damage the watertight seals.
All rechargeable batteries degrade over time, gradually losing their capacity to hold a charge. If you notice your solar street light turns off after only a few hours of operation despite a full day of clear sunlight, the battery may be reaching the end of its useful life. Refer to the manufacturer’s guidelines to determine if the battery compartment is user-accessible. If the unit features a sealed housing, attempting a DIY replacement may compromise the IP waterproof rating or void the warranty. In such cases, contact the manufacturer or a professional technician to handle the replacement safely.
Severe weather, strong winds, and typhoons can shift the alignment of your solar panels or loosen mounting brackets. After any major storm, conduct a visual inspection from the ground to check for loose bolts, cracked glass, or shifted angles. If your fixture allows for adjustable solar panel angles, you may want to optimize the tilt periodically to match seasonal shifts in the sun’s path. Ensuring the panel remains securely tightened and correctly oriented prevents physical damage and maintains optimal energy collection year-round.
Final Verification Checklist Before Purchasing
Before finalizing your purchase, verify that the solar street light meets recognized international or local safety and quality standards. Look for certification marks such as CE, RoHS, or FCC in the product specifications. These certifications indicate that the electronic components, battery management systems, and materials have been tested for safety, electromagnetic compatibility, and environmental impact, reducing the risk of electrical shorts or battery failures.
A robust warranty is a strong indicator of a manufacturer’s confidence in their product’s durability. Carefully read the warranty terms to understand what is covered and for how long. Pay close attention to whether the warranty covers the battery for the same duration as the LED chips and solar panel, as batteries typically degrade faster. Ensure that water damage claims are clearly addressed, especially since the lights will be exposed to heavy tropical downpours.
When shopping on online marketplaces or local hardware distributors, evaluate the seller’s track record. Look for official brand stores or authorized distributors with high ratings and positive customer feedback regarding after-sales support. Check if they offer easily accessible customer service channels and clear return policies. Reliable sellers should be able to provide replacement parts, such as extra mounting brackets, remote controls, or replacement batteries, ensuring your lighting system remains functional for years to come.
Frequently Asked Questions (FAQ)
Do solar street lights work during heavy rain or typhoons?
Yes, solar street lights will continue to operate during heavy rain or typhoons, provided they have sufficient battery reserves. While physical water resistance is determined by the fixture’s IP rating (look for IP65 or higher to withstand torrential downpours), solar charging capability is significantly reduced on overcast days. To ensure continuous operation during extended rainy periods, many modern fixtures utilize motion-sensor modes or smart power-saving algorithms that automatically dim the light when no movement is detected, conserving the remaining battery power for multiple nights.
Can I replace the built-in battery myself?
Whether you can replace the battery yourself depends entirely on the design of the solar street light. Some fixtures feature dedicated, easily accessible battery compartments designed for straightforward DIY replacement using basic tools. However, many integrated or heavy-duty models use sealed housings to maintain their waterproof IP rating. For these sealed units, attempting a DIY replacement can compromise the water resistance or void the manufacturer’s warranty. Always consult the product manual or contact the manufacturer’s customer support before attempting to open the housing.
How far apart should I space multiple solar street lights?
The ideal spacing between multiple solar street lights depends on the mounting height, the beam angle of the lens, and your specific lighting goals. For general pathway or perimeter visibility, spacing the lights at a distance of approximately three to four times the mounting height (for example, 9 to 12 meters apart for a 3-meter mounting height) provides adequate coverage. If you are designing a high-security setup for a driveway or gate, you should space the fixtures closer together to allow the pools of light to overlap, eliminating dark spots and shadows.

Community discussion
Share your experience or ask a question. Comments are reviewed before publication.