
Selecting the right top corner aluminum profile for a recessed panel light installation requires a systematic evaluation of your ceiling’s physical structure, the dimensions of your lighting fixture, and the spatial constraints of your room’s corners. Because recessed installations are integrated directly into your architectural surfaces, choosing an incompatible profile can lead to alignment errors, poor heat management, or structural instability. By analyzing your specific installation environment and verifying product specifications beforehand, you can achieve a clean, flush finish that integrates seamlessly with your interior design.
To make an informed decision, you must first assess the physical boundaries of your ceiling and the exact requirements of your LED panel. This guide outlines the essential steps to evaluate mounting types, verify structural and electrical compatibility, and execute a precise installation plan.
Understand Your Ceiling Structure and Light Configuration
Before purchasing any mounting hardware, you must identify the specific material and construction of your ceiling. In many residential and commercial spaces, ceilings are constructed from gypsum board, concrete slabs, or suspended T-bar grids. In tropical environments like the Philippines, high seasonal humidity can affect the structural integrity of gypsum and plasterboard over time. Consequently, you must verify that your ceiling material can support the combined weight of the aluminum profile, the recessed panel light, and any associated drivers or wiring without sagging or cracking.
Products mentioned in this guide
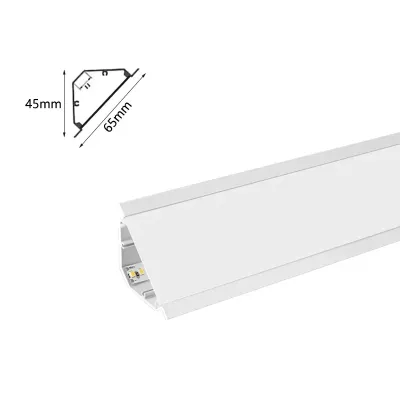
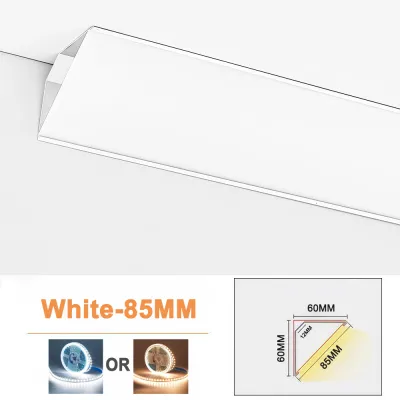
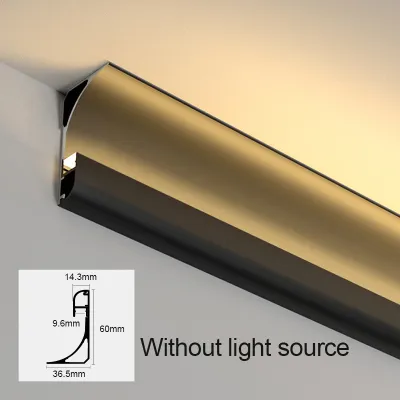
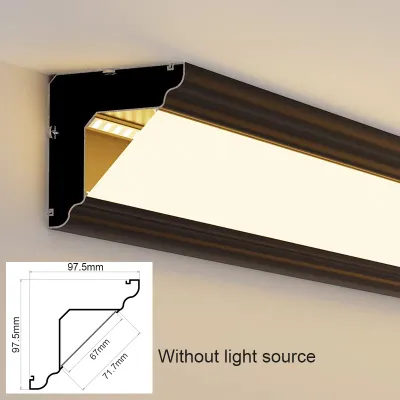
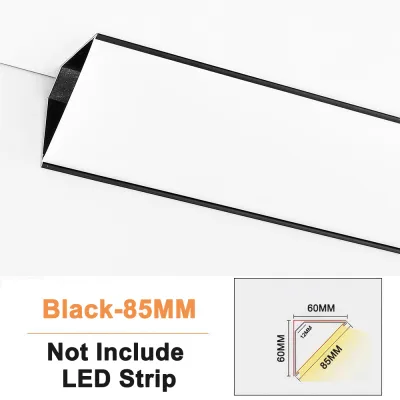
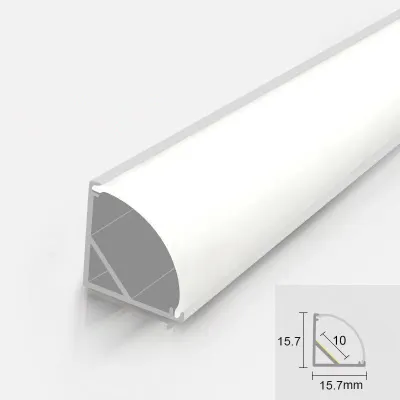
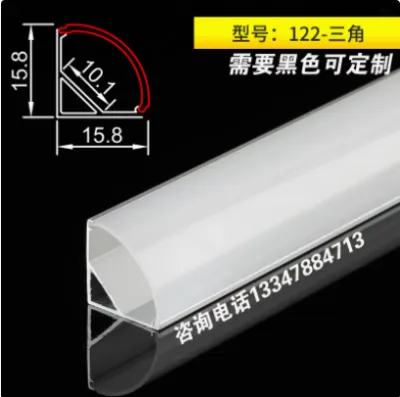
Prices are valid at publication and may change. Please refer to the product page for the latest price.
Next, obtain the exact physical measurements of your recessed panel light. Do not rely solely on nominal size categories; instead, use a caliper or tape measure to record the precise length, width, thickness, and weight of the fixture. The depth of the panel light is particularly critical, as it dictates how much vertical clearance you require within the ceiling cavity to accommodate both the light and the aluminum profile.
Finally, examine the architectural corner where the profile will be installed. Measure the available clearance space above the ceiling plane and adjacent to the wall. If you are working with a tight ceiling plenum or encountering structural joists, these physical obstructions will limit the size and type of profile you can install. Documenting these dimensions early prevents costly compatibility issues during the mounting phase.
Evaluate Corner Aluminum Profile Mounting Types
Corner aluminum profiles are engineered to house LED fixtures while providing a clean transition between intersecting surfaces. These profiles serve a dual purpose: they act as a structural track for the light panel and function as a heat sink to draw warmth away from the electrical components. In warm climates, effective thermal management is essential to prevent premature degradation of the LED chips and driver circuits.

When comparing profile designs, you must choose between configurations that mount flush within the ceiling cavity or those that attach to the outer corner transition. The choice depends largely on whether your ceiling is already finished or if you are performing a complete renovation. Additionally, you must review the manufacturer’s specifications regarding light diffusion. Different profile depths and diffuser covers (such as milky, frosted, or clear lenses) alter how light is distributed across the room, which is a key consideration for achieving your desired spatial effect.
Top-Mount vs. Side-Mount Profiles
Top-mount profiles are designed to be installed directly into the ceiling plane, requiring a dedicated cutout or cavity above the ceiling line. This configuration is highly suitable for clean, minimalist aesthetics because the metal flange of the profile sits flush with the gypsum board. However, top-mount options demand significant vertical clearance within the ceiling plenum to accommodate the depth of the channel and allow for proper air circulation around the fixture.
Side-mount profiles, conversely, attach to the vertical face of a wall or the side of a dropped ceiling soffit. This mounting style is often utilized when vertical ceiling cavity depth is extremely limited or when structural concrete slabs prevent deep recessing. Side-mount installations require sufficient lateral clearance along the wall surface and may impact the placement of adjacent wall decor, shelving, or crown molding. Always check the product labels and installation manuals to confirm the recommended mounting orientation limits for your selected profile.
Angle Variations and Corner Fits
Architectural corners are rarely perfectly square, even in newly constructed buildings. To ensure a seamless installation, use a digital angle finder or a manual protractor to measure the exact angle of the corner where the profile will reside. While standard profiles are designed for fixed 90-degree corners, some specialized architectural profiles offer adjustable joints or flexible flanges to accommodate slight variances in wall angles.
If you attempt to force a rigid 90-degree aluminum profile into an uneven or out-of-square corner, you will likely encounter visible gaps, misalignments, or warping along the track. These gaps not only compromise the visual appeal of the installation but can also allow dust, moisture, and insects to enter the ceiling cavity. Verifying the corner angle beforehand allows you to select a profile with appropriate tolerances or plan for custom miter cuts to achieve a tight, professional fit.
Check Electrical and Structural Compatibility
Electrical safety and structural integrity must be prioritized during the selection process. Begin by verifying that the aluminum profile channel provides sufficient clearance for the panel light’s wiring, connectors, and external driver. The driver must not be tightly squeezed or pinched against the metal profile, as this can damage the wire insulation and create a short-circuit hazard. Ensure there is adequate space for air to flow around the driver to assist with heat dissipation.
Additionally, confirm that the voltage ratings and electrical certifications of your recessed panel light align with your local electrical standards. The aluminum profile itself is non-electrical, but it must safely house certified components. Check that the profile’s rated weight capacity exceeds the total mass of your panel light and any attached accessories. This precaution prevents the profile from bending or pulling away from its anchors over time.
Finally, evaluate the mounting brackets and fasteners supplied with the profile. The thickness of the aluminum and the design of the brackets must match the structural demands of your ceiling material. For instance, concrete installations require heavy-duty masonry anchors, while gypsum ceilings demand specialized toggle bolts or expansion anchors to distribute the load evenly across the plasterboard.
Step-by-Step Selection and Verification Process
To ensure a successful purchase and installation, follow a structured verification process before committing to a specific profile model. This systematic approach minimizes the risk of purchasing incompatible components and helps you manage your project budget effectively.
- Cross-Reference Specification Sheets: Compare the dimensional drawings of the aluminum profile with the technical data sheet of your recessed panel light. Pay close attention to the internal width of the profile channel to ensure the panel light fits securely inside without forcing.
- Verify Electrical Clearance: Confirm that the profile channel or the adjacent ceiling cavity provides enough room for the LED driver, junction boxes, and low-voltage wiring without bending the cables beyond their minimum bend radius.
- Create a Shortlist: Identify two or three profile models that satisfy your spatial, structural, and thermal requirements. Compare their mounting bracket designs and diffuser options to determine which model best fits your installation environment.
- Plan a Dry-Fit Mock-Up: Before cutting the aluminum profiles or making permanent openings in your ceiling, perform a dry-fit test. Use a small sample piece of the profile or a cardboard template to verify the corner alignment, clearance, and visual appearance in the designated space.
- Allocate Budget for Accessories: Ensure your project budget, calculated in ₱, accounts for essential installation accessories such as high-quality mounting screws, specialized drywall anchors, end caps, and heat-resistant electrical tape.
Installation Boundaries and When to Call a Professional
While many aspects of selecting and preparing aluminum profiles can be handled by a dedicated DIY enthusiast, certain structural and electrical tasks carry inherent risks. Modifying load-bearing ceiling joists, cutting into structural concrete beams, or altering commercial suspended T-bar grids can compromise the safety of the entire building. If your installation path intersects with structural elements, you must stop and consult a licensed structural engineer or ceiling contractor.
Electrical work presents significant safety hazards if performed incorrectly. Before handling any wiring, connecting drivers, or mounting fixtures near electrical lines, you must isolate the power by turning off the corresponding circuit breaker at the main distribution panel. Never rely solely on a wall switch to isolate the power, as the switch may only control the neutral wire, leaving live voltage at the fixture location.
If you encounter conflicting installation instructions, complex dimming configurations, or unclear wiring diagrams, do not attempt to guess the connections. A licensed electrician should be hired to handle the final wiring, verify proper grounding, and ensure the installation complies with local electrical codes. Investing in professional assistance for complex electrical connections helps protect your property from electrical fires and ensures the long-term reliability of your lighting system.
Frequently Asked Questions (FAQ)
Can I bend a standard straight aluminum profile to fit a corner?
No, you should not attempt to manually bend a standard straight aluminum profile to fit a corner. Standard profiles are extruded from rigid aluminum alloys designed to remain straight and structural. Attempting to bend them without specialized industrial equipment will result in kinking, cracking, or warping of the metal channel. Furthermore, manual bending will distort the track where the diffuser lens slides in, making it impossible to install the cover and compromising the internal reflective properties of the profile. For corner installations, always use manufactured corner joints, 90-degree corner profiles, or precise miter cuts.
Does the aluminum profile color affect the light output of the panel?
The exterior finish of the aluminum profile, whether it is anodized silver, painted white, or matte black, is primarily an aesthetic choice and does not directly affect the light output of the panel. The light output and distribution are determined by the internal design of the profile, the quality of the LED panel itself, and the type of diffuser cover used. However, the internal finish of the channel can play a minor role; highly reflective internal surfaces help maximize light output, while dark internal surfaces may absorb a small percentage of stray light before it passes through the diffuser lens.

Community discussion
Share your experience or ask a question. Comments are reviewed before publication.