
Finding the perfect balance of brightness and coverage for your ceiling lights requires a systematic approach rather than guesswork. To determine the correct ceiling panel light size and quantity for any room, you must calculate the total floor area, identify the target brightness level (measured in lux) for the room’s specific activities, and divide the resulting total lumen requirement by the output of your preferred fixture size. This ensures your space is neither dimly lit nor uncomfortably bright, while maintaining energy efficiency and visual comfort.
Step 1: Measure Your Space and Identify Lighting Requirements
To begin planning your ceiling lighting layout, you must first gather precise physical measurements of the room. Use a standard tape measure to find the length and width of the floor in meters. Multiplying these two figures gives you the total floor area in square meters, which serves as the foundation for all subsequent calculations. For irregular or L-shaped rooms, divide the space into smaller rectangular sections, calculate the area of each, and add them together.
Once you have the area, you must identify the target illuminance standard, measured in lux, which represents the amount of light that falls on a surface. Different rooms require different lux levels depending on their primary functions. For instance, task-heavy areas like kitchens, home offices, and study rooms typically require a higher illuminance of 300 to 500 lux to prevent eye strain. Conversely, relaxing spaces such as bedrooms and living rooms generally perform well with a softer illuminance of 100 to 200 lux.
Products mentioned in this guide
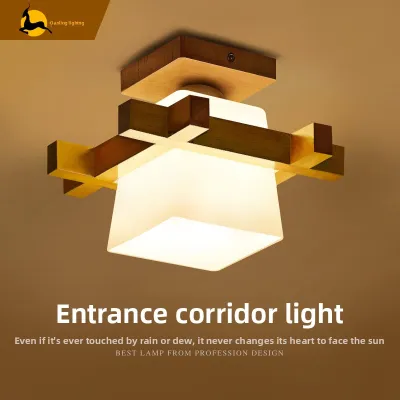
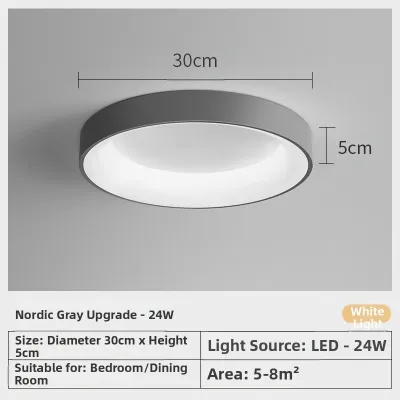
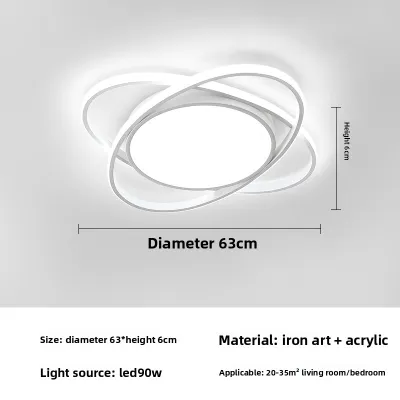
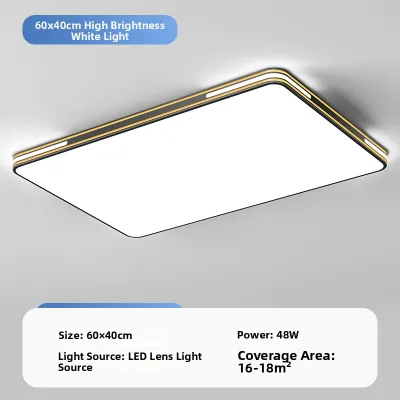
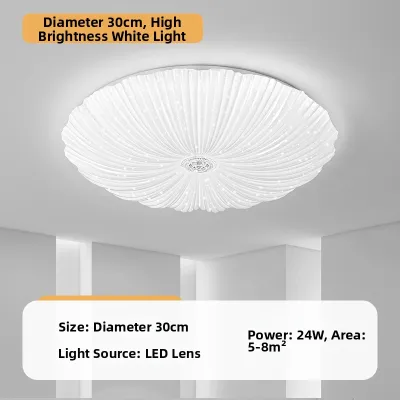

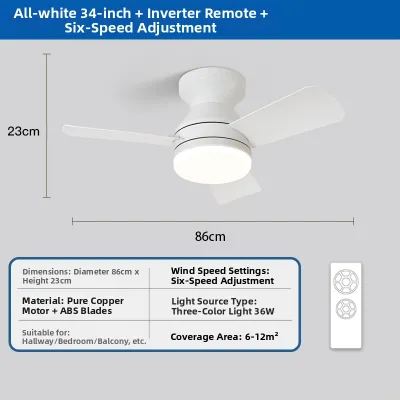
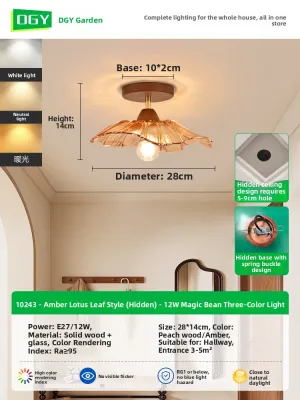
Prices are valid at publication and may change. Please refer to the product page for the latest price.
You must also account for environmental factors that influence how light behaves in your room. Ceiling height is a critical variable, as taller ceilings cause light to disperse over a larger volume before reaching the floor. Additionally, consider the color of your walls; dark paint absorbs light, whereas light-colored surfaces reflect it, making the room feel brighter. In tropical climates like the Philippines, where large windows often invite abundant natural daylight, you may also want to plan for dimmable fixtures to balance artificial and natural light.
Step 2: Calculate the Total Lumens Needed
With your room area and target lux levels established, you can calculate the total luminous flux, measured in lumens, required to illuminate the entire space. The core formula is straightforward: Total Lumens = Room Area (in square meters) × Target Illuminance (in lux). For example, if you are lighting a 15-square-meter kitchen that requires 300 lux, your calculation would be 15 multiplied by 300, resulting in a total requirement of 4,500 lumens.

It is essential to distinguish between lumens and watts when selecting modern ceiling lights. Watts measure the amount of electrical energy a fixture consumes, whereas lumens measure the actual amount of visible light emitted. Because modern LED panel lights are highly energy-efficient, they produce significantly more lumens per watt than legacy fluorescent or incandescent fixtures. Relying on wattage to judge brightness can lead to over-purchasing or under-lighting your space; always look for the lumen rating on the product packaging.
To ensure your lighting system remains effective over time, you should factor in a maintenance coefficient or light depreciation margin. Over years of continuous use, LED chips naturally experience a slight decline in light output, and dust accumulation on the panel surface can further block light. Multiplying your calculated total lumens by a depreciation factor of 1.2 provides a safety margin. This adjustment guarantees that your room remains adequately bright even as the fixtures age and experience normal wear.
Step 3: Select the Appropriate Panel Light Size and Specifications
Choosing the physical dimensions of your panel lights involves balancing aesthetic preferences with structural compatibility. Common square and rectangular panel sizes include 30×30 cm, 60×60 cm, and 30×120 cm, which are designed to fit seamlessly into standard suspended ceiling grids. For residential plasterboard or gypsum ceilings, round or square recessed downlight panels—often ranging from 4 inches to 8 inches in diameter—are highly popular due to their low-profile appearance and ease of installation.
Once you select a preferred size, match the lumen output of that specific fixture size to your overall lighting plan. Larger panels, such as 60×60 cm units, typically deliver higher lumen outputs and are ideal for open-plan living areas or commercial spaces. Smaller recessed panels emit fewer lumens individually but allow for a more distributed layout, which is excellent for achieving even illumination without harsh shadows in smaller rooms.
Before purchasing, verify critical technical specifications and installation constraints. Ensure fixtures are rated for the standard local voltage of 220V to 240V and carry recognized electrical safety certifications, such as the Philippine Standard (PS) mark or Import Commodity Clearance (ICC) sticker. Measure the clearance depth within your suspended ceiling to ensure the panel housing and driver fit safely without touching structural beams. Because fixed electrical wiring and working at heights present safety hazards, always isolate the main power supply at the circuit breaker before installation, follow the manufacturer’s instructions, and hire a qualified professional electrician. For damp environments like bathrooms, verify that the fixtures have an appropriate IP (Ingress Protection) rating to withstand moisture.
Step 4: Determine Fixture Quantity and Plan the Layout
To find the exact number of panel lights your room requires, divide the total calculated lumens by the lumen output of a single chosen fixture. For instance, if your room requires 4,500 lumens and you select recessed panels that produce 900 lumens each, you will need exactly five fixtures. If your calculation results in a fraction, round up to the next whole number to ensure sufficient brightness, and consider installing a dimmer switch to adjust the light levels as needed.
An effective layout is just as important as the correct fixture count. To achieve uniform light distribution, space your fixtures evenly across the ceiling. A reliable rule of thumb is to keep the distance between individual fixtures twice the distance between the fixtures and the adjacent walls. For example, if your lights are spaced two meters apart, they should be positioned one meter away from the walls. This spacing prevents overlapping glare in the center of the room while ensuring the perimeter remains well-lit.
You must also adapt your layout to accommodate irregular room shapes and specific functional zones. In an L-shaped room, treat each leg of the “L” as an independent zone and calculate the fixture placement accordingly. Additionally, consider localized task areas that require dedicated illumination, such as a kitchen island or a study desk. You can position fixtures directly above these work surfaces to provide focused light, while keeping the ambient panels spaced evenly throughout the rest of the ceiling.
Common Sizing and Layout Mistakes to Avoid
One of the most frequent errors in ceiling lighting design is relying solely on fixture count or wattage without checking the actual lumen output. Installing low-lumen fixtures in a large room will leave the space dim and gloomy, while installing high-wattage, inefficient fixtures will drive up your electricity bills without providing comfortable light. Always prioritize lumen-to-watt efficacy when comparing products.
Another common mistake is overlooking the impact of high ceilings. Standard calculations assume a typical ceiling height of 2.4 to 2.7 meters. If your ceiling exceeds three meters, the light must travel a greater distance, resulting in significant light loss by the time it reaches the floor. Failing to compensate for this height difference will leave your living areas under-illuminated.
Finally, many homeowners plan their lighting layouts in an empty room, ignoring future furniture placement and natural light patterns. Placing a ceiling panel directly above where a tall wardrobe or a large indoor plant will stand can block the light path and create unwanted shadows. Take the time to map out your furniture layout and identify where natural light enters through windows before finalizing your ceiling cutouts.
Frequently Asked Questions (FAQ)
Can I mix different sizes of panel lights in the same room?
Yes, you can mix different panel light sizes, but doing so requires careful planning to maintain visual harmony. For example, you might use larger 60×60 cm panels for general ambient lighting and smaller recessed panels to highlight specific walkways or architectural features. To prevent a disjointed appearance, ensure that all fixtures share the exact same color temperature (measured in Kelvin) and color rendering index (CRI). Mixing warm white and cool daylight panels in the same visual field can create an unsettling, unbalanced atmosphere.
How do I adjust the calculation if my ceiling is unusually high?
If your ceiling is higher than the standard 2.7 meters, you must apply a height compensation factor to your total lumen calculation. For ceilings between 3 and 3.6 meters high, increase your total calculated lumens by roughly 20 to 30 percent to counteract light dispersion. For ceilings higher than 3.6 meters, standard wide-beam panel lights may not project enough light downward; in these cases, look for fixtures with narrower beam angles that focus the light downward, or supplement your ceiling panels with wall sconces, floor lamps, or pendant lights to bring the illumination closer to the working plane.

Community discussion
Share your experience or ask a question. Comments are reviewed before publication.