
Hanging fairy lights is a popular lights decoration method to transform a plain condo bedroom into a cozy sanctuary. However, condo living often comes with strict lease agreements that prohibit drilling, nailing, or painting. Fortunately, you can achieve a stunning overhead canopy using damage-free mounting techniques that preserve your security deposit. By choosing the right temporary adhesives, preparing your ceiling surface for tropical humidity, and routing your cables safely, you can enjoy a warm, ambient glow without leaving a single mark on your walls or ceiling.
Planning Your Lights Decoration and Ceiling Prep
Before purchasing your lights decoration, inspect your condo’s ceiling material. Most modern residential units feature painted drywall, cast concrete, or textured plaster. Each surface interacts differently with temporary adhesives. For instance, smooth, painted drywall offers the best grip for adhesive strips, whereas bare or painted concrete can be slightly porous and dusty, requiring thorough cleaning. Textured ceilings present uneven surfaces that reduce the contact area for standard tape, making alternative mounting strategies necessary.
To prepare the surface, wipe the ceiling area where you plan to mount the lights. Dust, oil, and moisture are the primary enemies of temporary adhesives. In a tropical climate where indoor humidity can be high, moisture can form a thin barrier on your ceiling. Clean the target spots with a microfiber cloth dipped in a mixture of water and isopropyl alcohol, then allow it to dry completely. Avoid using heavy household cleaners that leave a slick residue, as this will prevent the adhesive from bonding securely.
Products mentioned in this guide
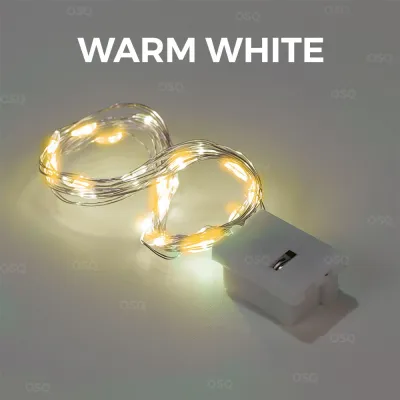
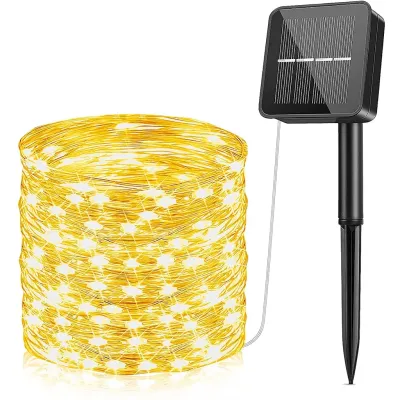
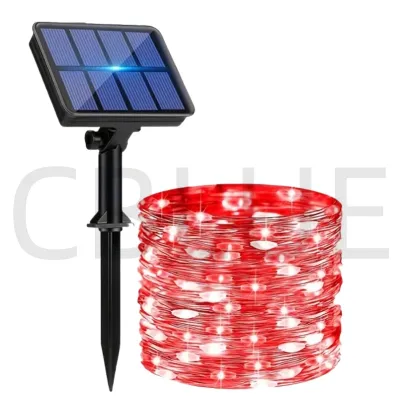
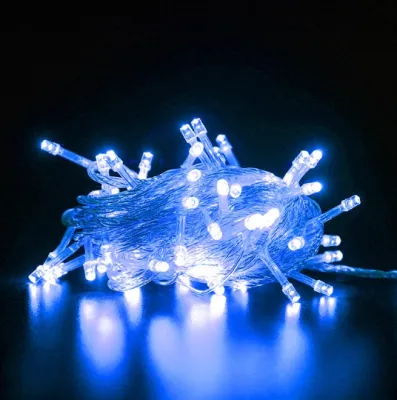
Prices are valid at publication and may change. Please refer to the product page for the latest price.
Before finalizing your layout, verify the physical specifications of your fairy lights. Measure the total length of the light strand and compare it to the distance between your ceiling and the nearest electrical outlet. Note the weight of the light set; copper wire fairy lights are incredibly lightweight, while thick, rubber-insulated outdoor-style string lights are much heavier and require stronger support. Check the plug type to ensure compatibility with your wall outlets, and verify that the product operates safely on the standard local 220V electrical supply.
Reviewing your condo’s house rules or lease agreement is another essential step. Some property management offices have strict guidelines regarding any modifications, including temporary tape or adhesive hooks that might peel off low-quality builder’s paint. Understanding these rules beforehand helps you select the safest mounting materials and avoids potential fines or deductions from your security deposit when it is time to move out.
Choosing Renter-Friendly Mounting Materials
Selecting the right mounting hardware is critical to keeping your lights decoration secure without peeling the paint. Removable adhesive hooks, often made of plastic with specialized pull-tab backing strips, are the gold standard for renter-friendly installations. These hooks are designed to hold weight vertically and release cleanly when pulled parallel to the wall. For ultra-lightweight copper wire fairy lights, small transparent decorating clips are ideal because they blend seamlessly into the ceiling and remain virtually invisible when the lights are turned on.

Another option for lightweight strands is mounting putty or reusable adhesive tack. While putty is highly flexible and easy to reposition, it is best suited for very light wire strings and may sag under the weight of heavier cords. Additionally, in warm, humid environments, some low-grade putties can soften over time, potentially leaving oily residues or losing their grip. If you choose putty, opt for high-quality, non-staining varieties and use them primarily as secondary support points rather than main load-bearing anchors.
Be sure to identify materials you must avoid on your condo ceiling. Heavy-duty double-sided mounting tapes, foam tapes, and duct tape are not designed for clean removal. These adhesives cure over time, creating a permanent bond that will inevitably tear away layers of drywall paper or paint when pulled. If your condo ceiling has been recently painted, wait at least 28 days before applying any adhesive products, as curing paint remains soft and highly susceptible to peeling.
Always check the weight limits printed on the adhesive packaging before making a purchase. A single pack of decorative clips might only support up to 200 grams, while larger utility hooks can hold up to 1 kilogram or more. Calculate the approximate weight of your light strand and distribute the load across multiple hooks. Spacing your hooks closely not only prevents sagging but also ensures that no single adhesive strip is forced to carry more weight than its certified limit.
Step-by-Step Installation Guide
Mapping out your desired light pattern on the ceiling is the best way to start the physical installation. Popular layouts include a parallel grid, a radiating starburst from a central point, or a casual zig-zag pattern. Use a pencil to make faint, tiny dots on the ceiling where each hook will go, or use small pieces of low-tack painter’s tape to mark the spots. This planning step ensures your layout is symmetrical and prevents you from having to peel off and waste adhesive strips due to misalignment.
Working at heights to reach the ceiling requires strict safety precautions. Use a sturdy, stable stepladder placed on a flat, even floor. Avoid standing on chairs, beds, or unstable furniture. If possible, have a family member or friend act as a spotter to hold the ladder and hand you materials. Before climbing, ensure the power to the outlet you plan to use is switched off, and keep your hands dry to prevent any electrical hazards.
Apply the adhesive hooks according to the manufacturer’s precise instructions. For most removable strips, you must peel off the protective liner, press the strip firmly onto the designated spot on the ceiling, and hold it with solid pressure for at least 30 seconds. This pressure activates the adhesive, allowing it to flow into the microscopic crevices of the surface. Once applied, let the hooks cure without any load. Many manufacturers recommend waiting at least one hour—and sometimes up to 24 hours in humid conditions—before hanging the lights to allow the bond to reach maximum strength.
Draping your fairy lights onto the hooks should only happen after the adhesive has fully cured. Start from the end closest to your power outlet and work your way across the ceiling. Ensure the cord reaches the outlet naturally without stretching, pulling, or putting tension on the first hook. If the wire is too tight, it will eventually pull the hook off the ceiling. Leave a small amount of slack in each section to create an elegant, soft drape and to minimize the physical stress on the adhesive mounts.
Powering and Managing the Cords Safely
Managing the vertical drop from the ceiling to the wall outlet is essential for both safety and aesthetics. Dangling cords can easily be snagged by pets, children, or your own hands, which can rip the entire light installation down. Use damage-free cord channels or small adhesive cable clips to route the power cord neatly down the corner of the room or along the edge of a door frame. This keeps the wire flush against the wall and out of sight.
Electrical safety is paramount when installing any lights decoration in a bedroom. Verify that your fairy lights carry recognized safety certifications, such as the Philippine Standard (PS) mark or an Import Commodity Clearance (ICC) sticker, which prove the product has undergone rigorous safety testing. Never daisy-chain multiple light strands together unless the manufacturer explicitly states it is safe to do so. Overloading a single outlet or using cheap, uncertified extension cords can lead to overheating and pose a serious fire hazard.
Keep all power cords, adapters, and control boxes away from flammable materials such as bed frames, heavy curtains, pillows, and blankets. Ensure that the power adapter has adequate ventilation and is not tucked under a mattress or behind a tightly packed wardrobe where heat can build up. Additionally, route cords away from high-traffic walking paths to eliminate tripping hazards, ensuring your cozy bedroom remains a safe environment.
Removing the Lights Without Peeling Paint
When it is time to move out of your condo or change your bedroom decor, removing the adhesives correctly is just as important as the installation. Never pull the plastic hook directly outward from the ceiling, as this concentrated force will tear the paint and drywall. Instead, locate the exposed pull-tab on the adhesive strip. Slowly and steadily pull the tab parallel to the ceiling surface, stretching it in the direction indicated by the manufacturer. This stretching action temporarily deactivates the adhesive bond, allowing the strip to release cleanly.
If an adhesive strip feels stubborn or stuck, do not force it. You can use gentle heat from a handheld hairdryer to soften the adhesive. Direct the warm air at the hook for 20 to 30 seconds from a safe distance to avoid overheating the paint. Alternatively, slide a piece of dental floss or thin fishing line behind the hook and gently saw back and forth to slice through the adhesive foam. This method releases the hook safely, leaving only a thin layer of residue behind.
Cleaning any remaining sticky residue requires a gentle touch. Use a mild, paint-safe solvent or a small amount of isopropyl alcohol on a clean microfiber cloth. Rub the spot gently in a circular motion, taking care not to scrub too hard, which could dull the paint finish. Once the residue is gone, wipe the area with a damp cloth and let it dry.
A quick inspection of the ceiling for minor marks or discoloration completes the removal process. If a small patch of paint does peel due to pre-existing moisture damage or low-quality paint application, do not panic. Note the exact color and sheen of your ceiling paint. In many cases, you can consult your condo’s maintenance or management office to obtain a small cup of matching touch-up paint, allowing you to easily repair minor blemishes before your final move-out inspection.
Frequently Asked Questions (FAQ)
Can I use removable adhesive strips on a textured condo ceiling?
Standard removable adhesive strips require a smooth, flat surface to establish a strong bond. On a textured or popcorn ceiling, the uneven surface reduces the contact area, which significantly lowers the adhesive’s holding power and can cause your lights to fall. For textured surfaces, consider using specialized mounting putty designed for uneven walls, or look for lightweight tension rods that can span across walls near the ceiling to support your lights decoration without direct ceiling contact.
Are battery-operated fairy lights better for condo ceilings?
Battery-operated fairy lights offer excellent flexibility because they do not require proximity to a wall outlet, eliminating the need to route long power cords down your walls. However, they have distinct trade-offs. The battery pack itself can be heavy and difficult to mount securely on a ceiling, and climbing a ladder regularly to replace batteries or flip the power switch can be inconvenient. Plug-in or USB-powered lights decoration sets are generally preferred for permanent ceiling installations, especially if they feature a remote control or a smart plug.
How do I prevent the lights from sagging over time?
To prevent your fairy lights from sagging or drooping excessively over time, space your mounting hooks closer together—ideally every 30 to 50 centimeters. This distributes the weight of the wire evenly and reduces the tension on individual hooks. Additionally, avoid wrapping heavy decorative items, thick garlands, or heavy wire clusters around the light strands, as the added weight will eventually compromise the adhesive backing and pull the hooks down.

Community discussion
Share your experience or ask a question. Comments are reviewed before publication.