
Hanging an LED curtain light is one of the most effective ways to transform a plain bedroom or living room wall into a warm, glowing focal point. To achieve the best visual effect without damaging your wall, the secret lies in choosing the right damage-free mounting accessories, planning your layout around your room’s natural focal points, and systematically hanging the main horizontal strand before letting the vertical drops cascade down. By taking a methodical approach, you can create a seamless waterfall of light that enhances your space while keeping your paint, plaster, or wallpaper completely intact.
Assessing Your Wall and Choosing Damage-Free Mounts
Before purchasing any mounting accessories, you must evaluate the specific surface of your wall. In many homes, particularly in tropical climates like the Philippines, walls are often finished with painted concrete, plaster, or drywall. High humidity levels can significantly impact how well adhesives bond to these surfaces, making it crucial to select mounting tools designed to withstand moisture and temperature fluctuations. If your wall features delicate wallpaper or a heavily textured finish, standard adhesive strips may fail to stick securely or could tear the material upon removal.
To ensure a secure hold that will not peel your paint, look for high-quality removable adhesive hooks, transparent plastic clips, or specialized mounting putty. Always check the manufacturer’s packaging to verify the weight capacity, surface compatibility, and recommended environmental conditions for the adhesive. Some clips are specifically designed for lightweight string lights, while others are rated for heavier utility items. Matching the hook’s weight rating to your lighting setup is essential to prevent the lights from falling and pulling paint away with them.
Products mentioned in this guide
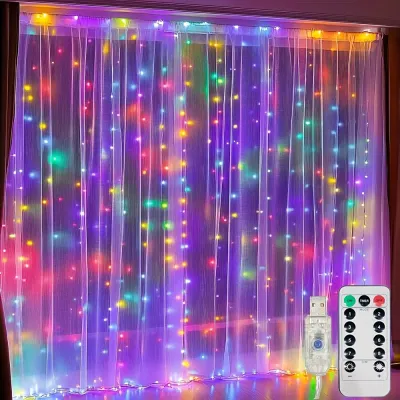
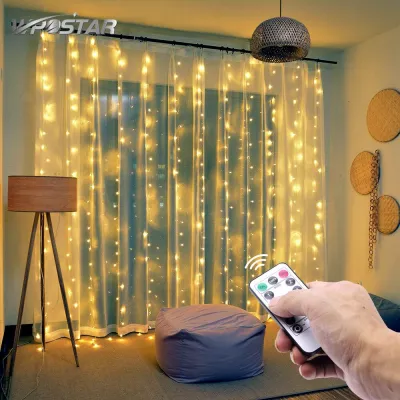
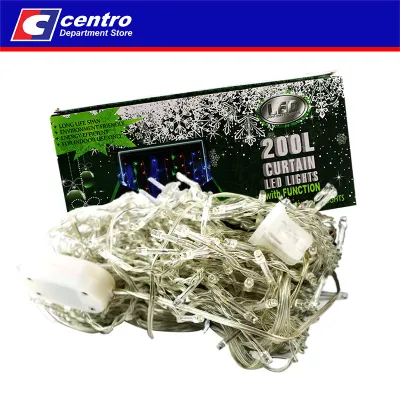
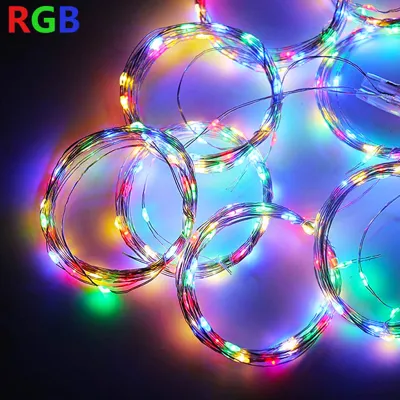
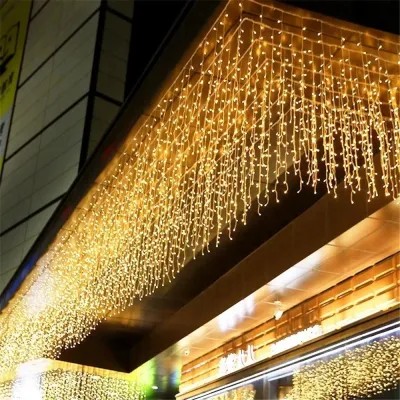
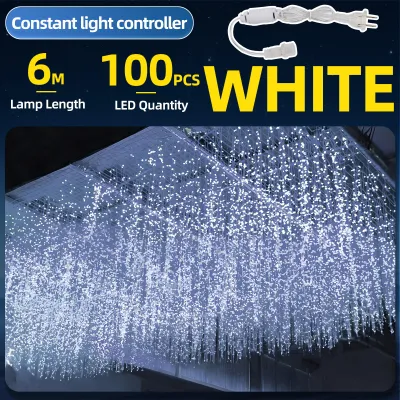
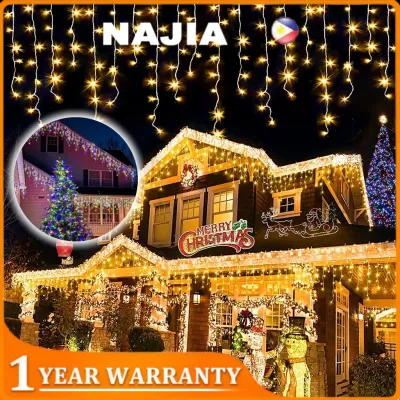
Prices are valid at publication and may change. Please refer to the product page for the latest price.
Next, verify the total weight of your LED curtain light. You can find this information in the product manual or by weighing the bundled lights on a small kitchen scale. While individual LED bulbs are incredibly light, the combined weight of the main copper wire, dozens of vertical strands, the controller box, and the power adapter can add up. Review the product manual for any specific hardware recommendations, installation warnings, or temperature limits to ensure your chosen mounting method aligns with the manufacturer’s safety guidelines.
Planning the Layout for Maximum Ambient Impact
Achieving a professional-looking light display requires careful measurement and visualization before you attach anything to the wall. Start by using a measuring tape to determine the width and height of the wall space you intend to cover. Compare these measurements directly against the specifications of your LED curtain, specifically the length of the main horizontal string and the drop length of the vertical strands. If the light curtain is wider than your wall, you may need to plan for a slightly gathered or scalloped drape; if it is narrower, centering the display will create the most balanced visual effect.

Power management is another critical aspect of your layout planning. Locate your nearest electrical outlet and map out the path the main power cable will take from the wall to the plug. In the Philippines, standard household outlets deliver 220V, so you must ensure your light set’s transformer plug is rated for this voltage and fits securely into the socket. Plan the cable route to run along corners or baseboards to avoid creating tripping hazards or unsightly wire clutter. Never daisy-chain multiple extension cords or force a cable to stretch tightly across a high-traffic area, as this poses both a physical hazard and an electrical risk.
To maximize the ambient impact, decide on a clear focal point for the room. In a bedroom, hanging the LED curtain directly behind the headboard creates a soft, dreamlike backdrop that doubles as a reading light. In a living room, framing a large window or covering an expansive, blank accent wall can make the entire room feel larger and more inviting. When planning the placement, ensure the vertical strands can hang naturally and unobstructed by furniture, shelving, or indoor plants, allowing the light to disperse evenly across the wall surface.
Step-by-Step Installation for a Clean, Even Drape
To begin the physical installation, prepare the wall surface to ensure the strongest possible bond for your adhesive mounts. Wipe down the target area with a clean, dry, lint-free microfiber cloth to remove accumulated dust, lint, and oily residues. Avoid using household liquid cleaners or water, as trapped moisture behind adhesive strips can weaken the bond, especially in humid tropical environments. Allow the wall to air-dry completely for several minutes before proceeding to the next step.
Using a pencil and a level, lightly mark the placement points for your main horizontal string along the top of the wall. Space your damage-free hooks or transparent clips at even intervals, typically every 30 to 50 centimeters, to distribute the weight of the curtain lights uniformly. Press each adhesive hook firmly against the wall for the duration specified by the manufacturer, usually around 30 seconds. If the adhesive instructions require a curing time before hanging any weight, respect this window fully to allow the chemical bond to stabilize against the wall.
Once the hooks are securely set, hang the main horizontal string of the LED curtain first, keeping the vertical strands bundled or tied up. Securing the main support wire first prevents the individual vertical drops from tangling, twisting, or pulling down on the hooks during the installation process. After the main horizontal wire is securely cradled in the hooks, slowly untie and lower the vertical strands one by one, letting them cascade down naturally. Work from one side of the curtain to the other, gently smoothing out any kinks in the wire without pulling hard on the connections.
With the lights fully suspended, address the remaining power cable to keep the installation looking clean and professional. Use smaller, low-profile adhesive clips to route the power cord neatly down the side of the wall or along the top of the baseboard toward the electrical outlet. Keeping the cord flush against the wall surface prevents it from dangling loosely, which not only ruins the clean visual aesthetic but also increases the risk of the cord being accidentally snagged by pets, children, or vacuum cleaners.
Fine-Tuning the Visual Effect and Safety Checks
After the installation is complete, step back to evaluate the overall symmetry and flow of your LED curtain lights. Gently adjust the spacing of the vertical strands along the main horizontal wire to ensure a uniform, waterfall-like distribution of light. If certain strands appear bunched together or spaced too far apart, slide them slightly along the main wire until the coverage looks balanced. Ensure that no single section of the wire is under excessive tension, as constant pulling can cause the adhesive hooks to fail prematurely.
Safety must remain a priority when integrating decorative lighting into your living space. Ensure that the individual LED bulbs do not rest directly against or become tangled in highly flammable household materials, such as sheer polyester curtains, delicate bedding, paper decorations, or dry indoor foliage. While quality LEDs generate very little heat compared to traditional incandescent bulbs, maintaining a small clearance space between the lights and soft furnishings is a fundamental safety practice that prevents heat buildup and reduces fire risks.
Finally, perform a thorough electrical safety check before leaving the lights unattended. Examine the product label or manual to verify that the voltage requirements match your home’s electrical system and that the unit carries recognized safety certifications. If you plan to use the lights near an open window where rain or high humidity might enter, confirm that the product has an appropriate ingress protection (IP) rating for damp environments. Never use damaged plugs, frayed wires, or unapproved voltage adapters, and always unplug the lights or turn off the power source when leaving the house or going to sleep.
Frequently Asked Questions (FAQ)
How do I remove adhesive hooks without peeling the paint?
To remove adhesive hooks safely without damaging your wall finish, always follow the manufacturer’s specific stretch-release instructions. For standard pull-tab adhesives, grasp the exposed plastic tab firmly and pull it slowly, straight down along the wall surface, rather than pulling it outward toward yourself. This downward stretching action stretches the adhesive strip, causing it to release its grip cleanly from the paint or plaster without lifting the underlying layers.
If the adhesive strip feels stubborn or has been on the wall for a long period, you can use a hairdryer set to low heat to gently warm the area. Direct the warm air at the hook for 20 to 30 seconds to soften the adhesive compound, making it more pliable and easier to release. If you notice the paint beginning to bubble, lift, or crack during this process, stop immediately and consult a professional painter or handyman to avoid causing further structural damage to your wall.
Can I hang LED curtain lights on wallpaper or heavily textured walls?
Hanging LED curtain lights directly on delicate wallpaper or heavily textured walls using standard adhesive hooks is generally not recommended. The uneven surface of textured plaster or concrete prevents adhesives from forming a complete, secure bond, which often leads to the lights falling. Conversely, applying strong adhesives to wallpaper carries a high risk of tearing or peeling the paper backing when you eventually try to remove the hooks, resulting in permanent cosmetic damage.
If your room features these challenging wall types, consider alternative damage-free mounting methods that do not rely on wall adhesives. You can install a tension rod inside a nearby window frame to hang the curtain lights, drape them elegantly over an existing curtain rod, or suspend them from a freestanding room divider or wooden screen. If you must use an adhesive product that explicitly claims wallpaper compatibility, always test a single hook in an inconspicuous spot, such as behind a piece of furniture, before committing to the full installation.

Community discussion
Share your experience or ask a question. Comments are reviewed before publication.