
Installing 5050 LED strip lights in a condominium unit is an effective way to introduce modern ambient lighting, highlight architectural features, and make smaller spaces feel more open. Achieving a clean, professional look requires a systematic approach that covers surface preparation, precise cutting along designated points, secure electrical connections, and strategic cable management. By planning your layout around your condo’s specific power outlets and structural rules, you can create a beautiful lighting setup that remains safe, reliable, and fully compliant with your building’s guidelines.
Pre-Installation Checks and Condo Rules
Condo living in the Philippines often comes with strict property management office (PMO) guidelines regarding electrical modifications. Before purchasing your 5050 LED strip lights, review your lease agreement or building’s tenant handbook to ensure you do not violate rules on permanent alterations or exterior-facing window displays. Some properties restrict visible wiring or specific types of high-draw electrical installations, making temporary, non-destructive mounting methods highly preferable.
Electrical safety is paramount, especially in high-density residential buildings. Check the voltage rating of your LED strip’s power adapter—typically 12V or 24V DC—and verify that it matches your condo’s standard wall outlet voltage, which is 220V in the Philippines. Ensure the total wattage of your planned LED run does not exceed the rated capacity of your power supply or the specific wall outlet circuit to prevent overheating and tripped breakers.
Products mentioned in this guide
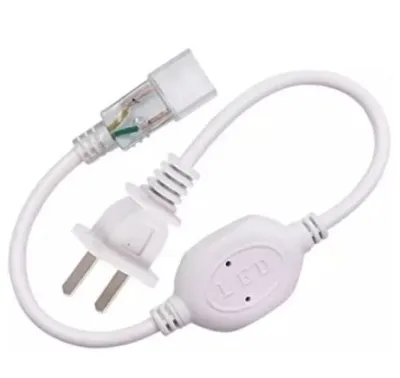
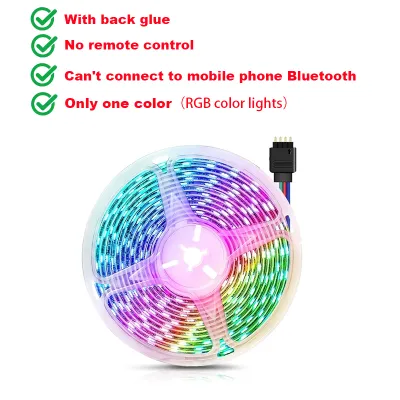
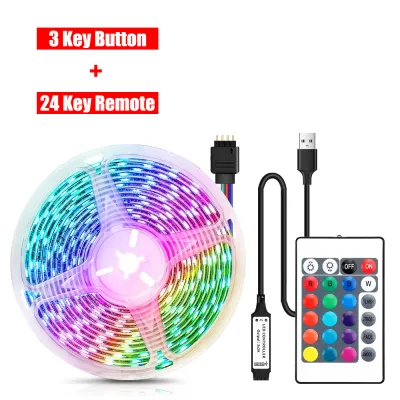
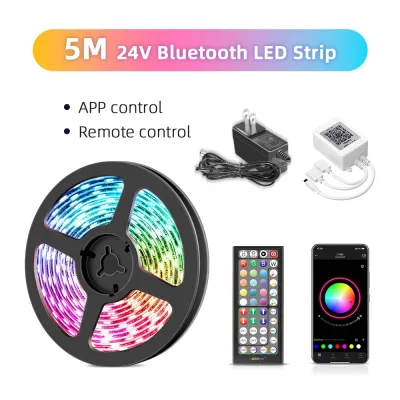
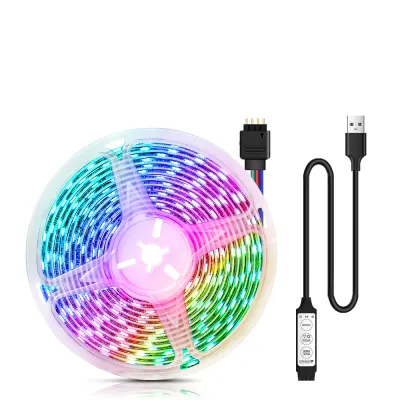
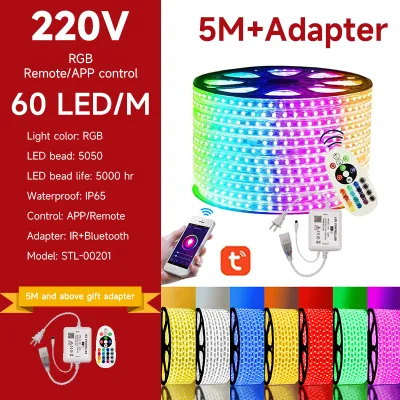
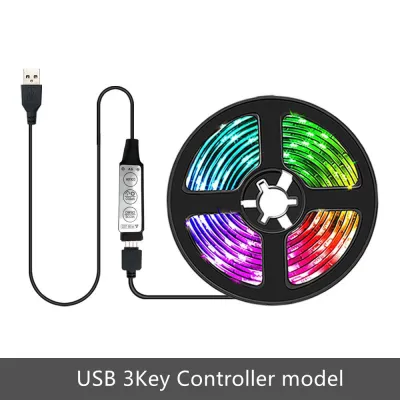
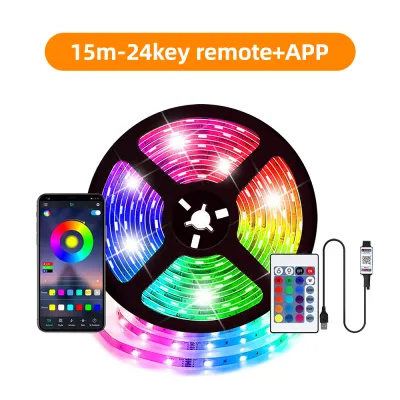
Prices are valid at publication and may change. Please refer to the product page for the latest price.
Additionally, plan your lighting layout to avoid interfering with essential condo safety systems. Never cover or place LED strips too close to smoke detectors, fire sprinkler heads, or HVAC vents, as the heat from the lights or the physical obstruction could compromise these systems. Keeping your installation clear of these utilities ensures both your safety and compliance during routine building inspections.
Tools and Materials Needed
To complete this installation efficiently, gather all necessary tools and materials before peeling any adhesive. Your primary component is the 5050 LED strip light roll, which is named for its 5.0mm by 5.0mm light-emitting diode dimensions. You will also need a compatible power adapter (often a desktop-style power brick or a wall plug), a compatible controller (such as an infrared, radio frequency, or smart controller), and a reliable measuring tape.

For preparation and mounting, keep a pair of sharp scissors, isopropyl alcohol (70% concentration is ideal), and clean microfiber cloths on hand. Depending on your condo’s walls and your long-term plans, consider optional mounting accessories like aluminum channels with diffusers, mounting clips, or paint-safe double-sided tape. Aluminum channels are particularly useful in tropical climates like the Philippines, as they act as heat sinks to dissipate warmth and protect the adhesive from failing due to high ambient humidity.
Always check the manufacturer’s specifications on the packaging to verify compatibility between your strips, connectors, and power supply. Mixing brands or using mismatched voltage components can lead to poor performance, flickering, or permanent damage to the LEDs.
Step 1: Surface Preparation and Measurement
Begin by measuring the exact length of the area where you plan to install the LED strips. Use your measuring tape to trace the path along under-cabinet spaces, cove ceilings, or behind television consoles, accounting for any corners or structural pillars. Be sure to measure the distance from the end of the planned run to the nearest grounded electrical outlet, ensuring your power cord can reach without being stretched tight.
In tropical environments, humidity and dust can quickly degrade the pre-applied adhesive backing on LED strips. To prevent the strip from sagging or peeling off after a few weeks, thorough surface cleaning is essential. Pour a small amount of isopropyl alcohol onto a clean cloth and wipe down the mounting surface to remove grease, dust, and residual oils. Avoid using household glass cleaners or multi-surface sprays, as they often leave behind a thin residue that prevents proper bonding.
Allow the cleaned surface to dry completely, which usually takes only a few minutes in a well-ventilated room. If you are mounting the strips on bare concrete, rough plaster, or highly textured wallpaper, the standard adhesive backing may not hold securely. In these cases, plan to use mounting clips or lightweight aluminum tracks screwed into appropriate anchors, keeping in mind any condo rules regarding drilling.
Step 2: Cutting and Positioning the LED Strips
Once your measurements are finalized, lay out your 5050 LED strip on a clean, flat surface to locate the designated cut lines. These lines are clearly marked at regular intervals along the strip, typically featuring a small scissors icon and exposed copper solder pads. Cutting anywhere else on the strip will sever the internal circuitry, rendering the entire section between the cut points inoperable.
Using a pair of sharp, clean scissors, make a straight cut directly through the center of the copper pads. Cutting at an angle or using dull blades can tear the flexible PCB or smear the copper contacts, making it difficult to establish a secure connection later. If you need to join two cut pieces together, you will need compatible solderless gapless connectors or corner connectors that match the width and pin count of your 5050 strip (usually 4-pin for RGB or 2-pin for single color).
Before peeling off the adhesive backing, temporarily position the cut strip along the mounting path to verify the fit. This dry run allows you to check if the strip aligns correctly with corners, ends exactly where you intended, and leaves enough clearance for the power connection. It is much easier to make adjustments now than after the adhesive has been pressed onto the wall.
Step 3: Connecting Power and Controllers
With your strips cut to length, it is time to assemble the electrical components. Connect the female end of the LED strip to the male pins of your controller receiver, paying close attention to the polarity markings. For RGB strips, look for a small arrow on the connector housing, which must align with the “+12V” or “+24V” marking printed on the strip’s circuit board; reversing this connection will prevent the lights from turning on or cause incorrect color rendering.
Next, plug the controller’s input jack into the DC output plug of your power adapter. To maintain a clean aesthetic in your condo, route these connection cables neatly along the edges of your furniture or walls. You can use small adhesive cable clips to secure the wires, keeping them taut and hidden from direct view.
Before permanently mounting the strips, plug the power adapter into your wall outlet and test the system. Cycle through the colors, test the dimming functions, and let the lights run for a few minutes to observe their behavior. This step ensures that all connections are secure, the controller is functioning properly, and there are no defective sections along the strip before you commit to the final installation.
Step 4: Final Mounting and Cable Management
Once you have verified that the system works perfectly, unplug the power adapter to ensure safety during the final mounting process. Carefully peel back a small section of the adhesive backing from the start of the LED strip. Press the exposed adhesive firmly onto the prepared surface, applying steady pressure with your thumb or fingers for about 10 to 15 seconds to activate the pressure-sensitive bond.
Continue peeling and pressing the strip in small sections, working your way to the end of the run. Avoid pulling or stretching the strip too tightly, as this can stress the flexible circuit board and damage the internal connections. If you are mounting the lights vertically or on the underside of cabinets where gravity and tropical heat might cause peeling, reinforce the installation by placing mounting clips or small drops of silicone adhesive at regular intervals.
The final step to a professional-looking installation is hiding the power brick, controller, and excess wiring. Tuck the power adapter behind furniture, mount it to the underside of a desk using heavy-duty hook-and-loop fasteners, or place it inside a ventilated cable management box. Run any exposed cords through paintable plastic cord covers or wire raceways along your baseboards to keep your condo looking tidy and organized.
Troubleshooting Common Installation Issues
If a portion of your LED strip fails to light up after installation, the most common culprit is a loose connection at a joint or connector. Unplug the power supply immediately and inspect any solderless connectors to ensure the copper pads on the strip are making direct contact with the metal pins inside the connector. If the entire strip fails to light, double-check that the power adapter is receiving electricity and that the polarity arrows on the controller connection are correctly aligned.
In humid environments, you may find that sections of the strip begin to sag or peel away from the wall over time. If this occurs, avoid trying to reuse the degraded adhesive backing; instead, clean the area again and apply a fresh strip of high-quality, heat-resistant double-sided mounting tape to the back of the strip. Alternatively, installing the strips inside slim aluminum channels not only solves adhesion issues permanently but also diffuses the light for a softer, premium glow.
Always prioritize safety when troubleshooting your lighting setup. If you notice any signs of overheating, smelling burnt plastic, or persistent flickering that cannot be resolved by checking connections, unplug the system from the wall immediately. Do not attempt to modify the internal wiring of the power adapter or controller yourself; instead, consult a qualified electrician or contact the manufacturer to replace the faulty components.
Frequently Asked Questions (FAQ)
Can I install 5050 LED strip lights in a rented condo without damaging the walls?
Yes, you can easily install these lights without risking your security deposit. Instead of sticking the strip’s permanent adhesive directly to your condo’s painted walls, mount them inside lightweight aluminum channels secured with removable, damage-free adhesive strips. Another option is to apply low-tack painter’s tape to the wall first, then stick the LED strip directly onto the tape, which can be peeled off cleanly when you move out.
Do 5050 LED strips require a special dimmer switch?
Yes, 5050 LED strips operate on low-voltage direct current (DC) and cannot be dimmed using standard household alternating current (AC) wall dimmers. To adjust the brightness safely, you must use a compatible low-voltage inline dimmer, a pulse-width modulation (PWM) controller, or a smart controller designed specifically for DC LED strips. Attempting to connect a standard wall dimmer to the power supply’s AC input can damage the adapter and create a fire hazard.
How do I handle corners when installing LED strips?
To navigate 90-degree corners without damaging the delicate circuitry of your 5050 strips, avoid bending or folding the strip sharply, as this can crack the copper traces. The cleanest method is to cut the strip at the designated cut line and use a flexible 4-pin corner connector or a short ribbon cable connector to bridge the gap. If you prefer not to cut the strip, you can create a loose, rounded loop at the corner, ensuring the bend radius is gentle enough to prevent creasing.

Community discussion
Share your experience or ask a question. Comments are reviewed before publication.