
Installing LED neon light strips in a condominium unit requires a careful balance between achieving a modern, vibrant aesthetic and preserving the integrity of your walls. Whether you are renting a high-rise unit in Metro Manila or customizing your own permanent space, avoiding permanent wall damage is a top priority. By utilizing damage-free mounting clips, removable adhesive backings, and strategic cable management, you can achieve a seamless, professional-grade installation that complies with strict condo association guidelines.
A successful installation relies on choosing the right materials and planning the layout around your condo’s existing electrical outlets. Because concrete walls are standard in many modern condominium developments, traditional drilling is often impractical or outright prohibited by property management. Fortunately, modern flexible LED neon strips, which mimic the continuous glow of classic gas-discharge neon tubes using energy-efficient light-emitting diodes encased in silicone, offer a lightweight and highly adaptable alternative that can be mounted securely using non-invasive methods.
Planning Your Condo Lighting Layout and Power Source
Before purchasing any materials, you must determine the exact path your light strips will follow and how they will connect to a power source. Begin by identifying the primary areas you want to highlight, such as ceiling coves, the undersides of kitchen cabinets, or the perimeter of a TV feature wall. Use a flexible measuring tape to trace the exact path of the planned installation, taking care to account for corners, bends, and the distance from the end of the light strip to the nearest electrical outlet.
Products mentioned in this guide
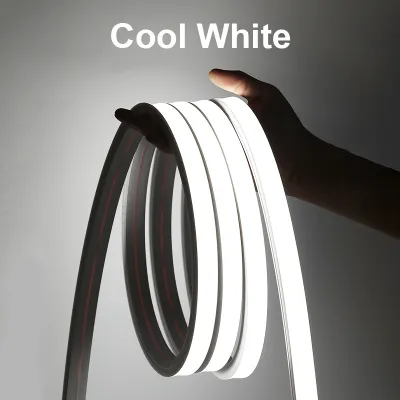
![[Support Lalamove Bulk Order] LED Strip Light High Quality Neon Strip Light Outdoor Waterproof Light Strip Flexible Light Strip Cuttable Every 1Meters Home Ceiling Cove Decoration](https://img.lazcdn.com/g/p/688c50e93f15cf6129b2bd2890c4a90c.jpg_400x400q80.jpg_.webp)
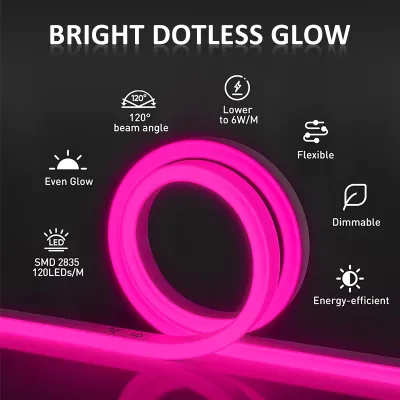
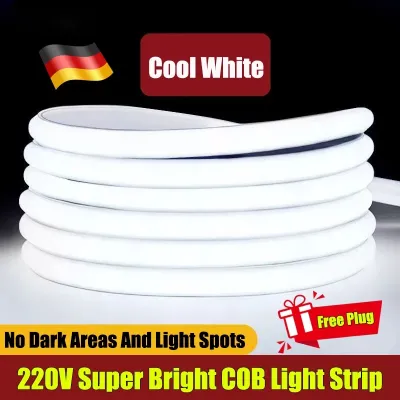

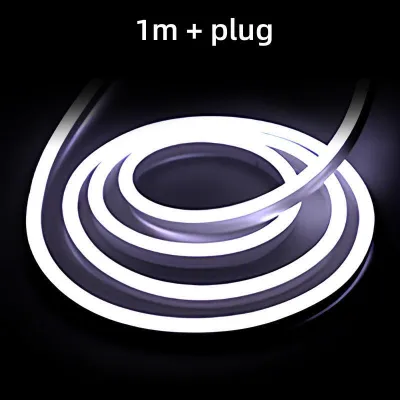
Prices are valid at publication and may change. Please refer to the product page for the latest price.
Condo units often feature concrete structural walls and columns where adding new recessed outlets is impossible without major renovation. Therefore, you must assess the locations of existing wall outlets and plan how to route the power cables discreetly. If an outlet is located several meters away from your starting point, you will need to factor in the length of low-voltage extension cables. Plan to run these cables along baseboards, behind heavy furniture, or inside paintable cord channels that blend into your wall color.
It is equally important to review your condo’s house rules or lease agreement before beginning. Renters are almost always restricted from drilling holes, driving nails, or making any modifications to the fixed electrical wiring. Even unit owners may face restrictions regarding structural alterations or modifications to shared utility walls. Opting for a surface-mounted, plug-and-play LED neon system ensures that your lighting setup remains entirely reversible and compliant with building policies.
Choosing the Right Mounting Method for Renters and Owners
Selecting the appropriate mounting hardware depends heavily on your wall surface material and your tenancy status. Built-in adhesive backings on LED strips are convenient but may not hold up well on textured concrete or in high-humidity environments. For a secure, long-lasting hold that will not peel away paint, clear plastic mounting clips paired with damage-free adhesive strips offer an excellent balance of stability and clean aesthetics.

If you are dealing with painted drywall, plaster, or wallpaper, standard high-tack adhesives can easily tear the surface during removal. In these sensitive areas, specialized removable adhesive strips designed for hanging pictures are highly effective. For owners who want a perfectly straight, professional architectural look, slim aluminum mounting channels can be secured using heavy-duty double-sided mounting tape. These channels keep the strip perfectly straight and act as a heat sink, extending the lifespan of the LEDs.
Always consult the manufacturer’s instructions regarding heat dissipation and approved installation surfaces. While LED neon light strips run significantly cooler than traditional glass neon, they still generate mild thermal energy that must escape. Mounting strips inside extremely tight, unventilated crevices or on highly insulating materials without proper clearance can lead to heat buildup, which degrades the adhesive backing and shortens the operational life of the light source.
Tools and Materials Needed for a Clean Installation
Gathering all necessary tools and materials beforehand ensures a smooth, uninterrupted installation process. Having the correct items on hand also prevents improvised solutions that could damage your walls or compromise electrical safety.
Your core materials should include:
- A high-quality LED neon light strip (verify the voltage, typically 12V or 24V DC).
- A compatible power adapter (ensure the input voltage matches the local 220V standard in the Philippines, and check for safety certifications like the CE, RoHS, or local safety marks).
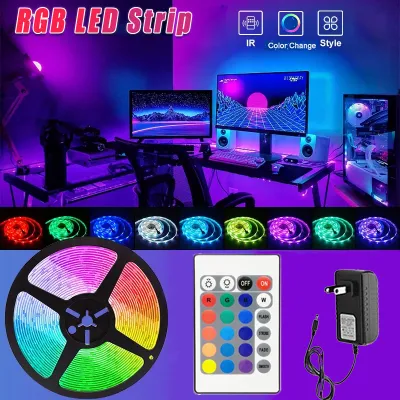
- A controller unit (for RGB color-changing or dimming capabilities).
- Damage-free mounting clips, clear silicone brackets, or aluminum channels.
- Cable organizers, zip ties, or paintable PVC wire raceways.
Your auxiliary tools and safety gear should include:
- A measuring tape and a pencil for marking layout lines.
- A spirit level to ensure perfectly straight horizontal or vertical runs.
- Sharp scissors or utility shears (strictly for cutting the strip at designated points).
- A microfiber cloth and isopropyl alcohol (70% concentration) for surface preparation.
- Insulated gloves if you are working in close proximity to active electrical outlets or managing complex cable routing.
Step-by-Step Installation Process
Achieving a clean, professional look requires a systematic approach. Do not rush to peel off adhesive backings or cut the light strips until you have prepared the workspace and verified the installation sequence provided by the manufacturer.
Ensure your workspace is completely clear of clutter, and lay out all components on a clean table or floor. Plug the LED neon strip into the power adapter and test it briefly before mounting to confirm that all segments light up correctly and that the controller functions as expected. Once verified, unplug the system from the wall outlet to ensure safety during the physical installation.
Preparing the Surface and Mounting the Strip
The secret to a long-lasting, damage-free installation lies in thorough surface preparation. Dust, grease, and ambient humidity—which is particularly high in tropical climates like the Philippines—can severely compromise the bonding strength of adhesives. Wipe down the entire installation path using a microfiber cloth dampened with isopropyl alcohol. Allow the surface to dry completely for at least ten minutes; applying adhesives to a damp or dusty wall will inevitably lead to peeling and sagging over time.
Next, use your spirit level and a pencil to lightly mark the path where the mounting clips or channels will be placed. If you are using clear mounting clips, space them evenly along the marked line, typically every 30 to 45 centimeters, and closer together around curves or corners to maintain the strip’s shape. Apply the damage-free adhesive strips to the back of each clip, press them firmly against the wall for at least 30 seconds, and allow the adhesive to cure according to the manufacturer’s recommended wait time before snapping the heavy silicone neon strip into place.
If you need to shorten the LED neon strip to fit your space, locate the designated cut points. These are typically marked on the side or bottom of the silicone sleeve with a small scissor icon or a vertical line, indicating where the internal copper pads are located. Cutting anywhere else will sever the electrical circuit, causing an entire section of the strip to go dark. Use sharp shears to make a single, clean perpendicular cut at the marked node, and seal the cut end with a compatible silicone end cap to protect the internal circuitry from moisture.
Routing Power Cables and Hiding the Adapter
Once the main body of the LED neon strip is securely mounted, you must address the challenge of managing the power cables and the bulky power adapter. Visible, dangling wires instantly ruin the clean, modern aesthetic of a condo. Use paintable PVC wire raceways to enclose the cables running down from the ceiling or along the walls. These raceways can be painted to match your wall color exactly, making them virtually invisible.
To hide the power adapter, position it behind large furniture pieces such as TV consoles, sofas, or bookshelves. If no furniture is nearby, you can place the adapter inside a dedicated, ventilated cable management box. It is critical to ensure that the adapter has adequate ventilation; do not wrap it in plastic or crowd it with fabrics, as power adapters convert voltage and naturally generate heat that must dissipate safely into the surrounding air.
When routing the cables, avoid pulling them too tight around sharp corners or door frames. Leave a small amount of slack near the connection points and corners. This prevents constant tension from pulling on the adhesive mounts, which could otherwise cause the clips or the light strip itself to peel away from the wall over time. Secure any excess cable length with adjustable cable ties or hook-and-loop straps behind your furniture.
Testing, Adjusting, and Safe Operation
With the physical installation complete, it is time to perform a comprehensive system check. Plug the power adapter into the wall outlet and turn on the light strip using your controller or smart home application. Inspect the entire length of the strip to ensure there are no dark spots, flickering segments, or loose connections. If you are using an RGB or color-changing strip, cycle through the various colors and brightness levels to verify that the controller is communicating properly with the strip.
Leave the lights running for approximately one hour, then conduct a physical temperature check. Gently touch the surface of the LED neon strip and the power adapter; they should feel warm to the touch but never hot. If either component feels excessively hot, or if you detect any unusual plastic odors, immediately disconnect the power supply. This could indicate an electrical mismatch, an overloaded circuit, or insufficient ventilation that must be resolved before further use.
Establish clear safety boundaries for daily operation. If you ever observe flickering that cannot be resolved by tightening connections, if the wall outlet feels warm, or if the adhesive mounts begin to fail and sag, turn off the system immediately. For any complex electrical issues, or if you are unsure about the load capacity of your condo’s outlets, always consult a qualified professional electrician to ensure your home remains safe and hazard-free.
Frequently Asked Questions (FAQ)
Can I connect multiple LED neon light strips to one power adapter?
You can connect multiple strips only if the total wattage of the combined strips does not exceed the maximum output rating of your power adapter. To determine this, check the wattage per meter specified in your product manual, multiply it by the total length of your strips, and compare it to the adapter’s rated capacity (it is best practice to leave a 20% safety margin). Exceeding this limit will overload the adapter, causing it to overheat, or result in a noticeable voltage drop, where the light becomes progressively dimmer and off-color toward the end of the chain. Always consult the manufacturer’s guidelines for the maximum allowable run length before daisy-chaining multiple strips.
Will removing the light strips damage my condo's paint?
Removing adhesive-backed light strips without causing damage requires patience and the right technique. To safely remove the strips, use a handheld hairdryer on a low-to-medium heat setting to gently warm the adhesive backing, which softens the glue and makes it pliable. Slowly peel the strip or mounting clips away from the wall at a shallow angle, rather than pulling straight outward. If any sticky residue remains on the wall, apply a small amount of mild adhesive remover or isopropyl alcohol to a microfiber cloth and gently wipe it away. Always test the adhesive remover on an inconspicuous area of the wall first, such as behind a door or near the baseboard, to ensure it does not discolor or dissolve your condo’s paint.

Community discussion
Share your experience or ask a question. Comments are reviewed before publication.