
Installing LED strip lights around your gaming desk and room is one of the most effective ways to elevate your gaming experience, reduce eye strain, and create an immersive atmosphere. By casting a soft, customizable glow behind your screens and along your furniture, these lights eliminate harsh contrasts in a dark room while showcasing your personal style. Achieving a clean, professional look requires careful planning, proper surface preparation, precise mounting, and neat cable management. Whether you are setting up a dedicated gaming corner or transforming a compact condo bedroom, a systematic approach ensures your lighting remains secure, functional, and visually stunning for years to come.
Plan Your Gaming Room Lighting Layout
Before purchasing any equipment, mapping out your layout is essential to avoid short runs, exposed wires, or insufficient power delivery. Start by measuring the exact dimensions of your gaming desk edges, the perimeter of your monitors, and any room features like baseboards or ceiling coves where you plan to install the lights. Write down these measurements and add a small buffer of about ten percent to account for corners, transitions, and minor cutting adjustments.
Next, distinguish between ambient backlighting and functional task lighting in your space. Ambient backlighting, such as strips mounted behind your monitor or under the desk, should diffuse softly against the wall to create depth without casting direct glare onto your screens. Task lighting, on the other hand, should illuminate specific work areas without causing distracting reflections. Identifying these focal points early helps you determine where you need high-density LEDs for bright, seamless light and where lower-density strips will suffice.
Products mentioned in this guide
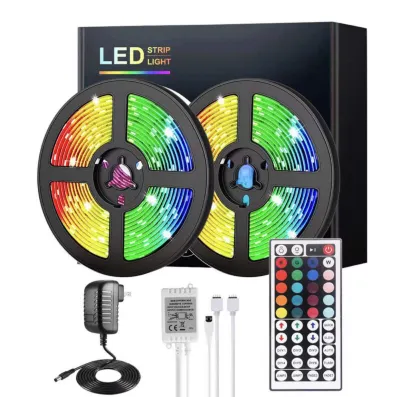
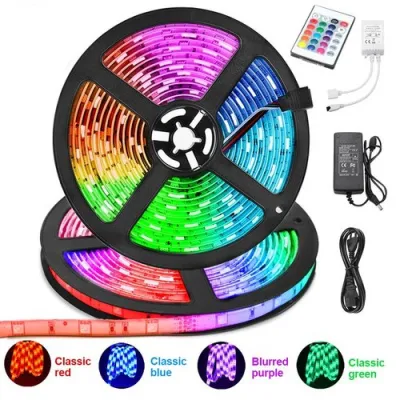
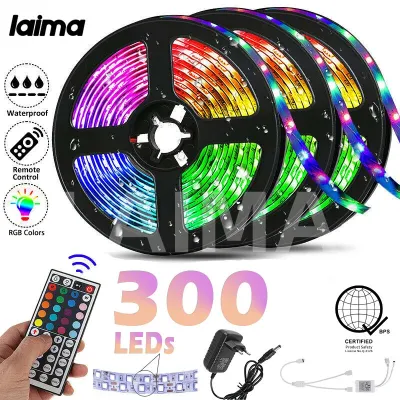
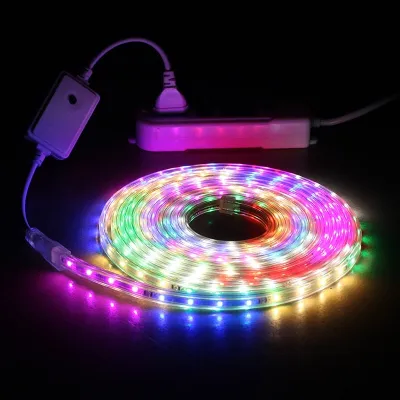
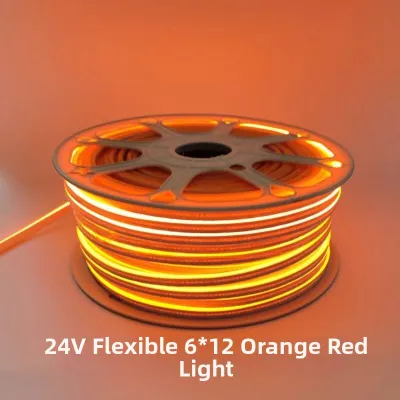
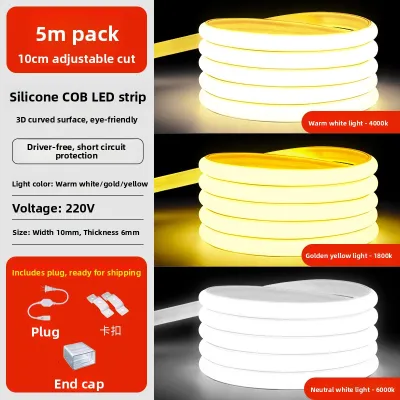
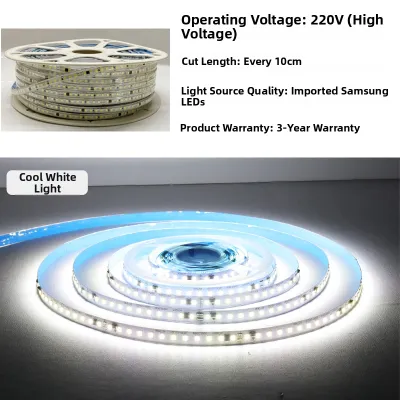

Prices are valid at publication and may change. Please refer to the product page for the latest price.
Finally, locate your nearest power outlets and plan the routing paths for your power adapters and controllers. In typical condo setups, outlets may be limited or positioned far from your desk, requiring you to plan how cables will travel safely along walls or furniture. Ensure that power bricks and controllers are placed in well-ventilated areas where they will not be stepped on, pinched by heavy furniture, or create tripping hazards across walkways.
Choose the Right LED Strip Lights and Accessories
Selecting the correct hardware is crucial for safety, compatibility, and longevity. Always verify the voltage requirements of your chosen LED strips, which typically run on 12V or 24V direct current. Ensure that the power adapter capacity matches or slightly exceeds the total wattage of your planned run to prevent overheating and premature failure of the power brick. A general rule of thumb is to use a power supply that has a wattage rating at least twenty percent higher than the total power draw of your LED strips.

In tropical climates where humidity levels can fluctuate significantly, checking the IP (Ingress Protection) rating on the product label is highly recommended. For standard indoor desk setups, an IP20 rating is usually sufficient as it protects against dust but offers no water resistance. However, if your gaming setup is located near an open window, a balcony door, or an air conditioning unit prone to condensation, opting for IP65-rated strips with a protective silicone coating will safeguard the circuitry from moisture damage.
Additionally, look for strips that feature clearly designated cuttable marks, which are typically indicated by copper pads or scissor icons spaced at regular intervals. If your layout requires navigating sharp corners around your desk or monitor, purchase compatible solderless corner connectors rather than attempting to fold the strip itself. Finally, choose an appropriate controller—whether a physical remote, a smartphone application, or a system that integrates with your PC software—to manage color modes, brightness levels, and dimming responsiveness.
Prepare the Surfaces and Gather Your Tools
Proper surface preparation is the single most important factor in preventing LED strips from peeling off over time. Dust, grease, and moisture on desk edges, monitor backs, and painted walls will severely compromise the adhesive backing of the strips. Use a clean microfiber cloth dampened with isopropyl alcohol to thoroughly wipe down all mounting surfaces, then allow them to dry completely before proceeding with the installation. Avoid using household glass cleaners or multi-surface sprays, as these often leave behind a thin residue that prevents the adhesive from bonding securely.
While preparing the surfaces, gather all the necessary tools to keep your installation seamless and organized. You will need a reliable measuring tape, sharp scissors for cutting the strips, and a pencil to mark your layout lines. For long runs along walls or under desks, standard adhesive backing may eventually sag due to heat and humidity; in these cases, gathering mounting clips, adhesive-backed cable tie mounts, or aluminum channels with diffuser covers will provide a much more durable and professional finish.
Always review the manufacturer’s instructions for specific surface compatibility and preparation warnings before you begin. Some adhesives may not bond well to raw wood, textured plaster, or certain matte paints commonly found in modern apartments. Knowing these limitations beforehand allows you to plan for alternative mounting solutions, such as using double-sided mounting tape or securing the strips inside lightweight aluminum tracks.
Step-by-Step Installation for Desk and Monitor
To begin the physical installation on your gaming desk, peel the adhesive backing off the LED strip gradually, about thirty centimeters at a time. Press the strip down firmly along the desk edge, applying steady pressure with your thumb for at least ten seconds on each section to ensure full contact with the surface. Avoid pulling or stretching the strip as you apply it, as this can tension the adhesive and cause it to pull away from the surface later, or even damage the delicate internal copper traces.
When you reach the end of a run or need to make a turn, cut the strip only at the designated cut marks. Cutting anywhere else will sever the internal circuit, rendering the remaining portion of the strip useless. If you are wrapping the lights around the back of a monitor, use flexible corner connectors to bridge the gaps between the horizontal and vertical edges. This prevents the strip from bending at a sharp ninety-degree angle, which can crack the solder joints and cause sections of the LEDs to fail.
Position your monitor backlighting carefully to maximize the visual effect while protecting your eyes. Mount the strips approximately two to five centimeters inward from the outer edges of the monitor frame so the individual LED beads remain hidden from your direct line of sight. This positioning allows the light to project outward and diffuse evenly across the wall behind your desk, creating a soft halo effect that reduces screen glare and minimizes eye fatigue during long gaming sessions.
Install Perimeter and Accent Lighting in the Room
Extending your LED lighting beyond the desk to the room’s perimeter, ceiling coves, or baseboards requires additional mounting considerations to ensure a clean look. For long horizontal or vertical runs, relying solely on the built-in adhesive backing is often insufficient, especially on painted concrete walls or textured surfaces. Utilizing lightweight aluminum channels not only keeps the strips perfectly straight but also acts as a heat sink to dissipate warmth, which extends the lifespan of the LEDs.
When routing your strips around the room, avoid placing them near heat sources such as gaming PC exhaust vents, radiators, or areas exposed to direct sunlight through windows. High temperatures can degrade the adhesive backing rapidly and accelerate the aging of the LED chips, leading to premature dimming or color shifting. Additionally, keep the strips away from areas with direct moisture exposure, such as directly beneath an air conditioning unit’s airflow path where condensation might drip.
To navigate room corners smoothly, plan your transitions using flexible extension cables or specialized corner connectors. Bending the strip sharply to fit into a tight corner puts immense mechanical stress on the flexible printed circuit board, which can lead to intermittent connections or complete failure of the downstream LEDs. Using a small, flexible bridge connector allows the strip to make the turn without any physical strain, ensuring consistent power and signal flow throughout the entire perimeter run.
Cable Management and Final Setup
A brilliant lighting setup can easily be ruined by a cluttered web of dangling wires and exposed power bricks. Route all power cables and controller wires neatly along desk legs, monitor arms, or baseboards using cable ties, hook-and-loop straps, or adhesive-backed cable clips. If your desk has a built-in cable management tray, place the LED controller and power adapter inside it to keep them off the floor and hidden from view, ensuring a clean and minimalist aesthetic.
Before finalizing the placement of your cables, double-check that all connector pins between the strips, controllers, and power supplies are fully seated and aligned correctly. Most connectors feature small arrows or markings that must point toward each other to ensure correct polarity. Make sure these connection points are free of dust, lint, or adhesive backing debris, as even a tiny obstruction can cause poor electrical contact and lead to malfunctioning lights.
Once everything is securely mounted and connected, plug in the power supply and turn on the system to test its functionality. Cycle through the various color modes, test the dimming responsiveness from lowest to highest brightness, and verify that any smart home or PC software integrations are communicating correctly with the controller. Observe the entire run closely to ensure that the brightness is uniform from the beginning of the strip to the very end, indicating that your power supply is delivering adequate voltage.
Troubleshooting Common Installation Issues
If a section of your LED strip fails to light up after installation, the issue is often located at a connection point or a cut line. Unplug the power supply immediately and inspect the nearest connector to ensure the pins are making direct contact with the copper pads on the strip. If you used solderless connectors, verify that the locking mechanism is fully engaged and that the strip is inserted in the correct direction, matching the positive and negative markings on both sides.
Flickering lights or inconsistent colors along the strip are common signs of voltage drop or an overloaded power supply. If the LEDs near the end of a long run appear dimmer or display a different color than those at the beginning, your power supply may not have enough capacity to support the total length of the run. To resolve this, you can either shorten the strip, use a power supply with a higher amperage rating that matches your strip’s voltage, or inject power at the far end of the run using a compatible power splitter.
While most low-voltage LED installations are highly safe, electrical safety should always remain your top priority. If you notice that the power adapter, controller, or any part of the LED strip becomes excessively hot to the touch, emits a burning smell, or if your wall outlets spark when plugged in, disconnect the system from the power source immediately. Do not attempt to modify the electrical wiring yourself; instead, consult a qualified electrician to inspect your home’s outlets and ensure your electrical setup is safe for continuous use.
Frequently Asked Questions (FAQ)
Can I cut LED strip lights to fit my desk?
Yes, you can safely cut LED strip lights to fit the exact dimensions of your gaming desk, but you must do so only at the designated cut marks. These marks are typically indicated by a printed line, a scissor icon, or exposed copper pads spaced at regular intervals along the strip. Cutting anywhere else will break the electrical circuit, causing the section of the strip after the cut to stop working entirely. If you plan to use the cut-off portion later, you will need to connect it using solderless clip-on connectors or solder wires directly to the exposed copper pads. Always ensure the power supply is completely disconnected before making any cuts to prevent short circuits.
Will removing LED strip lights damage my condo walls?
Removing LED strip lights can potentially damage painted condo walls or drywall if the adhesive has bonded strongly over time. To minimize the risk of peeling paint or tearing drywall, apply gentle heat to the strip using a hair dryer on a low setting to soften the adhesive backing before you begin peeling. Once the adhesive is warm and pliable, slowly pull the strip away from the wall at a shallow angle, rather than pulling it straight outward. If any sticky residue remains on the wall after removal, clean it gently using a microfiber cloth dampened with a mild, adhesive-removing solvent or soapy water, taking care not to scrub too hard and damage the paint finish.

Community discussion
Share your experience or ask a question. Comments are reviewed before publication.