
Installing vibrant ambient lighting is one of the fastest ways to personalize a condominium, but rental agreements and strict move-out policies often limit your design choices. Standard double-sided adhesives supplied with most light strips are notoriously aggressive, frequently tearing away drywall paper or peeling latex paint when removed. Fortunately, achieving a modern, glowing aesthetic does not require sacrificing your security deposit. By choosing the right renter-friendly mounting alternatives, preparing your surfaces correctly, and planning your electrical layout, you can enjoy a custom lighting setup that comes down cleanly when it is time to move.
To ensure a successful installation, you must balance visual appeal with electrical safety and structural preservation. This guide walks you through the entire process of selecting non-damaging mounting materials, planning your power routing, executing a clean physical installation, and safely removing the setup when your lease ends.
Preparation and Tools for Renter-Friendly Installation
Before unboxing your RGB LED strip light, gathering the correct preparation and mounting tools is essential for a lasting, damage-free bond. The primary reason adhesive installations fail in tropical environments like the Philippines is the presence of microscopic dust, oils, and ambient humidity on the walls. To combat this, you will need a high-quality microfiber cloth and a bottle of 70% isopropyl alcohol. Cleaning the mounting surface with alcohol removes oily residues without degrading the underlying paint, creating an optimal surface for temporary adhesives to grip.
Products mentioned in this guide
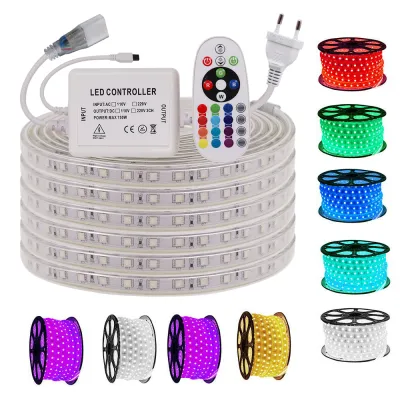
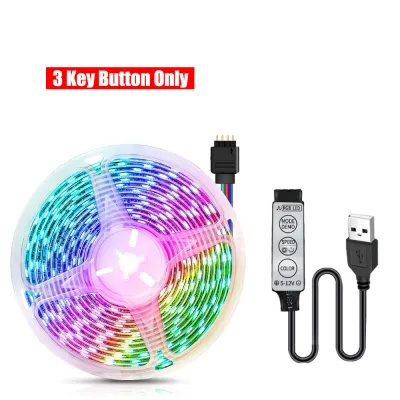
![[Support Lalamove Bulk Order] RGB LED Neon Strip Light Outdoor Waterproof Neon Rope Light Phone APP Bluetooth Controller Dimmable Music Sycn Included Remote Cove Ceiling Home Decoration](https://img.lazcdn.com/g/p/63681b5266aa4dabb2e5988340488c7a.jpg_400x400q80.jpg_.webp)
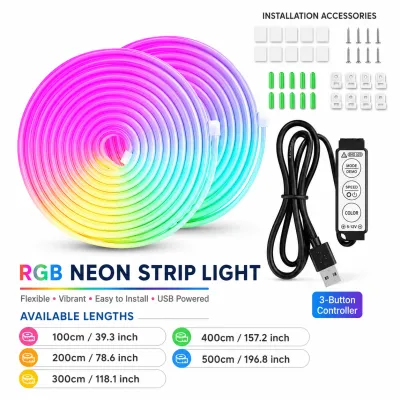
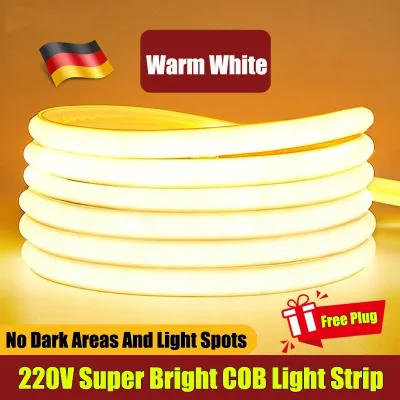
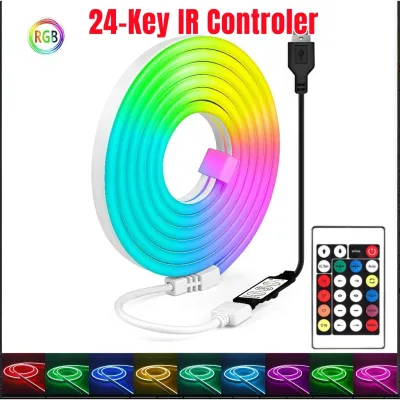
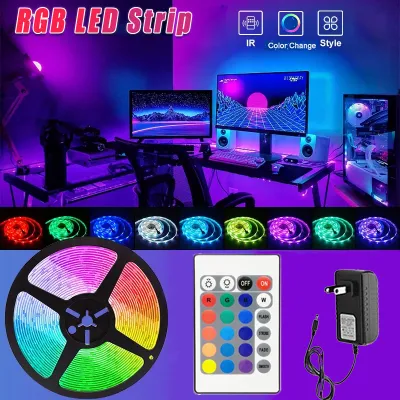
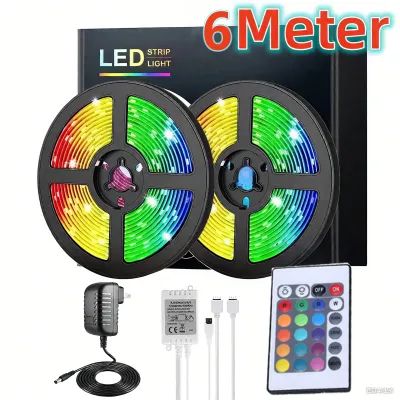
Prices are valid at publication and may change. Please refer to the product page for the latest price.
Relying solely on the factory-applied adhesive backing is a common mistake that leads to either fallen lights or ruined paint. Instead, prepare a toolkit of renter-safe mounting alternatives. Low-tack painter’s tape serves as an excellent protective barrier; you apply the painter’s tape to the wall first, then stick the LED strip directly onto the tape. For corners, vertical runs, or heavier smart LED strips, gather damage-free removable adhesive clips, silicone mounting brackets paired with removable poster strips, or lightweight tension rods for temporary installations across window frames or open shelving.
Electrical safety must also be verified before any physical installation begins. Check the technical specifications printed on your LED power adapter to ensure it matches the local electrical grid, which typically operates at 220 volts in the Philippines. Verify that the adapter is certified by relevant safety bodies and that its wattage rating comfortably exceeds the total power consumption of your LED strips. Additionally, ensure the designated wall outlet is not overloaded with other high-draw appliances like air conditioners or microwave ovens, as this can cause voltage fluctuations or safety hazards.
Step-by-Step Installation Guide
A successful installation requires a systematic approach that prevents physical damage to the light strips and ensures a clean, professional look. Following a structured process prevents common mistakes like overstretched cables, uneven lighting, or loose connections.

Planning the Layout and Power Connection
Begin by measuring the exact perimeter of the area where you plan to install the RGB LED strip light. Use a flexible measuring tape to trace the path along your ceiling, baseboards, or behind media consoles, noting any sharp corners or obstacles. Once you have the total length, compare it to the length of your LED strip. If you need to shorten the strip, locate the designated cut lines marked with copper pads or scissor icons; cutting anywhere else will permanently ruin that section of the lights.
If your layout requires multiple strips to cover a large area, verify the manufacturer’s limits on daisy-chaining. Connecting too many strips end-to-end causes a phenomenon known as voltage drop, where the electrical current weakens as it travels further from the power source. This results in dimming, flickering, or incorrect color reproduction at the far end of the run, and it can overload the power adapter. For long runs, you may need to use a dedicated power amplifier or route separate power lines from a single, higher-capacity driver.
Route your power cables strategically to ensure they reach the nearest wall outlet without tension. Never run power cords under heavy rugs, carpets, or across high-traffic walkways, as continuous foot traffic can wear down the protective insulation, creating a severe fire hazard. Keep the power adapter accessible so you can easily unplug it if you need to troubleshoot or isolate the system.
Mounting the LED Strips Without Wall Damage
The built-in adhesive on most commercial LED strips is made of high-tack acrylic or polyurethane tape designed for permanent industrial bonds. When applied directly to standard condo walls—which are often finished with flat or semi-gloss latex paint over drywall or concrete—this adhesive cures over time, bonding so strongly that removal inevitably tears the paint or plaster. To prevent this, you must establish a protective barrier or use mechanical, non-penetrating supports.
The painter’s tape method is a highly effective, budget-friendly solution. Apply a continuous line of high-quality blue painter’s tape to the wall along your planned path, pressing it down firmly with a clean cloth to ensure complete contact. Next, peel the backing off the RGB LED strip light and press its adhesive side directly onto the smooth backing of the painter’s tape. Because painter’s tape is engineered to release cleanly from walls without leaving residue or pulling paint, your walls remain completely protected.
For areas prone to high humidity, such as kitchens or covered balconies, standard tapes may lose their grip over time. In these environments, use removable silicone mounting clips secured with damage-free adhesive strips designed specifically for humid conditions. Space these clips at regular intervals of approximately 30 to 45 centimeters to prevent the strip from sagging. Avoid installing any adhesives on freshly painted walls (which require at least 30 days to cure fully), heavily textured plaster, or dusty surfaces, as the lack of surface contact will cause the installation to fail.
Clean Cable Management and Controller Setup
Exposed, dangling wires can quickly ruin the clean aesthetic of your ambient lighting setup. To achieve a professional finish, use paintable, self-adhesive cord covers or plastic raceways to route the power cables neatly along your baseboards, door frames, or wall corners. Choose cord covers that utilize gentle, removable adhesives, or mount them flush against furniture legs to keep them completely out of sight.
Position your RGB controller receiver and the main power adapter in a well-ventilated, dry location. In tropical climates, electronic components can generate significant heat during extended use; placing them in tight, unventilated spaces behind heavy media consoles or inside closed cabinets can lead to premature component failure or thermal shutdown. Ensure there is at least a few centimeters of open space around the power brick to allow natural air circulation.
Before finalizing your cable management and securing the wires, connect the power supply and pair your remote control or smartphone application. Test the basic color functions, dimming range, and smart features to ensure the receiver is within range of your remote or Wi-Fi router. Verifying that everything functions correctly at this stage saves you from having to dismantle your carefully concealed cables later.
Testing and Adjusting Your Ambient Lighting
Once the physical installation is complete, perform a comprehensive system test to ensure safety and optimal performance. Turn on the RGB LED strip light and cycle through the primary colors—red, green, and blue—individually. This step allows you to inspect the entire length of the strip for any dead LEDs, loose solder joints, or flickering segments that might indicate a manufacturing defect or physical damage sustained during mounting.
Next, adjust the brightness levels and color temperatures to match your condo’s existing ambient lighting. For relaxing evening environments, warmer tones or dimmed solid colors work best, while cooler, brighter settings are ideal for task lighting or accentuating architectural features. If your strip features dynamic modes like color fading or music synchronization, test these patterns to ensure the controller processes the signals smoothly without lag.
During the first hour of continuous operation, monitor the power adapter and the LED strip itself for excessive heat. It is normal for the power brick to feel warm to the touch, but it should never feel hot enough to cause discomfort. If you notice an unusual chemical smell, extreme heat, or buzzing sounds coming from the adapter, immediately disconnect the power, isolate the system, and consult the manufacturer’s troubleshooting guide or a qualified electrical professional.
Safe Removal and Maintenance Tips
When it is time to move out of your condo or redesign your space, removing the LED strips safely is just as important as the initial installation. To remove the setup without peeling the paint, use a handheld hairdryer set to low or medium heat. Gently blow warm air over a 30-centimeter section of the tape for about 30 seconds to soften the adhesive backing. Once the adhesive is warm and pliable, slowly peel the strip back at a shallow 45-degree angle, rather than pulling it straight outward.
For stubborn sections where the adhesive has bonded tightly, use a piece of dental floss or thin nylon string. Slide the floss behind the LED strip or the mounting clip and use a gentle sawing motion to slice through the softened adhesive layer. This technique safely breaks the bond without putting physical tension on the drywall or paint. Any remaining sticky residue can be easily wiped away using a microfiber cloth dampened with a small amount of isopropyl alcohol or a dedicated adhesive remover.
Maintaining your LED strips over time ensures they remain bright and function safely. Dust accumulation acts as an insulator, trapping heat and reducing the light output of the individual diodes. Every few weeks, gently wipe the surface of the strips with a dry, clean microfiber cloth; never use wet wipes, liquid spray cleaners, or abrasive materials on live electrical components. If you need to store the strips for a future move, roll them loosely around a plastic spool or cardboard tube. Folding or bending the strips sharply can break the delicate internal copper traces, rendering the lights unusable.
Frequently Asked Questions (FAQ)
Can I install LED strip lights on a popcorn or textured ceiling?
Adhesive-based mounting methods generally fail on popcorn or heavily textured ceilings because the uneven surface prevents the tape from making full contact. To install RGB LED strip lights in these areas without drilling, consider using lightweight tension rods positioned between walls, or run the lights along the top of crown molding or tall furniture instead. If your condo association allows minor, easily patchable pinholes, you can also secure slim, lightweight aluminum LED channels using small finishing nails or push pins, which leave minimal damage that is simple to fill with spackling paste upon move-out.
Will the built-in adhesive on LED strips peel off condo paint?
Yes, the factory-applied adhesive on most LED strips is highly likely to peel off condo paint, especially flat latex paint commonly used in rental units. These adhesives are designed for permanent bonding and cure stronger over time, meaning they will pull the paint layer away from the drywall when removed. To prevent this damage, always use an intermediary protective layer like high-quality painter’s tape, or utilize removable mounting clips and poster strips engineered specifically for clean removal.
Do I need an electrician to install plug-in RGB LED strip lights?
No, standard plug-in RGB LED strip light kits are designed for safe, DIY-friendly installation and do not require a licensed electrician. However, this safety boundary only applies to low-voltage, plug-and-play systems that connect directly to an existing wall outlet. If your project involves modifying fixed electrical wiring, routing cables inside wall cavities, hardwiring a power driver directly into your condo’s electrical panel, or installing new wall switches, you must isolate the power and hire a qualified professional to ensure compliance with local electrical codes.

Community discussion
Share your experience or ask a question. Comments are reviewed before publication.