
Installing running LED strip lights—often called chasing, flowing, or addressable LED lights—is an excellent way to elevate a modern condo room. Unlike standard LED strips that change color uniformly, running strips feature individual integrated circuits (ICs) that allow different segments to display multiple colors simultaneously, creating dynamic motion effects. Achieving a clean, professional installation requires careful planning, precise mounting, and correct electrical configuration. By following a structured approach, you can transform your living space, bedroom, or kitchen cove into a vibrant sanctuary while keeping your setup safe and compliant with condo regulations. Before purchasing components, always verify that your power supply, controller, and LED strip share the exact same voltage rating (typically 5V, 12V, or 24V) to prevent permanent electrical damage.
Planning the Layout and Preparing the Surface
A successful installation begins with a detailed layout plan and thorough surface preparation. Start by measuring the exact perimeter of your target area, whether you are highlighting a ceiling cove, framing a bed headboard, or adding under-cabinet lighting. When calculating the required length of the running LED strip lights, account for any corners or obstacles where the strip must bend, as these areas may require specialized connectors rather than sharp folds.
Once you have your measurements, identify the nearest electrical outlet and plan a routing path for the power cable that keeps it hidden from view and clear of foot traffic. In tropical climates like the Philippines, high indoor humidity can severely compromise the adhesive backing of LED strips over time. To prevent the strip from peeling or sagging, clean the mounting surface thoroughly with isopropyl alcohol to remove all traces of dust, grease, and oily residue, allowing it to dry completely.
Products mentioned in this guide
![AceDeal [Support Lalamove Bulk Orders] 5V Neon RGBIC Strip Smart Bluetooth APP Change Color Remote Control Dimmable Outdoor Waterproof Flexible Neon Light Strip Dynamic Running Flow Home Game Room Xmas Decoration](https://img.lazcdn.com/g/p/5d7ead093b27eda54735406325c111d9.jpg_400x400q80.jpg_.webp)
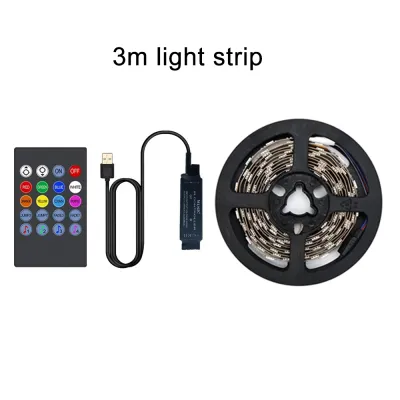
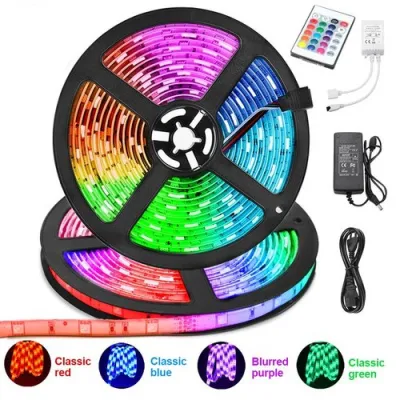
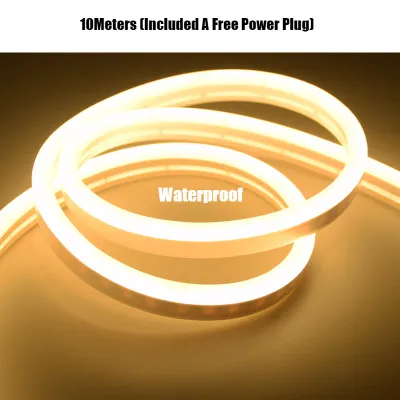
Prices are valid at publication and may change. Please refer to the product page for the latest price.
It is also essential to evaluate the texture and material of your mounting surface. While smooth surfaces like glass, polished wood, or metal provide an excellent bond for adhesive tape, textured concrete walls, rough plaster, or freshly painted surfaces present a challenge. If your condo features these materials, plan to use supplemental mounting clips or plastic brackets to secure the strip firmly in place.
Mounting the LED Strip and Power Components
Mounting your running LED strip lights requires a patient, systematic approach to protect both the delicate circuitry of the strip and the walls of your condo. Begin by peeling away the adhesive backing tape gradually, exposing only a few inches at a time as you press the strip firmly along your pre-planned path. Apply steady, even pressure with your fingers to ensure a strong bond, taking care not to press directly on the fragile LED chips or the tiny integrated circuit controllers.

When navigating corners, avoid making sharp 90-degree bends, which can easily fracture the internal copper traces and disrupt the data signal required for the running animation. Instead, create a gentle loop at the corner or use specialized solderless corner connectors designed specifically for addressable LED strips. For long overhead runs, such as along a high ceiling cove, relying solely on the built-in adhesive is rarely sufficient; installing clear mounting clips or mounting the strip inside aluminum channels will provide robust physical support.
Aluminum channels not only keep the installation perfectly straight and professional but also act as heat sinks that dissipate warmth, thereby extending the lifespan of your LEDs. Once the strip is mounted, secure the power supply and controller in a well-ventilated, easily accessible location. Avoid tucking these power components into tightly enclosed spaces, behind heavy drapes, or in direct contact with flammable materials, as they generate heat during operation. To maintain a clean, minimalist aesthetic in your condo, route any exposed power cables through paintable plastic cable raceways or cord covers mounted along the baseboards.
Connecting the Controller and Power Supply
Wiring your running LED strip lights correctly is critical to enabling the dynamic chasing effects and ensuring overall electrical safety. Unlike standard LED strips, running strips rely on a dedicated data line to transmit animation instructions from the controller to each individual LED chip. You must match the connector pins—typically labeled V+ (voltage), GND (ground), and Data (often marked as DI or DIN)—between the strip, the controller, and the power supply strictly according to the manufacturer’s wiring diagram.
Aligning these pins incorrectly or reversing the data flow direction will prevent the running effects from functioning and can permanently burn out the control chips. Ensure all physical connections are tight, secure, and properly insulated; use wire nuts, lever-lock connectors, or high-quality electrical tape to cover any exposed wire splices and prevent short circuits. Once the low-voltage connections are secure, plug the power supply into a standard wall outlet, or route it through a smart plug to enable easy scheduling and integration with your home automation system.
Always verify the electrical specifications of your components, including the total wattage limit of your power supply, which should exceed the total wattage consumption of your LED strip by at least 20 percent to prevent overheating. If your planned lighting design requires hardwiring the power supply directly into your condo’s main electrical system or modifying existing wall switches, stop immediately. For any fixed wiring, damp area installations, or complex electrical modifications, always isolate the main power supply at the circuit breaker and hire a qualified professional to complete the work safely.
Configuring the Running Effects and Final Testing
With the physical installation and wiring complete, you can now configure your controller to unlock the full potential of your running LED strip lights. Begin by pairing the controller with its dedicated remote control or smartphone application via Bluetooth or Wi-Fi, following the exact pairing sequence detailed in the manufacturer’s instruction manual. If you are using a smart app, ensure your mobile device is connected to the correct wireless network band, as many smart lighting controllers operate exclusively on 2.4GHz Wi-Fi networks.
Once connected, use the application interface to calibrate the number of individual pixels or IC chips on your strip, which tells the controller exactly how far the running animation should travel before looping. You can then experiment with adjusting the speed, direction, and color palettes of the chasing effects to match the ambient mood of your condo room. For a lively gathering, you might select fast, multi-colored dynamic patterns, while a relaxing evening might call for slow, warm white breathing modes or gentle color transitions.
Conduct a thorough test of the entire length of the strip at maximum brightness to verify that there are no dead pixels, flickering segments, or noticeable color inconsistencies. If you notice that the colors become dimmer or shift toward a warm red hue near the end of a long strip, this indicates a voltage drop, which can be resolved by injecting power at both ends. Once you are satisfied with the performance, save your favorite custom lighting scenes in the app and set automated schedules to turn the lights off when the room is unoccupied, helping you manage your energy consumption.
Troubleshooting Common Installation Issues
Even with careful planning, troubleshooting is sometimes necessary to resolve minor performance issues with dynamic lighting systems. If you encounter a situation where only a portion of the strip lights up or the running effect stops mid-way, check for loose data connections at the joints. Running LED strips have a specific data flow direction, indicated by small arrows printed on the strip itself; ensure that the data signal is flowing away from the controller and that you have not connected a segment backward.
If the controller becomes completely unresponsive or fails to connect to your smartphone app, verify that the power supply is delivering the correct voltage and reset the controller according to the manual’s instructions. Check your smartphone’s app permissions, ensuring that Bluetooth and location services are enabled during the initial pairing process. For strips that begin to sag or peel away from the wall, avoid using generic household glue, which can damage the strip’s protective coating; instead, apply high-bond, double-sided mounting tape or install physical mounting clips.
If you notice that the running animations stutter, lag, or skip frames, this is often caused by wireless signal interference from nearby routers and appliances, or because the strip length exceeds the maximum pixel capacity of your controller. To resolve this, try repositioning your wireless router, switching to a less congested wireless channel, or dividing the installation into shorter segments powered by synchronized controllers.
Condo-Specific Rules and Rental Considerations
Living in a condo means you must balance your interior design aspirations with building regulations and, if renting, the terms of your lease agreement. Before undertaking any lighting installation that involves drilling into concrete ceilings, channeling into walls, or altering built-in cabinetry, review your condo corporation’s house rules. Many properties strictly prohibit permanent structural modifications, and violating these guidelines can lead to fines or complications when you eventually move out.
If you are renting your condo, prioritize damage-free mounting alternatives to protect your security deposit. Instead of using the aggressive permanent adhesive pre-applied to the LED strips, which can tear away delicate matte paint or drywall paper upon removal, mount the strips inside lightweight plastic channels secured with removable adhesive strips. Tension rods or freestanding floor tracks can also support vertical lighting runs without requiring a single screw.
Keep all original light fixtures, covers, and hardware safely stored in a labeled box so you can easily restore the room to its original state before your lease ends. By planning your running LED strip lights with easy removal in mind, you can enjoy a highly customized, modern living space without risking your security deposit or violating building policies.
Frequently Asked Questions (FAQ)
Can I cut and reconnect running LED strip lights?
Yes, you can cut and reconnect running LED strip lights, but you must follow more precise guidelines than those for standard LED strips. Look closely for the designated cut lines, which are marked by copper pads and are typically spaced further apart on running strips due to the placement of individual IC chips. Always cut exactly along these marked lines using sharp scissors to avoid damaging the internal data circuit. Reconnecting the cut segments requires compatible multi-pin quick connectors or precise soldering, and you must ensure that the data flow arrows on both segments point in the same direction, away from the power source.
Do running LED strip lights consume a lot of electricity?
Running LED strip lights are highly energy-efficient because they utilize advanced LED technology, but their actual power consumption depends on how you use them. Factors such as the total length of the strip, the brightness level, and the complexity of the animations play a major role, with solid white light consuming significantly more power than dynamic, single-color chasing effects. To manage your electricity costs in ₱, check the wattage rating on your power supply and use the controller’s app to set automated schedules or lower the brightness to a comfortable ambient level when full illumination is not required.
Why are my running lights flickering or moving slowly?
Flickering or sluggish animations are usually caused by either a voltage drop or data signal degradation over long distances. When low-voltage power travels down a long LED strip, resistance causes the voltage to drop, resulting in flickering, dimming, or incorrect colors near the end of the run. You can resolve this by injecting power from the same power supply to both ends of the strip. If the issue is a lagging animation, the data signal may be weakening over the distance, which requires installing a compatible data amplifier or splitting the run into smaller sections managed by synchronized controllers.

Community discussion
Share your experience or ask a question. Comments are reviewed before publication.