
Installing a USB LED strip light around your gaming desk is one of the quickest and most budget-friendly ways to elevate your setup. Beyond the obvious aesthetic appeal, a well-placed ambient glow reduces eye strain during long gaming sessions by minimizing the harsh contrast between a bright monitor and a dark room. Because these light strips run on low-voltage USB power, they are incredibly safe, highly versatile, and easy to install without any specialized electrical knowledge.
In tropical climates like the Philippines, high humidity and warm ambient temperatures can present unique challenges for adhesive backing and cable management. Dust and moisture can quickly degrade the sticky tape on the back of cheap light strips, causing them to sag or peel off within weeks. By taking the time to properly prepare your desk surface, select a stable power source, and route your cables cleanly, you can ensure a professional-looking setup that stays securely in place for years to come.
What You Need Before Installing USB LED Strip Lights
Gathering all your tools and materials before you begin prevents frustrating interruptions and ensures a seamless installation. A standard USB LED strip light kit typically includes the flexible LED strip itself, an inline controller or receiver, and either a physical remote control or instructions for a mobile app. Most budget-friendly kits, which often cost under ₱500 on local online marketplaces, utilize 5V DC power, making them highly compatible with standard USB ports.
Products mentioned in this guide
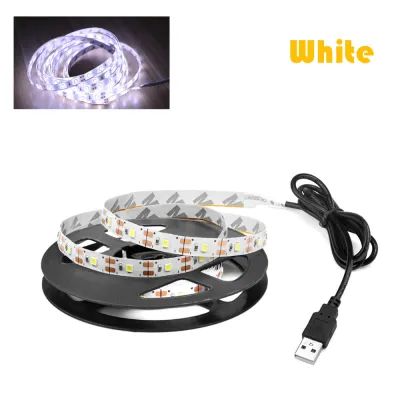
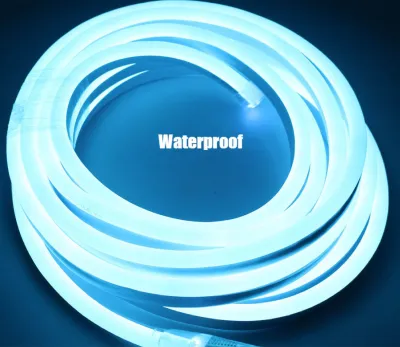
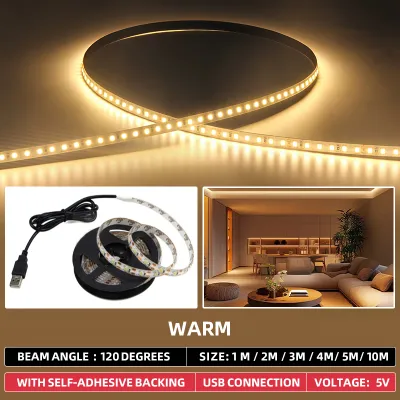
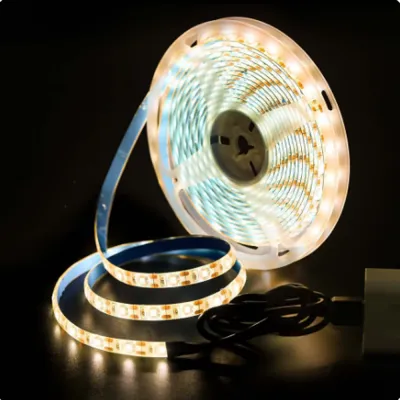
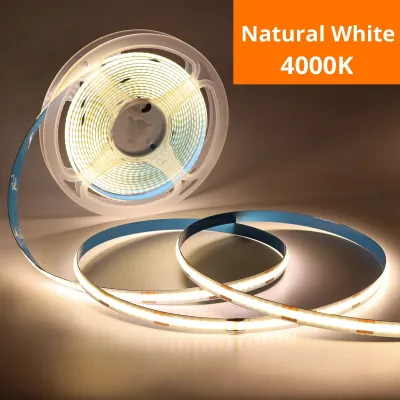
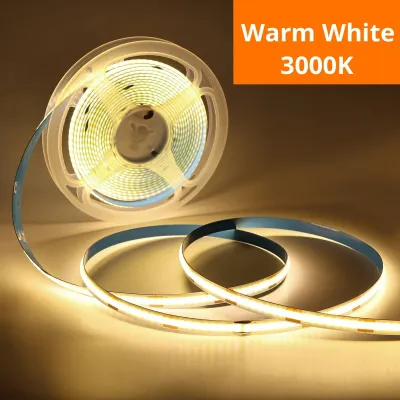
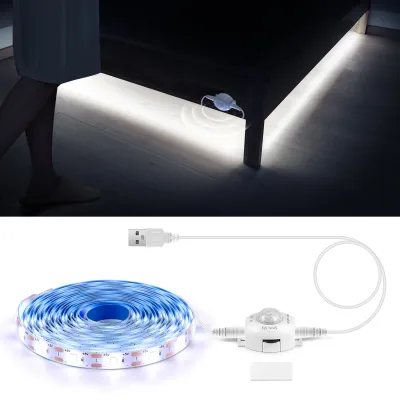
Prices are valid at publication and may change. Please refer to the product page for the latest price.
To ensure the adhesive bonds permanently to your desk, you will need cleaning supplies. Isopropyl alcohol (70% concentration is ideal) and a clean microfiber cloth are essential for removing oils, fingerprints, and dust. Avoid using household glass cleaners or multi-surface sprays, as these often leave behind a thin, slick residue that prevents the adhesive tape from sticking properly.
For a clean, professional finish, you should also prepare cable management tools. Small adhesive cable clips, zip ties, or hook-and-loop straps will help you secure dangling wires beneath the desk surface. If your desk layout requires precise lengths, keep a sharp pair of household scissors nearby. However, you must verify that your specific LED strip model is designed to be cut; look for designated cutting lines marked with copper pads or small scissors icons along the strip.
How to Choose the Right USB Power Source
Selecting the correct power source is critical to prevent your lights from flickering, dimming, or causing electrical instability in your gaming peripherals. USB LED strips operate on a 5-volt system, but the current (measured in amperes, or A) they draw depends entirely on the length of the strip and the density of the LEDs. Before plugging your lights in, you must verify that your chosen port can supply sufficient wattage.

Many gamers naturally look to their PC tower to power their desk accessories. While convenient, motherboard USB ports have strict power output limits. A standard USB 2.0 port typically outputs only 0.5A (2.5 watts), while a USB 3.0 port outputs up to 0.9A (4.5 watts). If you connect a long, high-density RGB strip to a standard PC port, the strip may flicker, display incorrect colors, or fail to turn on. In worse cases, it can trigger an overcurrent protection warning on your computer, temporarily disabling the port. Always check your motherboard manual to verify the power limits of your specific ports before connecting high-draw accessories.
Using a dedicated USB wall adapter is generally the safest and most reliable option. A standard phone charger rated for 5V and 2A (10 watts) or 2.4A (12 watts) provides more than enough stable power for most standard desk strips. Check the small print on the side of the adapter to confirm its output rating. Using a dedicated wall adapter also ensures your lights can remain on even when your computer is shut down, allowing you to use the ambient glow as room lighting.
If you prefer an automated setup, consider using the USB ports built into your gaming monitor or a smart power strip. Many modern monitors feature powered USB downstream ports that automatically cut power when the screen enters standby mode, turning your lights off when you walk away. Alternatively, plugging your USB adapter into a smart plug allows you to integrate your desk lighting into your existing smart home ecosystem, enabling voice commands or scheduled power cycles.
Step-by-Step Installation Guide for Your Gaming Desk
Step 1: Plan the Layout and Measure
Before peeling off any adhesive backing, map out exactly where the lights will go. Decide whether you want direct lighting (mounting the strip along the outer edge of the desk facing you) or indirect ambient lighting (mounting the strip on the back edge of the desk facing the wall, or underneath the desk facing the floor). Indirect lighting is highly recommended for gaming setups because it diffuses the light softly against the wall, preventing harsh glare. Measure the planned path with a tape measure to ensure your USB LED strip is long enough, and make sure the USB power cable can comfortably reach your chosen power source without being stretched tight.
Step 2: Clean the Mounting Surface
Dust, moisture, and skin oils are the primary enemies of adhesive tape, especially in warm, humid environments. Dampen your microfiber cloth with isopropyl alcohol and thoroughly wipe down the entire mounting path. Pay extra attention to the back edges and underside of the desk, where dust tends to accumulate unnoticed. Allow the surface to dry completely for at least five minutes. This step is absolutely crucial; skipping it almost guarantees that your light strip will begin to sag and peel off within a few weeks.
Step 3: Apply the Strip and Navigate Corners
Start from the end closest to your power source so that the USB cable has plenty of slack. Peel back a small section of the adhesive backing—about 10 to 15 centimeters at a time—and press the strip firmly onto the cleaned surface. Hold pressure on each section for a few seconds to activate the pressure-sensitive adhesive. When you reach a 90-degree corner of your desk, do not bend the strip sharply, as this can crack the delicate internal copper circuitry and ruin the entire strip. Instead, create a loose, rounded loop (often called a ribbon fold) at the corner, or use solderless L-shaped LED strip connectors to make a clean, flat turn.
Step 4: Connect and Test
Once the strip is fully mounted, connect the inline controller to the USB power cable and plug it into your power source. Before you spend time tidying up the wires, turn the lights on and cycle through all the colors, brightness levels, and dynamic modes using your remote or mobile app. This quick test ensures that all LED segments are functioning perfectly and that the power supply is delivering stable, flicker-free energy to the entire length of the strip.
Cable Management and Routing Tips for a Clean Setup
A brilliant lighting setup can easily be ruined by a messy tangle of dangling black wires. Proper cable routing not only looks professional but also protects your equipment from accidental snags. Start by securing the USB power cable and the inline controller module. Because the controller often contains the infrared receiver for your remote, mount it in a location that is hidden from direct view but still has a clear line of sight to where you sit, such as just under the front lip of the desk or on the side of your monitor bezel.
Use small, adhesive cable clips to guide the USB cable along the underside of your desk or down the back of a desk leg. Space the clips roughly 20 to 30 centimeters apart to prevent the cable from sagging over time. If you have a standing desk, make sure to leave enough slack in the cable near the pivot points so that the wire does not stretch or unplug when the desk transitions between sitting and standing heights.
Bundle any excess wire length together using reusable hook-and-loop straps or zip ties. Avoid wrapping cables too tightly, as this can pinch the internal copper wires and cause connectivity issues. Tuck the bundled wires into a cable management tray mounted under your desk, or secure them flat against the desk frame. Ensure that no loose wires hang down near your feet, where they could easily be caught by your feet or the casters of your gaming chair.
Troubleshooting Common USB LED Strip Issues
If your lights begin to flicker, flash rapidly, or display incorrect colors, the most common culprit is insufficient power. This frequently happens when a long strip is plugged into a low-power USB port on a PC or an old phone charger. To resolve this, unplug the strip from your computer and connect it to a dedicated 5V wall adapter rated for at least 2A. If the flickering persists, check the physical connection points between the USB cable, the controller, and the strip to ensure they are pushed together tightly.
When dealing with peeling adhesive, especially in humid tropical climates, standard double-sided tape may not hold up over time. If a section of your strip begins to sag, do not try to re-stick the dirty tape. Instead, scrape away the old adhesive, clean the area again with isopropyl alcohol, and apply a strip of heavy-duty, outdoor-rated double-sided mounting tape. Alternatively, you can use small, screw-in silicone mounting brackets designed specifically for LED strips to hold them permanently in place under your desk.
An unresponsive controller or remote is another common issue. If your physical remote stops working, first check if there is a clear plastic battery saver tab that needs to be pulled out of the bottom compartment. If the tab is gone, try replacing the button-cell battery (usually a CR2025 or CR2032). For app-controlled smart strips, ensure your phone’s Bluetooth or Wi-Fi is turned on, and verify that the strip is within range of your router. If the app still cannot find the device, perform a factory reset on the controller by unplugging the USB power source and plugging it back in three to five times in rapid succession until the strip begins to flash.
Frequently Asked Questions (FAQ)
Can I cut my USB LED strip light to fit my desk?
Yes, but you must only cut the strip at designated cutting points. These points are easily identifiable by copper pads spaced every few centimeters along the strip, often accompanied by a small scissors icon. Cutting anywhere else will permanently break the electrical circuit for that section, causing all LEDs beyond the cut to stop working entirely. Always use a sharp pair of scissors and make a clean, straight cut directly down the middle of the copper pads while the power is completely disconnected.
Will leaving the LED strip on damage my desk surface?
Low-voltage 5V USB LED strips generate very little heat, making them safe to use on almost any desk material, including solid wood, metal, glass, and laminate. However, prolonged exposure to even mild warmth combined with high humidity can soften cheap adhesives over time. This can leave behind a sticky residue when removed or, in rare cases, lift delicate wood veneers or cheap paint finishes. If you are concerned about a premium or antique desk finish, test a small piece of the adhesive tape on a hidden area first, or mount the strip using removable mounting putty or non-adhesive mounting clips.
How do I sync the RGB lighting with my PC games?
Standard USB LED strips operate independently using their own physical remotes or basic mobile apps and cannot sync directly with your PC games. To achieve reactive lighting that matches your screen’s action, you will need an addressable RGB (ARGB) strip. These specialized strips must connect directly to a compatible 3-pin 5V ARGB header on your PC motherboard or to a dedicated USB controller box that interfaces with PC synchronization software. Always verify the manufacturer’s software compatibility and connection requirements before purchasing if game integration is your primary goal.

Community discussion
Share your experience or ask a question. Comments are reviewed before publication.