
To set up lighting for a Christmas backdrop and avoid distracting shadows in family photos, you must establish physical distance between your subjects and the background, diffuse your light sources, and use dedicated background illumination. When setting up a holiday photo booth in your home, managing these elements ensures your portraits look clean, professional, and festive. By understanding how light behaves in a confined space, you can easily transform a standard living room into a functional holiday portrait studio.
Understanding Light Placement for Backdrop Photography
The physical relationship between your subjects, the backdrop, and your light sources determines the intensity and position of shadows. When a person stands directly against a wall or backdrop, any light pointed at them will cast a sharp, dark outline immediately behind them. By increasing the distance between the family and the backdrop, you allow the shadow to fall to the floor before it can reach the background material.
Light angle and height also dictate where shadows land. A light placed directly in front of the subject at eye level casts a shadow directly behind them, which is highly visible to the camera. Elevating the light source to a 45-degree angle relative to the subject and tilting it downward forces the shadow down toward the floor, keeping it out of the camera’s frame.
Products mentioned in this guide
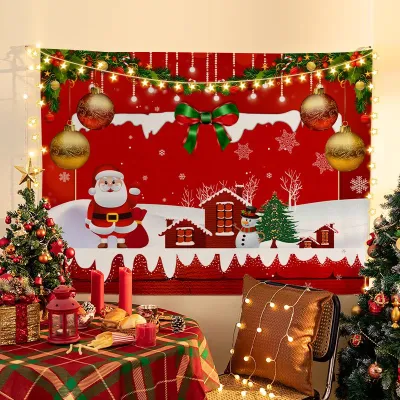
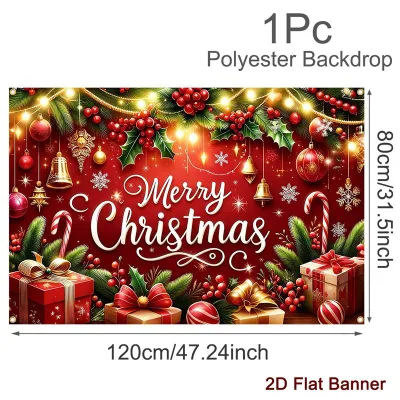
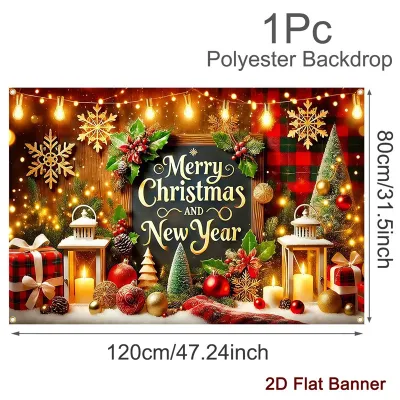
27 Lazada user ratings
💰Price:10 🎨Design:10 🔍Quality:10 thank you seller5 stars⭐⭐⭐⭐⭐
thank seller
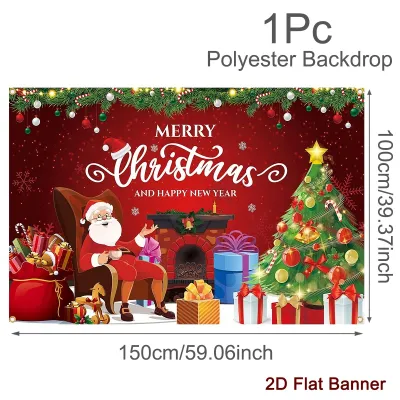
166 Lazada user ratings
Goods naman at malaki din pala siya kaya 5 star to sakin.. Tnx seller at kay kuya rider na suki ko na magdeliver ng parcel ko 😊👍
maganda ang kulay at texture
Very nice product
thanks seller
ok very nice
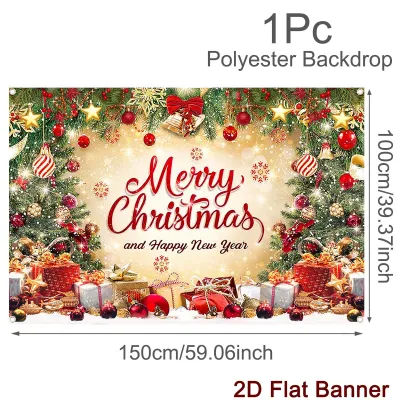
![【Reusable】180x110CM Merry Christmas Party Banner decoration background Extra large red Xmas Supplies [In Stock]](https://img.lazcdn.com/g/p/15dcd724d8a7f72e4242ae589cd46817.jpg_400x400q80.jpg_.webp)
156 Lazada user ratings
Thank you courier, Lazada and seller. The item was given to a sister-in-law. She send one pic only but she said that I item fit on their wal…Read full reviewShow less
Thank you courier, Lazada and seller. The item was given to a sister-in-law. She send one pic only but she said that I item fit on their wall near the dining area. She loved the quality of the materials used in the banner and the printing itself.
Lightweight and easy to carry, Durable and safe material, Secure packaging, Good seller service, Bright and vibrant color, High quality prod…Read full reviewShow less
Lightweight and easy to carry, Durable and safe material, Secure packaging, Good seller service, Bright and vibrant color, High quality product, Great for photo studio use,
Lightweight and easy to carry, Good seller service, Durable and safe material, Perfect for festive events, Fast shipping from local warehous…Read full reviewShow less
Lightweight and easy to carry, Good seller service, Durable and safe material, Perfect for festive events, Fast shipping from local warehouse,
Lightweight and easy to carry, Secure packaging, Great for photo studio use, Perfect for festive events, Good seller service,
High quality product, Fast shipping from local warehouse, Lightweight and easy to carry, Good seller service,
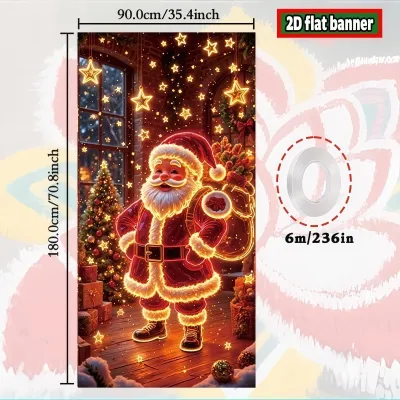
Prices are valid at publication and may change. Please refer to the product page for the latest price.
Ambient light in your home can complicate this setup. Overhead ceiling fans with warm bulbs or bright window light can introduce competing light directions and unwanted color casts. Turning off general room lights or blocking windows with curtains allows you to control the direction and quality of your portrait lighting completely.
Essential Lighting Equipment for Holiday Portraits
To achieve consistent results, you need to choose the right type of light source. Continuous LED panels and speedlights are the two primary options for home studios. Continuous LED panels are highly recommended for family portraits because they allow you to see exactly where the shadows fall in real-time before pressing the shutter. They also run much cooler than traditional tungsten bulbs, which is a vital safety consideration in warm, humid tropical climates where indoor spaces can heat up quickly. Speedlights offer high power and can freeze motion, which is helpful when photographing excited children, but they require test shots to evaluate shadow placement.

Harsh, direct light creates hard-edged shadows that are difficult to hide. Light modifiers, such as softboxes or white shoot-through umbrellas, are essential tools that scatter and soften the light. A larger modifier relative to the subject produces softer light and gentler shadow transitions.
When gathering your gear, check the color temperature labels on all light sources. Mixing a cool daylight LED panel (typically 5600K) with warm household bulbs (around 2700K) creates distracting color patches in your photos. Ensure all your active lights share a matching color temperature to maintain natural skin tones and vibrant holiday colors. Always verify that your lighting equipment matches the standard 220V electrical supply common in local households to prevent damage to your gear.
Step-by-Step Setup to Eliminate Shadows
Achieving a shadow-free portrait requires a systematic approach to building your lighting setup. Instead of turning on all your lights at once, you should position and test each light source individually. This layered method allows you to identify the source of any stray shadows and correct them before finalizing your camera settings.
Positioning the Subject and Backdrop
Begin by setting up your Christmas backdrop. To prevent shadows from casting onto the festive design, position your family members at least 1.5 to 2 meters in front of the backdrop. This physical buffer is the single most effective way to eliminate background shadows.
If you are photographing a large, wide family group, you will need to arrange them in layers or a shallow arc rather than a straight line. This layout ensures that family members on the outer edges do not cast shadows on those standing in the center.
Ensure your backdrop stand is physically secure. In busy household environments, especially with children running around, a heavy-duty stand weighted down with sandbags or water bottles is essential. If you are using a paper backdrop, high indoor humidity can cause the material to sag or wrinkle, which catches light unevenly and creates artificial shadows. Keep the paper taut and secure the edges with clamps.
Configuring the Key and Fill Lights
Your key light is the primary light source illuminating your family. Position this light at approximately 45 degrees to one side of the camera, elevated above the subjects’ head height and angled downward. This position mimics natural sunlight, creating flattering depth on faces while casting shadows down and away from the backdrop.
Because a single key light leaves the opposite side of the face in deep shadow, you must introduce a fill light or a large reflector on the opposite side of the camera. The fill light should be set to a lower intensity than the key light—typically a 1:2 power ratio—to soften the shadows on the face without creating a competing second shadow on the backdrop.
If you do not have a second light, a large white foam board or a commercial silver reflector placed just outside the camera frame can bounce light from the key source back onto the family, gently filling in the dark side of their faces.
Illuminating the Christmas Backdrop
Even with proper subject distance, the backdrop itself can look dim or unevenly lit. To make the holiday decorations pop, place one or two dedicated background lights behind your subjects, pointing directly at the backdrop. These lights must be positioned low to the ground or hidden behind the family so they remain completely out of the camera frame.
Angle these background lights carefully to avoid lens flare, which occurs when stray light enters the camera lens directly and washes out the image contrast. Using barn doors or cardboard flags on your background lights can help direct the beam solely onto the backdrop.
Balance the brightness of your background lights so they match or are slightly dimmer than the light on your subjects. If the background is too bright, it will distract from the family; if it is too dark, the festive details will be lost. Be mindful of shiny ornaments, tinsel, or glossy vinyl backdrops. If you notice harsh reflections or glare, adjust the angle of the background lights more acutely to the backdrop surface so the reflections bounce away from the camera lens.
Adjusting Camera Settings and Testing the Scene
Once your lights are in position, configure your camera to ensure accurate exposure and color. Avoid using automatic white balance, as the camera can easily become confused by the colorful Christmas decorations and produce inconsistent skin tones. Instead, set a custom white balance matching the Kelvin rating of your lights, or select the appropriate preset (such as “Flash” or “Daylight”) if using matched studio lights.
Take several test shots before inviting the entire family into the frame. Use a stand-in object or ask one person to pose while you inspect the image on your camera screen. Look closely at the edges of the subject: are there dark halos on the backdrop? If you see a distinct shadow, increase the distance between the subject and the backdrop, or raise the height of your key light.
Check the overall exposure. If the background appears washed out, lower the power of your background lights or move them further away from the backdrop. If the family’s faces are too bright, reduce the key light intensity rather than changing your camera’s aperture, as a wide aperture might blur family members standing in the back row.
Safety and Electrical Checks for Home Studios
Setting up a temporary photo studio in a living room requires careful attention to electrical and physical safety, particularly during festive gatherings. Studio lights and accessories draw significant power, so you must verify that your home’s electrical circuits can handle the load. Always check the wattage limits on your power strips and extension cords. Avoid daisy-chaining multiple extension cords together, as this can cause overheating and pose a fire hazard.
With children, elderly relatives, and pets moving around the set, cable management is critical. Route all power cables along the walls or tape them securely to the floor using gaffer tape to prevent tripping hazards. Never use standard plastic tape, which can leave a sticky residue or fail under foot traffic.
Keep a safe clearance between your light sources and any flammable holiday decorations. Traditional hot lights can easily ignite paper backdrops, dry pine wreaths, or synthetic Christmas tree needles. Even modern LED lights, which run cooler, can still generate heat at their base and power bricks. Ensure there is adequate ventilation around all equipment, and never drape fabrics or tinsel directly over light fixtures.
Frequently Asked Questions (FAQ)
Can I use regular household lamps instead of studio lights?
Yes, you can use household lamps, but you must manage their limitations. Standard household bulbs often have low power output and inconsistent color temperatures, which can lead to blurry or yellow-tinted photos. To make them work, replace the bulbs with matching daylight-balanced LED bulbs (around 5000K to 5600K) to ensure color consistency. Remove the lampshades to maximize light output, but place a thin, white, non-flammable fabric or parchment paper a safe distance in front of the bulb to diffuse the light. Because household lamps lack the power of studio gear, you will need to position them closer to your subjects and use a tripod to prevent camera shake in the lower light levels.
How do I fix harsh shadows if I only have one light source?
When working with a single light source, your primary goal is to make that light as large and soft as possible. You can achieve this by bouncing the light off a large, neutral-colored surface, such as a white wall or ceiling. Pointing your single light at a white wall next to the camera creates a massive, soft bounce light that illuminates the family evenly and minimizes harsh shadow lines. Additionally, place a large white reflector or foam board on the side opposite the light to bounce illumination back onto the shadowed side of your subjects. Finally, keep the family as far from the backdrop as your room allows, ensuring any soft shadow that does escape falls harmlessly to the floor before reaching the background.

Community discussion
Share your experience or ask a question. Comments are reviewed before publication.