
Replacing a pendant light cover requires more than just picking a design you like; the new cover must physically attach to your existing fixture and fit the surrounding space safely. The process centers on two critical measurements: identifying the exact fitter type and size for a secure mount, and determining the physical dimensions to ensure proper visual proportion and spatial clearance. By systematically checking these elements, you can select a compatible replacement without guessing or risking an improper fit.
Preparing Your Fixture Safely for Measurement
Before handling any tools or climbing to reach your pendant light, you must establish a safe working environment. Begin by turning off the power at the main circuit breaker or fuse box, rather than relying solely on the wall switch. Wall switches can sometimes leave the socket live if the wiring is non-standard, posing an electrical shock hazard. This precaution is especially critical in humid tropical environments, such as during the rainy season in the Philippines, where moisture can increase electrical conductivity on surfaces.
Once the power is isolated, allow the existing bulb and the entire fixture housing to cool completely. Halogen, incandescent, and even some high-wattage LED bulbs can reach temperatures high enough to cause painful skin burns if handled too quickly. While waiting for the fixture to cool, position a stable step ladder or platform directly beneath the pendant light. Avoid using dining chairs, plastic stools, or other unstable household furniture to reach the fixture, as these can easily tip over on tiled or polished floors. Ensure your ladder is placed on a flat, dry surface and that you have a secure footing before reaching upward to inspect the light.
Products mentioned in this guide
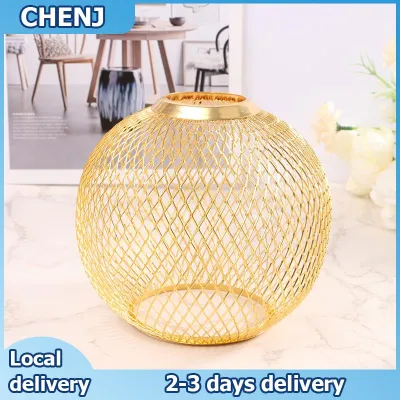
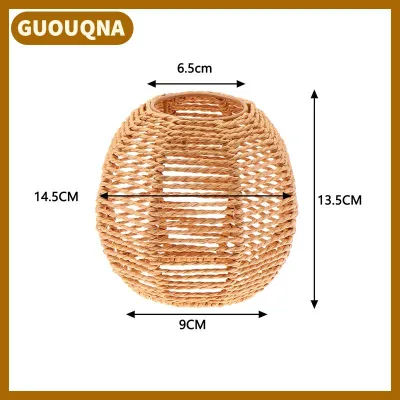
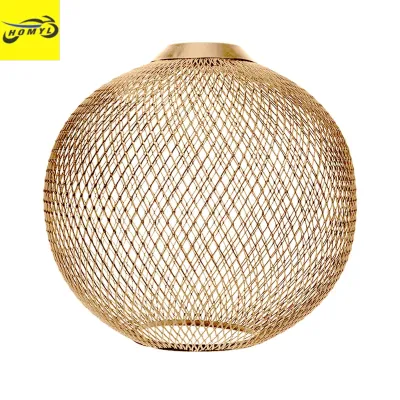
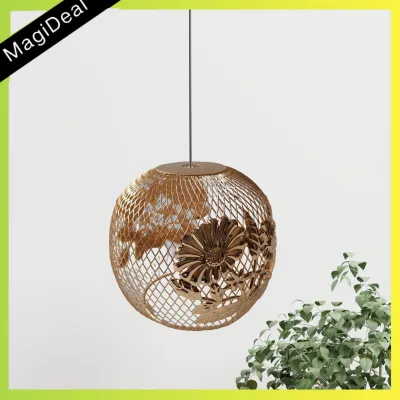

![[Fast Deliver] Plastic Simulated Rattan Lamp Cover Vintage Hanging Pendant Light Cover Home Decor Rustic Geometric Light Cover Ceiling Light Fixture](https://img.lazcdn.com/g/p/af68b479210df294e6868abd8ac8451b.jpg_400x400q80.jpg_.webp)
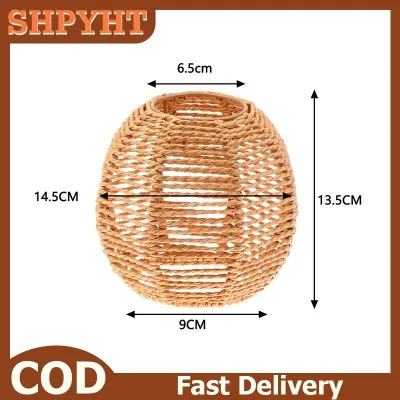
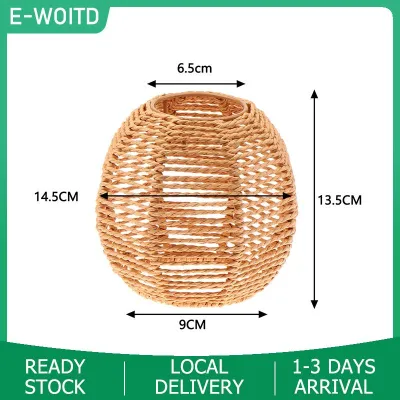
Prices are valid at publication and may change. Please refer to the product page for the latest price.
Identifying the Fitter Type and Attachment Size
To find a compatible pendant light cover, you must first understand how the shade connects to the electrical socket. Pendant fixtures generally use one of three common mounting styles. The first is the slip-fit or unolite fitter, where the shade features a large central hole that slides directly over the socket and is secured in place by a threaded shade ring. The second is the threaded or screw-on fitter, where the neck of the cover itself has molded threads that screw directly into a matching threaded socket collar. The third is the lip fitter, which features a raised outer rim or flange at the top of the neck; this neck is inserted into a metal cup and held secure by three or four thumbscrews tightened gently against the collar.

Once you identify the mounting style, you must measure the fitter diameter with high precision. For a slip-fit or unolite shade, use a caliper or a standard tape measure to find the inner diameter of the shade’s opening, ensuring it matches the outer diameter of your socket. For a lip fitter, measure the outer diameter of the raised lip, which typically comes in standard trade sizes such as 2-1/4 inches, 3-1/4 inches, or 4 inches. If you are measuring the metal fixture cup instead of an existing shade, measure the inner diameter of the cup opening where the glass neck will sit.
Always cross-reference your physical measurements with the fixture’s original manual, manufacturer label, or specification sheet. Some designer fixtures utilize proprietary mounting systems or non-standard dimensions that require specific adapters or official replacement parts. Checking these documents beforehand prevents the frustration of purchasing a standard-sized cover that cannot physically lock onto a specialized socket.
Measuring Dimensions for Visual Proportion
A replacement cover should not only fit the hardware but also look balanced within the room. If you are satisfied with how your previous light cover looked, you can perform a direct like-for-like replacement. Measure the maximum width at the widest point of the old cover, along with its total vertical height from the top of the fitter neck to the bottom rim. These two figures will serve as your baseline when browsing online marketplaces or local lighting showrooms.
If you want to change the style or scale of the cover, you must measure the furniture or space directly below the pendant. For a pendant hanging over a kitchen island, dining table, or breakfast bar, measure the total width of the tabletop. As a general design guideline, the diameter of the pendant light cover should be significantly smaller than the width of the surface below it to maintain visual balance. For instance, a massive dome cover over a narrow counter can make the space feel top-heavy and cramped.
The height of your ceiling also dictates the ideal silhouette of the replacement cover. Measure the distance from the floor to the ceiling to evaluate the room’s overall scale. High ceilings can easily accommodate tall, elongated, or dramatic covers without making the room feel crowded. Conversely, rooms with lower ceilings benefit from shallower, wider, or drum-style covers that distribute light horizontally without extending too far down into the living space.
Checking Spatial Clearance and Safety Boundaries
Physical clearance is a critical safety and functional consideration when selecting a new pendant light cover. Start by calculating the ideal hanging height for your fixture. For open walking paths, the bottom of the pendant cover must remain high enough to clear the tallest members of the household and any guests. For installations over dining tables or kitchen counters, the bottom of the cover is typically positioned 75 to 90 centimeters above the surface to provide clear sightlines while preventing glare. Ensure your new cover’s vertical height does not push the bottom of the fixture below these safe limits.
Next, verify that the maximum width of the new cover will not interfere with the daily movement of your home. Measure the swing path of nearby cabinet doors, pantry doors, and entryways. A wider cover can easily obstruct a cabinet door from opening fully, leading to accidental impacts that could shatter a glass shade. Additionally, ensure the cover does not extend into high-traffic pathways where shoulders or carried items might bump against it.
Finally, review the safety boundaries related to heat dissipation. Every light fixture has a maximum wattage rating printed on a label near the socket. Enclosed or semi-enclosed covers trap heat much more than open-bottom designs. If you are switching to a fully enclosed glass globe, verify that the cover has adequate ventilation holes or is rated for use with your specific bulb type. In warm, tropical climates, heat buildup inside a poorly ventilated cover can degrade the socket wiring, shorten the lifespan of LED bulbs, or create a fire hazard if placed too close to combustible materials.
Final Compatibility Checklist Before Purchasing
Before finalizing your purchase of a new pendant light cover, run through a structured checklist to ensure a seamless and safe installation. First, double-check that the measured fitter size matches the replacement cover’s specifications exactly. Even a millimeter of difference can prevent a slip-fit cover from sliding over the socket or cause a lip fitter to slip out of its retaining screws.
Second, verify that the interior cavity of the new cover accommodates the physical shape and size of your light bulb. Some decorative bulbs, such as large globe shapes or elongated vintage-style filament bulbs, may touch the inner walls of a narrow or shallow cover. The bulb must never make direct contact with the shade material, as this can cause localized overheating, discoloration, or cracking in glass and plastic covers.
Third, assess the weight of the new cover. If you are replacing a lightweight fabric or paper shade with a heavy hand-blown glass, ceramic, or solid metal cover, you must verify that your pendant cord, chain, and ceiling junction box can support the suspended load. Standard electrical cords have strict weight limits; if the new cover is significantly heavier than the old one, consult a qualified professional to determine if you need to install a supportive chain or a reinforced mounting bracket.
Lastly, confirm that the electrical specifications align. Verify the voltage of your system and ensure the socket’s maximum wattage limit is strictly respected. If your pendant light is connected to a dimmer switch, ensure the new cover’s material does not block or distort the light in a way that causes harsh glare or poor dimming performance. If you are installing the fixture in a damp area, such as a bathroom or an open veranda exposed to high humidity, confirm that both the fixture and the replacement cover are rated for damp environments to prevent moisture accumulation and electrical short circuits.
Frequently Asked Questions (FAQ)
Can I use an adapter for a mismatched fitter size?
Fitter adapters, such as reducer rings or expander bands, can sometimes bridge minor size differences between your fixture’s socket and a new cover. For example, a metal reducer ring can allow a shade with a large slip-fit opening to sit securely on a smaller threaded socket. However, these adapters have distinct limitations. Exposed metal adapters can disrupt the clean visual lines of your pendant light, especially on minimalist or modern fixtures. More importantly, using adapters on heavy glass or metal covers poses structural risks, as the adapter may not distribute the weight evenly or securely. Always check the fixture manufacturer’s guidelines to ensure that using an adapter does not void warranties or compromise electrical safety.
What if my fixture has a proprietary or integrated mount?
Many modern pendant lights, particularly those featuring integrated LED modules or minimalist designer hardware, do not use standard threaded sockets or collar rings. Instead, they may rely on custom friction clips, magnetic attachments, or proprietary twist-lock mechanisms. If your fixture lacks a standard mounting interface, standard aftermarket covers will not fit. In this scenario, avoid attempting to modify the fixture’s hardware yourself, as structural alterations can damage the electrical components or create safety hazards. Contact the original manufacturer with your fixture’s model number to source official replacement parts. If you must modify the setup, consult a qualified electrician to evaluate your options safely.

Community discussion
Share your experience or ask a question. Comments are reviewed before publication.