
Replacing a worn, cracked, or outdated ceiling light shade is one of the most straightforward ways to refresh a room’s interior design. Over time, high humidity and ambient temperatures—common in tropical environments like the Philippines—can cause plastic shades to yellow, glass to gather stubborn grime, and metal fittings to corrode. Finding the perfect light shades for ceiling fixtures requires accurate measurements of both the shade and the mounting hardware. By following a systematic approach to measuring, removing, and safely installing your new cover, you can elevate your space’s lighting without the hassle of a full electrical fixture replacement.
Preparation and Safety Checklist
Working with ceiling-mounted electrical fixtures requires strict adherence to safety protocols. Standard Philippine residential electrical systems operate at 220V to 230V at 60Hz. At this voltage, electrical shocks carry severe safety risks. Before touching any part of the fixture, you must isolate the power at your home’s main distribution board or consumer unit. Relying solely on a wall switch is insufficient and highly risky; wall switches only interrupt one side of the electrical circuit, and if the wiring was improperly polarized during installation, the light socket may still carry a live, dangerous current.
Before climbing, assemble all necessary tools on a clean, stable work surface. You will need a sturdy, non-conductive A-frame stepladder (preferably fiberglass), a reliable non-contact voltage tester, a flexible steel measuring tape, a flathead screwdriver, and a Phillips-head screwdriver. Keeping a soft microfiber cloth and a pair of clean work gloves nearby is also recommended to handle delicate glass components safely.
Products mentioned in this guide
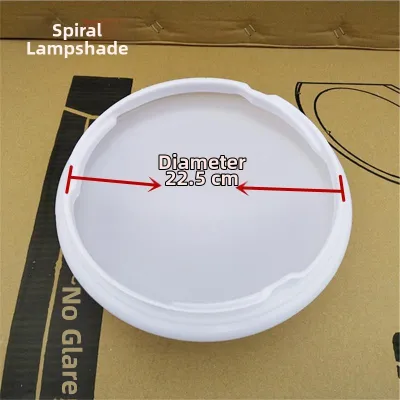
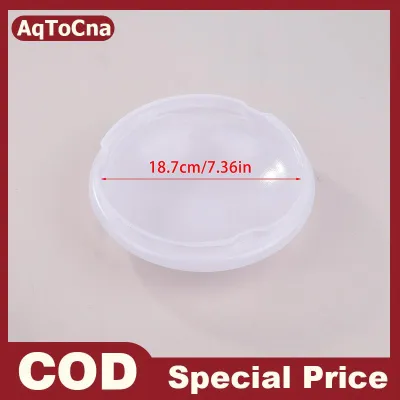
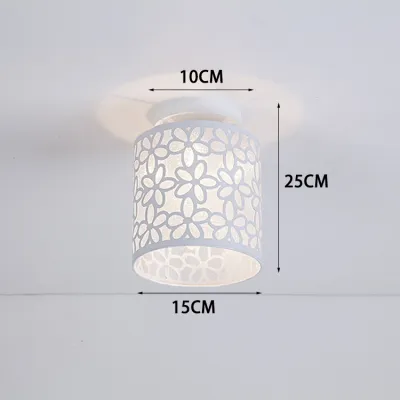
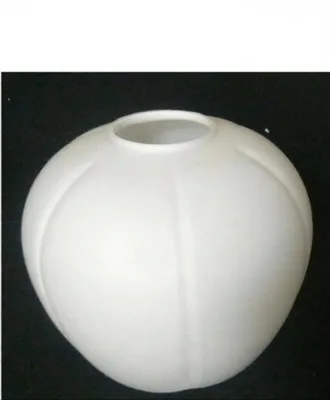
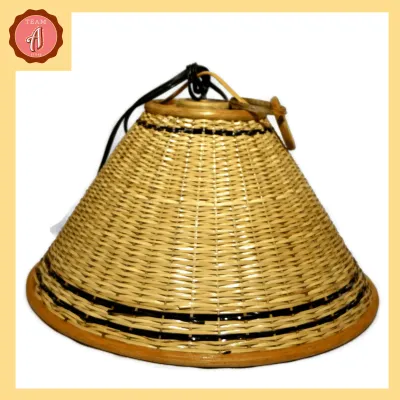
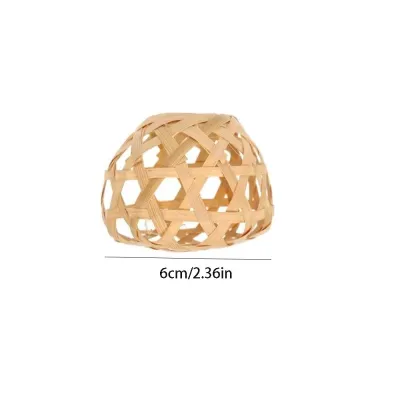
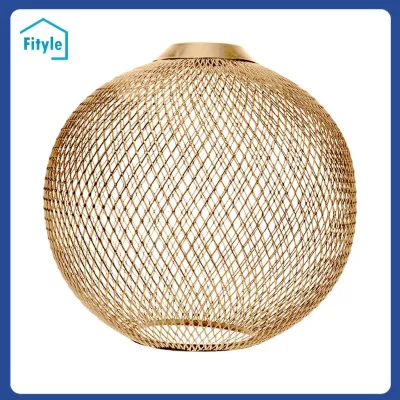
Prices are valid at publication and may change. Please refer to the product page for the latest price.
Establish a clear stop condition before beginning physical work. If you observe exposed or frayed wiring, melted plastic components, a persistent burning smell, or a loose, crumbling ceiling junction box, do not attempt a DIY shade replacement. These are signs of active electrical hazards or structural failures. Stop immediately, leave the circuit breaker off, and consult a qualified, licensed electrician to repair the underlying wiring.
How to Measure Your Ceiling Light Fixture for a New Shade
To find a replacement that fits securely, you must distinguish between the dimensions of the decorative shade itself and the dimensions of the metal mounting hardware, known as the fitter. A common mistake is purchasing a replacement based solely on its overall width, only to find that its neck does not align with the ceiling fixture’s collar. Taking precise, written measurements of both components before shopping for new light shades for ceiling fixtures will prevent costly return trips and installation delays.

Measuring the Fitter (Neck) Size
The fitter is the specific portion of the light shade—usually shaped like a raised lip, collar, or neck—that physically connects to the fixture base. To measure it correctly, you must first identify how your current shade attaches to the fixture. If your shade has a raised neck that slides inside a metal cup or holder and is secured by screws, you need to measure the outside diameter (OD) of this lip. Use your measuring tape to measure across the very outer edges of the neck opening.
Conversely, if your fixture uses a threaded collar that slips over the socket from the inside of the shade to clamp it against the base, you must measure the inside diameter (ID) of the shade’s opening. This measurement ensures the socket assembly can physically pass through the hole during installation.
Standard fitter sizes are commonly categorized in inches, with 2.25 inches, 3.25 inches, and 4 inches being the most frequent reference points. While these standard sizes help narrow down your search, physical variations between manufacturers are common. Always rely on your exact physical measurements down to the millimeter rather than generic product labels.
Measuring the Drop and Overall Dimensions
The “drop” refers to the total vertical distance from the ceiling surface or the top of the canopy down to the lowest point of the installed shade. Measuring this distance is crucial for maintaining comfortable room clearance and safety. In homes with standard ceiling heights, a shade that drops too low can obstruct walking paths, block overhead cabinet doors, or interfere with the swing of a nearby door.
Next, measure the maximum allowable width or diameter for the new shade. Consider the physical surroundings of the fixture. If you have a ceiling fan installed in the same room, ensure the widest point of the new shade leaves at least several inches of clearance from the tips of the fan blades to prevent air turbulence from shaking the fixture. Check proximity to tall furniture, such as wardrobes or bookshelves, to ensure doors can open fully without striking the glass.
Finally, measure the length and width of the light bulb currently in use. The new shade must have a deep enough cavity to fully enclose the bulb, preventing it from protruding awkwardly past the bottom rim, which can cause harsh, direct glare and uneven light distribution.
How to Safely Remove the Old Ceiling Light Shade
Before climbing your stepladder to remove the old shade, use your non-contact voltage tester. Hold the tester close to the fixture’s metal body and near the socket to confirm that no electrical current is present. Once safety is verified, position your ladder slightly to the side of the fixture rather than directly underneath it, ensuring you do not have to work with your arms fully extended directly over your head.
Identify the mounting mechanism holding your current shade in place:
- Thumb Screws: These are typically three or four small screws located around the perimeter of the metal fixture cup. To remove the shade, hold the bottom of the glass securely with one hand. Use your other hand to loosen each screw by turning it counterclockwise. Loosen them gradually and evenly—do not back one screw out entirely while the others remain tight, as this can cause the shade to tilt, slip, or crack under uneven pressure.
- Spring Clips / Tension Rings: Some modern flush-mount fixtures use internal metal spring clips to hold the shade. To release these, gently pull back on the designated tension clip while supporting the weight of the shade with your other hand. Be prepared for the spring to snap back quickly once released.
- Threaded / Screw-On Collars: Common in pendant and semi-flush fixtures, these utilize a threaded metal or plastic ring that screws directly onto the socket exterior. While supporting the shade, reach inside or around the neck and rotate the collar counterclockwise until it unscrews completely, then carefully lower the shade off the socket.
Ceiling light shades, particularly older glass globes, can be surprisingly heavy and brittle. If you are dealing with a large dome or a delicate glass bowl, always have a second person stand below the ladder to receive the shade, or use both hands to support the weight during the final detachment.
With the old shade removed, take the opportunity to maintain the fixture. Use a dry microfiber cloth to wipe away accumulated dust, cobwebs, or insect debris from the metal base and socket area. In humid tropical environments, dust can combine with moisture to form a sticky film that traps heat, which can shorten the lifespan of your bulbs and wiring. Avoid using wet cloths or liquid cleaners directly on the electrical socket.
Installing Your New Ceiling Light Shade
Before lifting your new shade into place, inspect its fitter neck for any chips, cracks, or manufacturing defects that could compromise its structural integrity. Align the neck of the new shade carefully with the fixture holder. Ensure the shade sits completely level and flush within the metal cup before attempting to tighten any mounting hardware.
If your fixture uses thumb screws, use a gradual, star-pattern tightening technique. Screw each thumb screw in clockwise just until it makes light contact with the shade’s glass lip. Once all screws are touching the glass, tighten them gradually—one turn at a time, moving across to the opposite screw rather than the adjacent one. Tighten them only until they are finger-tight; using tools to over-tighten these screws will easily crack the glass as it expands from bulb heat.
Before inserting a bulb, locate the safety label printed on the fixture socket. This label specifies the maximum wattage limit allowed (for example, “Max 40W”). Ensure your bulb does not exceed this rating. This is especially critical if you are installing a closed or narrow-topped shade made of heat-sensitive materials like fabric, acrylic, or thin plastic. In the warm Philippine climate, heat dissipation is a key factor in electrical safety; using energy-efficient LED bulbs is highly recommended as they emit significantly less heat than traditional incandescent options.
Once the bulb is secure and the shade is stable, clear your tools and ladder from the area. Return to your main service panel, switch the circuit breaker back on, and flip the wall switch to test the light. Observe the fixture from several angles to verify that the shade is visually aligned, level, and does not wobble.
Troubleshooting Fit Issues and When to Call an Electrician
If your newly installed shade wobbles or sits crookedly, do not leave it unattended. A loose fit usually indicates an incorrect fitter size or uneven tension on the mounting screws. Try loosening the screws, realigning the neck so it rests squarely in the holder, and retightening them evenly. If a threaded collar refuses to thread onto the socket, check for crossed threads or accumulated dirt in the grooves. Never force a collar to turn, as this can strip the plastic threads or damage the socket assembly.
You must establish a strict boundary for when a DIY task exceeds safe limits. If you discover that the existing socket is loose, the internal wiring insulation is brittle or cracking, or the ceiling junction box moves when you touch it, stop immediately. Altering the fixture’s structural hardware or attempting to patch damaged wiring yourself poses a severe fire and shock hazard.
Avoid using makeshift adapters, electrical tape, or excessive force to secure an incompatible shade. These temporary fixes are highly unstable and can lead to the shade falling unexpectedly or overheating, creating a direct hazard to your household. If the replacement shade does not fit your fixture perfectly, return it and consult a licensed professional electrician to evaluate or replace the entire fixture.
Frequently Asked Questions (FAQ)
Can I use a standard table lamp shade on a ceiling fixture?
No, you should not use a standard table lamp shade on a ceiling-mounted fixture. Table lamp shades are designed with specific mounting systems, such as a harp and spider fitter or a slip-uno system, which rely on gravity to sit upright on a lamp base. These mechanisms are mechanically incompatible with the downward-facing or flush-mount hardware of ceiling fixtures.
Furthermore, table lamp shades are often made of materials like paper, silk, or untreated fabrics that are not rated for the high heat dissipation required by enclosed or semi-enclosed ceiling mounts. Using an unrated shade on a ceiling fixture creates a serious fire hazard. Always purchase shades specifically manufactured and certified for ceiling or hardwired fixture use.

Community discussion
Share your experience or ask a question. Comments are reviewed before publication.