
Replacing a damaged or outdated drop light cover is one of the most effective ways to refresh your space, improve light distribution, and ensure safety. To complete this task successfully, you must find the exact fitter diameter of the fixture holder, verify the overall clearance space, and safely swap the cover after isolating the electrical power.
Whether you are updating a single pendant over a kitchen island or refreshing multiple fixtures in a dining area, precise measurements and methodical installation are essential. Taking the time to understand the physical and electrical specifications of your lighting fixture prevents costly return trips to the hardware store and protects your home from electrical hazards.
Essential Safety Prep Before You Start
Before handling any electrical fixture, establishing a secure workspace is your absolute priority. Never rely solely on the wall switch to cut the power to your light fixture. Wall switches only interrupt the hot wire, and if your home has legacy or incorrect wiring, current may still flow to the socket. Locate your home’s main service panel or circuit breaker box and switch off the breaker dedicated to the lighting circuit you are working on.
Products mentioned in this guide
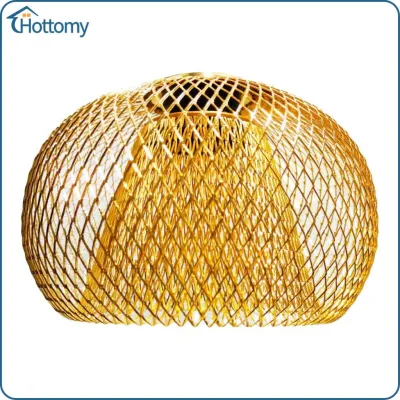
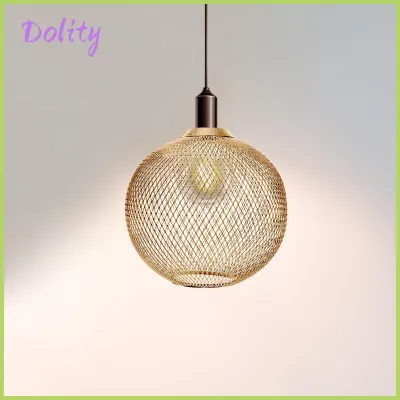
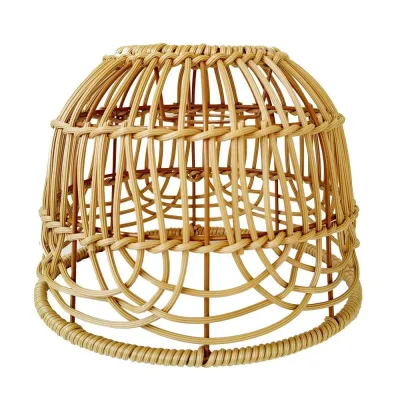
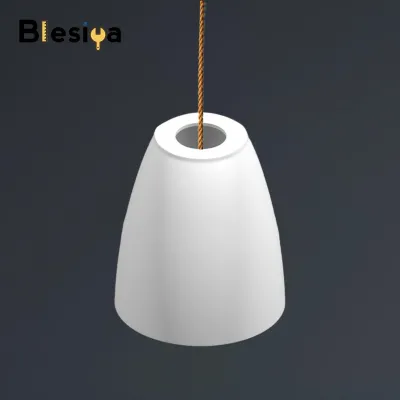
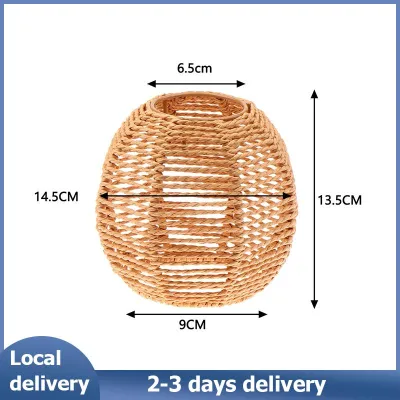
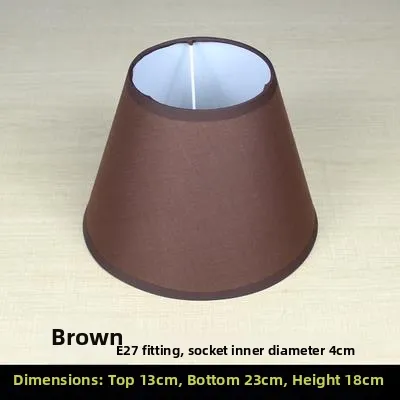
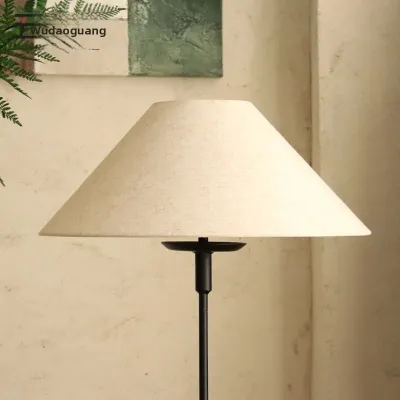
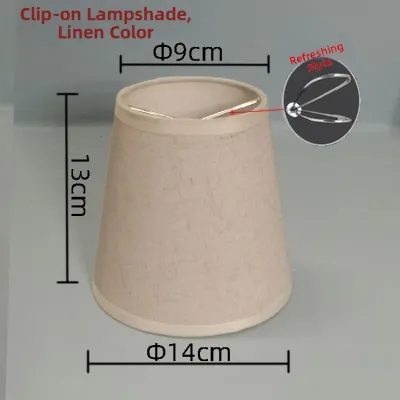
Prices are valid at publication and may change. Please refer to the product page for the latest price.
Once the breaker is turned off, verify that the circuit is dead before touching any components. Use a reliable non-contact voltage tester near the light socket to confirm there is no active electrical current. If you do not own a voltage tester, do not proceed until you have acquired one or verified the power status through a professional.
Allow the existing bulb and the drop light cover to cool down completely before touching them. Halogen and incandescent bulbs operate at extremely high temperatures and can cause severe skin burns or shatter if handled while hot. Even energy-efficient LED bulbs can accumulate significant heat around their base and driver components over hours of continuous use.
Gather all the necessary tools before ascending your ladder to prevent unnecessary trips up and down. You will need a stable step ladder, a non-contact voltage tester, a flathead or Phillips screwdriver, a soft microfiber cloth, and a precise tape measure or digital caliper. If your fixture uses small thumb screws, having a small container nearby to hold loose hardware is highly recommended.
Position your step ladder on a flat, stable, and dry surface directly beneath the fixture. Never stand on the top two rungs of a step ladder, and avoid leaning over the sides to reach the light. If the fixture is suspended over a table or kitchen island, clear the furniture out of the way or use a specialized ladder configuration to ensure you can work comfortably without losing your balance.
How to Measure Your Existing Drop Light Cover
Achieving a seamless fit requires distinguishing between the overall dimensions of the shade and the specific mounting interface known as the fitter size. While the overall dimensions dictate the aesthetic scale and physical clearance of the light, the fitter size determines whether the cover will physically lock into the metal holder.

Measuring the Fitter Size
The fitter is the raised, circular neck or lip at the top of the glass or plastic cover that inserts directly into the metal fixture cup. To measure this accurately, you must remove the existing cover or use a precise measuring tool on the open end of the glass lip. Measure the outside diameter of this neck from one outer edge to the opposite outer edge.
Most modern and vintage fixtures use standard fitter sizes, which are commonly classified in inches. The most frequent sizes are 2-1/4 inches, 3-1/4 inches, and 4 inches, though metric variations exist in imported fixtures. Because a discrepancy of even a few millimeters will prevent the cover from seating securely or fitting inside the holder cup, double-check your measurement using both metric and imperial units.
If your fixture does not use a lip-and-screw mechanism, it may rely on a shade ring that threads directly onto the socket to sandwich the cover in place. For these collar-style fitters, measure the inside diameter of the opening on the cover. This opening must be slightly larger than the threaded socket outer diameter but smaller than the outer flange of the shade ring.
Measuring Overall Dimensions and Clearance
Once you have determined the fitter size, measure the total width and height of the existing drop light cover. The overall width, or diameter at the widest point, is crucial for maintaining proper visual proportions and ensuring the light does not collide with adjacent walls, cabinets, or other pendant lights. Measure from the widest outer edge of the shade to the opposite side.
Measure the vertical height of the shade from the very top of the fitter neck to the bottom opening. If you are planning to install a larger or more decorative cover, verify the clearance below the fixture. Ensure that the new, larger shade will not hang too low over dining tables, countertops, or walkways, which could result in accidental head bumps or obstructed views.
While measuring, locate the electrical specification label typically pasted inside the metal fixture cup or directly on the light socket. Note the maximum wattage rating and the required voltage (typically 220V to 240V in local residential systems). This rating is a strict safety ceiling; choosing a cover that restricts airflow around a high-wattage bulb can lead to heat buildup, wire degradation, and fire hazards.
Choosing a Compatible Replacement Cover
Selecting a new drop light cover requires balancing aesthetic preferences with structural safety, material durability, and local environmental conditions. Your replacement must match the fitter type and size of your fixture cup exactly, as there is no safe way to modify a glass or plastic neck to fit an incompatible holder.
Material choice significantly impacts both the weight of the fixture and its longevity. Glass covers offer a classic, premium look, provide excellent light transmission, and resist heat discoloration indefinitely, but they are heavy and fragile. Acrylic or polycarbonate covers are lightweight, highly shatter-resistant, and ideal for high-traffic areas, though they can yellow or become brittle over years of exposure to heat and UV light.
Environmental factors play a major role in material durability, particularly in tropical climates characterized by high humidity and salt air. If you live in a coastal or humid region, inspect the metal hardware of your fixture during this process. Ensure that the thumb screws, mounting rings, and collar bands are made from rust-resistant materials such as solid brass, stainless steel, or powder-coated aluminum to prevent the hardware from seizing over time.
Avoid selecting highly enclosed, narrow, or thick glass covers if you plan to use high-wattage incandescent or halogen bulbs. Enclosed designs trap thermal energy, which can rapidly cook the socket insulation and lead to short circuits. If you prefer an enclosed cover design, pair it with a high-quality, low-wattage LED bulb that generates minimal heat while delivering equivalent brightness.
Step-by-Step Guide to Replacing the Cover
With your measurements verified, the correct replacement cover purchased, and your tools ready, you can proceed with the physical swap. Work slowly and methodically to avoid dropping fragile components or putting unnecessary strain on the ceiling electrical box.
Removing the Old Cover
Position your ladder securely and ascend until your chest is level with the fixture cup. Do not reach high above your head, as this reduces your grip strength and control. Support the bottom weight of the existing drop light cover firmly with your non-dominant hand.
With your dominant hand, slowly loosen the thumb screws located around the perimeter of the metal fixture cup. Turn them counterclockwise, backing each screw out a few turns at a time rather than removing one completely. This gradual, balanced release prevents the cover from tilting unexpectedly and slipping out of the holder.
If the thumb screws are rusted, seized, or difficult to turn, do not apply excessive force, which can bend the metal cup or crack the glass neck. Apply a single drop of penetrating oil or silicone lubricant directly to the screw threads, wait a few minutes for it to penetrate, and try again. Once the screws are sufficiently backed out, gently lower the cover away from the fixture, remove the light bulb, and set both safely aside.
Installing the New Cover
Use a dry, lint-free microfiber cloth to wipe away any dust, cobwebs, or insect debris inside the metal fixture cup and around the socket. Inspect the socket interior visually to ensure the metal contact tabs are clean and free of corrosion.
Insert the fitter neck of your new drop light cover directly into the metal fixture cup. Ensure that the neck sits completely flat and flush against the top interior rim of the cup. While holding the cover steadily with one hand, begin tightening the thumb screws clockwise with your other hand.
Tightening Pattern for Safety:
- Tighten the screws gradually in a star or alternating pattern rather than screwing one completely tight at a time.
- This method centers the fitter neck perfectly within the cup and distributes physical pressure evenly.
- Stop tightening as soon as the screws make firm contact with the glass neck; over-tightening will cause the glass to crack or shatter as it expands from bulb heat.
Once the cover is secure, gently wiggle it to verify there is no play or slippage. Reinstall a compatible bulb that matches the socket type (such as an E27 screw base) and stays well within the maximum wattage limit. Descend the ladder, restore the electrical power at the main circuit breaker, and turn on the wall switch to test your newly installed cover.
When to Stop and Call a Licensed Electrician
While replacing a drop light cover is generally a straightforward DIY task, certain conditions indicate deeper electrical or structural issues that require professional intervention. If you encounter any of these warning signs during the removal or installation process, stop immediately and contact a licensed electrician.
Inspect the wiring exposed near the socket or inside the fixture cup once the old cover is removed. If you notice cracked, brittle, or frayed wire insulation, scorched plastic, discolored metal contacts, or a lingering burnt odor, the fixture has experienced thermal damage. Attempting to install a new cover on a damaged socket poses an immediate electrical fire risk.
Structural limitations also dictate when to call a professional. If your new replacement cover is significantly heavier than the original—such as swapping a thin plastic shade for a heavy, hand-blown lead crystal dome—you must verify that the ceiling junction box and support hardware can handle the load. Standard plastic residential ceiling boxes are only rated to support lightweight fixtures; suspended loads exceeding 15 pounds (approximately 6.8 kilograms) require a heavy-duty, fan-rated metal junction box anchored directly to the ceiling joists.
Finally, if the installation requires modifying the physical mounting bracket, splicing electrical wires, or extending the hanging chain or cord, it crosses the line from a simple cosmetic cover swap to a complete fixture installation. A licensed electrician will ensure that all connections comply with local electrical codes, are properly grounded, and are structurally secure.
Frequently Asked Questions (FAQ)
Can I use a slightly larger drop light cover on my existing fixture?
You cannot use a cover with a larger fitter neck size, as it physically will not fit inside the metal holder cup. If you attempt to use a cover with a smaller fitter neck than your fixture cup, the thumb screws will not be able to reach or secure the lip evenly. This mismatch creates an unstable, off-center installation that presents a severe falling hazard and can lead to uneven light distribution.
Why do the thumb screws keep slipping or failing to grip the new cover?
If the thumb screws slip, first verify that the fitter neck of the new cover is fully and evenly seated against the flat interior top of the fixture cup. If the neck is tilted, the screws cannot align with the retaining groove or lip. If the alignment is correct but the screws still fail to grip, inspect the threads of the thumb screws and the fixture cup; worn, stripped, or rusted threads must be replaced with matching hardware of the exact same thread pitch.

Community discussion
Share your experience or ask a question. Comments are reviewed before publication.