
Replacing a damaged outdoor bulb cover is a straightforward home maintenance task that restores both the beauty and safety of your exterior lighting. To measure and replace an outdoor bulb cover successfully, you must turn off the electrical power, identify the attachment style (such as threaded, set-screw, or twist-lock), measure the outer diameter of the cover’s neck (the fitter size), and choose a replacement material that can withstand high humidity and intense sunlight. Taking these precise steps ensures your new cover fits securely and keeps out moisture.
Outdoor light fixtures in tropical climates face severe environmental wear, from heavy monsoon downpours to intense UV exposure. A cracked or missing cover exposes the electrical socket to water, which can cause short circuits, corroded wiring, or shattered bulbs. By learning how to measure and install a replacement, you can preserve your existing light fixture without the expense of a full replacement.
Safety First: Preparing for Outdoor Electrical Work
Before touching any part of your outdoor light fixture, you must isolate the electrical circuit to eliminate the risk of shock. Never rely solely on a wall switch, timer, or motion sensor to cut the power, as these devices can still allow live current to reach the socket. Locate your home’s main electrical panel or breaker box and switch off the specific circuit breaker dedicated to your outdoor lighting.
Products mentioned in this guide
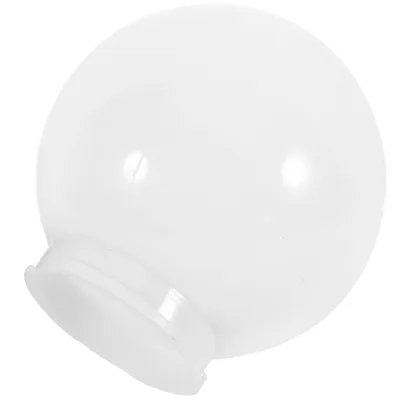
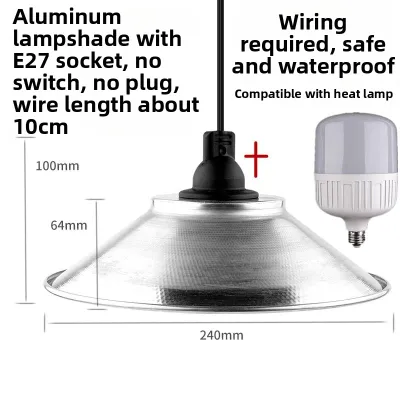
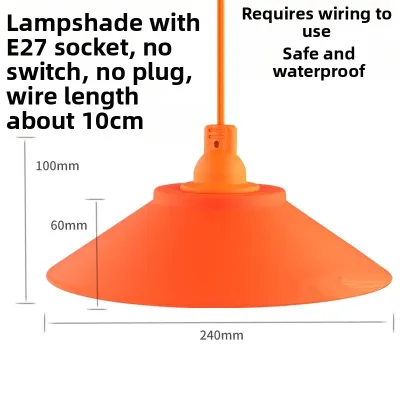
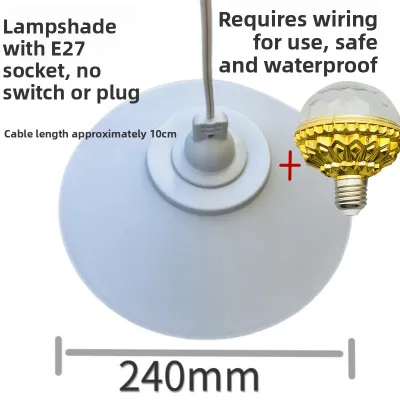
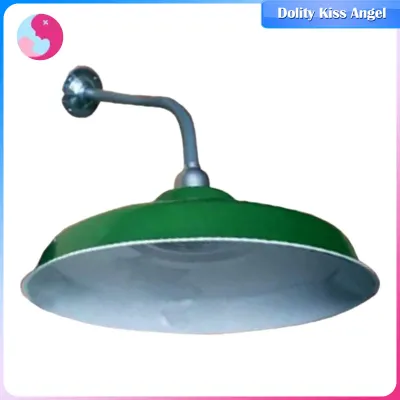
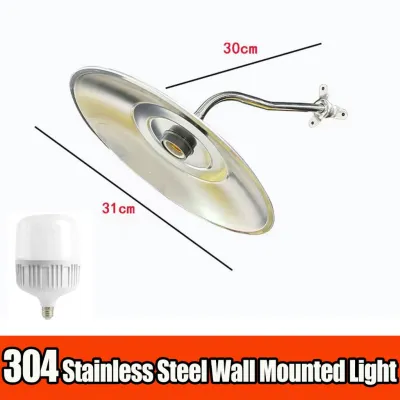
Prices are valid at publication and may change. Please refer to the product page for the latest price.
Once you have switched off the breaker, verify that the power is completely disconnected at the fixture itself. Use a reliable non-contact voltage tester by placing its probe near the light socket and the surrounding wires. If the tester lights up or beeps, the circuit is still live, and you must locate the correct breaker before proceeding. Always double-check the manufacturer instructions for your specific voltage tester to ensure it is functioning correctly.
Working at heights introduces additional physical hazards, especially on outdoor surfaces. Position your ladder on stable, level ground, avoiding soft soil, wet grass, or slippery tiled patios. If you are working on an uneven surface, use ladder levelers or have an assistant secure the base of the ladder. Avoid working during active rainstorms or in extremely high humidity when condensation can make metal ladder rungs slick.
Establish clear safety boundaries before attempting any physical repairs on the fixture. If you discover exposed or frayed wiring, a severely corroded fixture base, or water pooled inside the electrical housing, stop immediately. These conditions indicate a serious hazard that requires the expertise of a qualified professional electrician. Do not attempt to bypass damaged wiring yourself.
Identifying Your Bulb Cover Type and Attachment Method
Outdoor bulb covers, often called globes, diffusers, or lenses, come in several distinct shapes designed to distribute light and protect the bulb. The most common shapes include classic spherical globes, cylindrical jars, overhead domes, and flat, flush-mounted lenses. Identifying the shape of your current cover helps you narrow down your search for a compatible replacement.

The method used to secure the cover to the fixture base is known as the attachment or fitter style. Understanding this mechanism is crucial because it dictates how you remove the old cover without causing damage. Outdoor fixtures typically rely on one of three common attachment methods:
- Threaded Necks (Screw-in): These covers feature raised threads around the lip, allowing them to screw directly into the fixture housing like a jar lid.
- Set Screws (Necked Fitters): The cover has a smooth, flared lip (the neck) that slides into the fixture opening. Two to four small thumbscrews or set screws are tightened horizontally against the neck to hold it in place.
- Twist-Lock or Spring Clips: These designs use internal tension rings, metal spring clips, or a twist-and-lock channel to secure the cover without visible external screws.
Before attempting to remove the cover, conduct a close visual inspection of the fixture base. Look for small screw heads around the collar or feel for threads if the cover is a screw-in type. If your fixture is mounted high or in a hard-to-reach spot, use a flashlight or your smartphone camera to get a clear view of the attachment point before applying any physical force.
Step-by-Step Guide to Measuring for a Replacement
To find a replacement cover that fits perfectly, you must gather precise measurements of both the old cover and the fixture housing. Sourcing a replacement based on visual estimation alone often leads to incompatible parts and compromised weather seals.
Measuring the Cover Dimensions
- Overall Width: Use a tape measure or calipers to find the widest point of the bulb cover. For a classic globe, this is the maximum diameter across the center.
- Total Height: Measure from the very bottom of the opening or neck to the highest point of the cover. This ensures the cover is deep enough to house your bulb.
Measuring the Fitter Size
- Outer Diameter (OD) of the Neck: If your cover has a neck (flange) that inserts into the fixture, measure the outside edge of this neck. Standard fitter sizes often include 3-inch, 4-inch, or 6-inch diameters.
- Inner Diameter (ID) of the Fixture Opening: If the original cover is missing or shattered, measure the inside opening of the fixture collar where the cover must sit.
- Thread Specification: For threaded, screw-in covers, measure the outer diameter of the threads and note the spacing (pitch) between the threads to ensure a tight, waterproof seal.
Checking Internal Clearance
- Bulb Dimension Compatibility: Measure the distance from the face of the bulb socket to the inside top of the cover area. Modern LED bulbs or smart bulbs are often taller or wider than traditional incandescent bulbs, so you must verify that the replacement cover provides adequate clearance.
- Socket Alignment: Ensure that the bulb will sit centered within the cover, leaving at least a few millimeters of air space around the bulb to prevent localized heat buildup.
Recording Specifications
- Visual Documentation: Take clear, well-lit photographs of the fixture base, the old cover (if intact), and any manufacturer labels inside the fixture housing.
- Label Verification: Look for labels indicating the maximum allowable wattage (e.g., Max 60W) and the required voltage (typically 220V in the Philippines). Write these specifications down and keep them with your measurements while shopping.
Choosing the Right Replacement for Tropical Climates
Selecting the right material for your replacement cover is essential for long-term durability in tropical environments. High ambient temperatures, intense sunlight, and heavy humidity will degrade low-quality materials quickly.
Glass covers offer excellent clarity, resist scratching, and will not yellow or degrade under intense solar UV radiation. However, glass is heavy, fragile, and prone to cracking if subjected to thermal shock or physical impacts from falling tree branches. If you choose glass, ensure the fixture bracket is rated to support the added weight.
Polycarbonate and acrylic are popular lightweight, shatter-resistant alternatives. Polycarbonate is exceptionally tough and highly resistant to impact, making it ideal for low-hanging fixtures or active outdoor areas. However, standard plastics can become yellow and brittle over time when exposed to constant tropical sunlight. Look for replacement covers explicitly labeled as UV-stabilized or UV-resistant to prevent premature degradation.
Verify that your replacement cover maintains the fixture’s original Ingress Protection (IP) rating. Outdoor fixtures require a tight seal, typically aided by a rubber or silicone gasket, to prevent water, dust, and insects from entering the electrical compartment. When purchasing a replacement cover, check if it includes a matching gasket, or purchase a compatible replacement gasket separately to maintain weather resistance.
Consider how the cover’s finish affects your outdoor lighting quality. Clear covers provide maximum light output but can cause harsh glare if paired with high-lumen bulbs. Frosted, white, or seeded glass covers diffuse the light, creating a softer, more inviting ambiance while hiding dust and insect debris that inevitably collect inside the fixture.
How to Safely Remove and Install the New Cover
Once you have purchased the correct replacement cover and verified that the electrical power is off, you can proceed with the physical installation. Take your time to avoid damaging the fixture or the new replacement part.
To remove an old cover secured by set screws, support the bottom of the cover with one hand while loosening the screws with the other. Loosen each screw gradually and evenly rather than removing one entirely at a time. If you are dealing with a threaded cover that is stuck due to mineral deposits or rust, apply a small amount of penetrating lubricant to the threads. Let the lubricant sit for 15 minutes, then use a rubber jar opener or rubber-coated gloves to grip the cover and gently twist it counterclockwise.
Before installing the new cover, take a few minutes to clean the fixture housing. Wipe away accumulated dirt, cobwebs, dead insects, and old grease using a damp microfiber cloth. Inspect the rubber sealing gasket; if it is cracked, dry-rotted, or compressed flat, replace it with a new one. Allow all cleaned components to dry completely before assembling the fixture.
Align the new cover carefully with the fitter opening. For threaded covers, turn the cover clockwise by hand, ensuring the threads engage smoothly without cross-threading. For set-screw covers, tighten the screws gently until they make contact with the neck of the cover, then turn each screw an additional half-turn to secure it. Never overtighten set screws or threaded collars, as excessive pressure can crack glass or warp plastic covers.
After securing the cover, restore power at the main circuit breaker and turn on the light switch to verify that the bulb illuminates correctly. Over the next few weeks, perform a visual check of the fixture after heavy rain. If you notice condensation or water droplets forming inside the cover, turn off the power, remove the cover, dry the interior completely, and adjust the gasket or tighten the cover slightly to improve the seal.
When to Replace the Entire Fixture Instead
While replacing a bulb cover is highly cost-effective, there are situations where attempting to salvage an old fixture is impractical or unsafe. Inspect the overall structural integrity of the light housing before investing in a replacement cover.
If the fixture housing exhibits severe metal corrosion, deep pitting, or structural crumbling, it can no longer support a cover securely or protect the internal wiring. Similarly, if the internal wiring insulation is brittle, cracked, or showing signs of overheating, the entire unit poses a fire hazard. In these cases, a full fixture replacement is the safest course of action.
Proprietary or vintage fixtures often feature unusual fitter sizes that are no longer manufactured. If you cannot find a compatible cover after thorough searching, upgrading to a modern, fully sealed outdoor fixture is highly recommended. Many contemporary outdoor fixtures feature integrated, energy-efficient LED modules that eliminate the need for traditional bulbs and separate covers entirely, offering superior weather protection and lower energy consumption.
Frequently Asked Questions (FAQ)
Can I use an indoor bulb cover for an outdoor light fixture?
No, you should never use an indoor-rated bulb cover on an outdoor light fixture. Indoor covers are not manufactured with UV-stabilized materials, meaning they will quickly yellow, crack, and degrade under outdoor sunlight. More importantly, indoor covers lack the precise gasket channels and weather-sealing designs necessary to keep out rainwater and high humidity, which can lead to short circuits, electrical fires, or shattered bulbs when water contacts a hot light source.
What should I do if the old glass globe is stuck or the threads are stripped?
If a glass globe is stuck, wear heavy-duty work gloves and safety glasses to protect yourself in case the glass shatters. Apply a penetrating lubricant to the threads or set screws, let it sit, and use a textured rubber grip to gently twist the globe. If the threads on the fixture collar are stripped, the cover will not secure tightly, compromising the waterproof seal. In this situation, you must replace the socket collar, the fitter ring, or the entire light fixture to ensure a safe and secure installation.

Community discussion
Share your experience or ask a question. Comments are reviewed before publication.