
To find a replacement ceiling light cover that fits your existing fixture, you must measure the exact diameter of the fitter—the specific point where the cover connects to the light base—and identify the mounting mechanism. Taking precise measurements of the overall height and width of your current cover is also essential to maintain the visual proportion of the room and ensure adequate clearance for your light bulbs. In tropical climates like the Philippines, high humidity can cause metal screws to rust or glass covers to stick over time, making a careful, methodical approach to removal and measurement vital to avoid damaging your ceiling fixture.
Safety First: Preparing to Measure Your Ceiling Light
Before attempting to touch, clean, or measure any part of your ceiling light fixture, you must isolate the electrical current. Turn off the power at the wall switch, and then switch off the corresponding circuit breaker in your home’s main electrical panel. Relying solely on a wall switch is unsafe, as improper wiring or three-way switch configurations can leave live current running to the fixture.
Once the power is isolated, allow the light bulbs and the cover to cool down completely. Incandescent, halogen, and even some high-wattage LED bulbs can generate significant heat that can cause severe burns or cause a fragile glass cover to crack if handled with cold hands or damp cloths.
Products mentioned in this guide
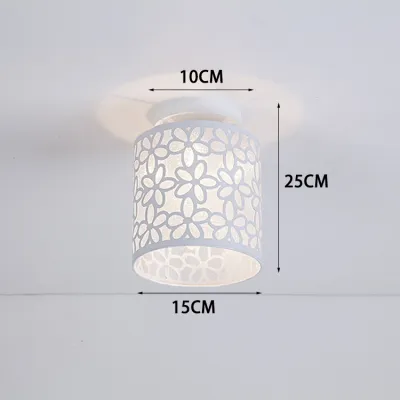
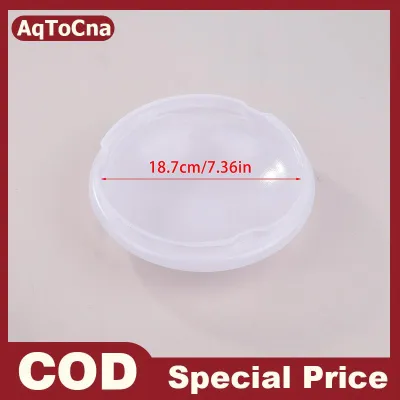
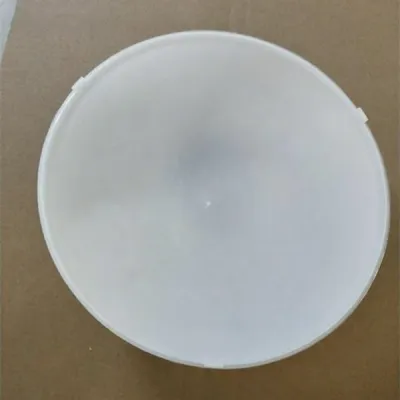
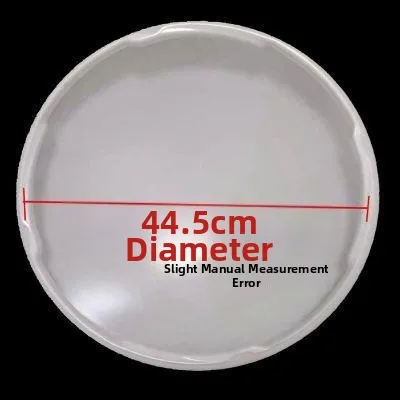
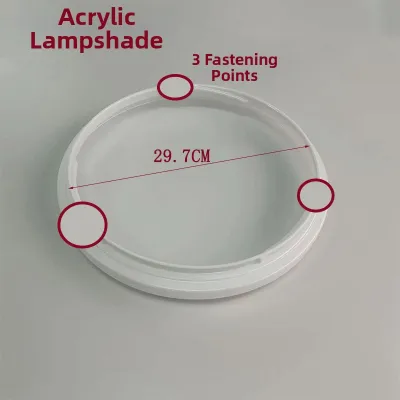
Prices are valid at publication and may change. Please refer to the product page for the latest price.
Working at heights requires proper equipment to prevent falls. Always use a stable, slip-resistant step ladder that allows you to reach the fixture comfortably without stretching. Avoid standing on plastic monobloc chairs, dining tables, or unstable stools, which can easily slide on tiled or polished wooden floors. If the fixture is positioned over a stairwell or a high ceiling, secure the ladder on a flat surface and have a second person spot you from below.
Identifying Your Ceiling Light Mount and Cover Type
Ceiling fixtures come in several mounting styles, and identifying yours determines which dimensions are critical for a replacement. Flush mount fixtures sit directly against the ceiling surface, leaving no gap, while semi-flush mount fixtures feature a small stem that suspends the light base slightly below the ceiling. Pendant fixtures hang even lower from a cord, chain, or rod. The mounting style dictates how much physical clearance you have for a wider or deeper replacement cover.

Next, examine how the cover attaches to the fixture base. The most common attachment mechanisms include:
- Thumb Screws: Usually three metal screws threaded through the fixture collar that tighten inward to hold the lip of the cover.
- Threaded Collar or Socket Ring: A plastic or metal ring that screws directly onto the threaded socket over the cover to hold it in place.
- Spring Clips: Two or three spring-loaded metal arms inside the fixture base that pull outward to grip the interior rim of the cover.
- Central Finial: A decorative nut or screw at the bottom center of the cover that secures the glass dome to a central threaded rod.
Finally, observe where the cover rests. Some covers sit inside a metal canopy ring, which means you must measure the outer diameter of the cover’s lip. Others slip directly over a socket cluster, requiring you to measure the inner diameter of the cover’s opening to ensure it clears the bulbs and sockets.
Step-by-Step Guide to Measuring for a Replacement Cover
To get an accurate measurement, remove the existing cover from the fixture if it is still intact. If the cover is broken, you will need to measure the fixture base itself. Use a reliable metal measuring tape or a pair of digital calipers for the highest precision. Avoid using flexible cloth sewing tapes, as they can stretch over time and lead to inaccurate readings.
Record your measurements in both millimeters and inches. Most replacement covers sold on online marketplaces or in local hardware stores are listed using metric dimensions, but some traditional styles still use standard imperial measurements. Take multiple measurements across different angles of the opening to account for slight manufacturing asymmetries or warping, especially in older glass or plastic fixtures.
Measuring the Fitter (Attachment Point)
The fitter is the most critical measurement because it determines whether the replacement cover will physically attach to your fixture. A fitter that is even a few millimeters too large will not slide into the collar, while one that is too small can slip through the screws or clips and fall.
For drop-in, lip-style, or screw-on covers, measure the outside diameter of the raised neck or lip of the cover. This is the portion of the glass or plastic that actually inserts into the fixture’s metal collar. If the original cover is missing, measure the inside diameter of the fixture’s metal collar, then subtract approximately 1/8 inch (about 3 millimeters) to find the maximum allowable fitter size for your replacement.
For covers held by internal spring clips or threaded socket rings, measure the inside diameter of the cover’s opening. This ensures the opening is wide enough to slide over the socket assembly or allow the spring clips to expand safely inside. Always measure to the nearest millimeter; a loose fit can cause the cover to rattle when ceiling fans are running, while a tight fit can cause glass to crack as it expands from the heat of the light bulb.
Measuring the Overall Dimensions (For Visual Proportion)
Once you have determined the fitter size, you must measure the overall dimensions of the cover to ensure it fits your space and maintains the correct visual proportion. Start by measuring the total height or depth of the cover from the very top of the fitter lip to the lowest point of the dome or shade. This measurement is crucial for low-ceiling rooms or hallways where a cover that is too deep could obstruct doors or head clearance.
Next, measure the maximum width or diameter at the widest point of the cover. While you have some flexibility with this measurement if the fitter size matches, a cover that is significantly wider than the original may look bulky or out of proportion with the fixture base.
Additionally, ensure the interior cavity of the replacement cover provides enough clearance around your light bulbs. If the cover sits too close to the bulbs, heat can build up rapidly, shortening the lifespan of LED drivers or creating a fire hazard with older incandescent bulbs. Ensure there is at least 1/2 inch of space between the bulb and the inner surface of the cover.
Verifying Compatibility Before You Buy
Finding a cover with the correct physical dimensions is only the first part of the process; you must also verify electrical and environmental compatibility. Check the fixture’s maximum wattage rating, which is usually printed on a sticker inside the metal base. The replacement cover material must be rated to handle the heat output of your bulbs. Glass covers generally tolerate higher temperatures, while acrylic or polycarbonate covers can warp or discolor if paired with high-wattage incandescent bulbs.
Consider the weight of the replacement cover. If you are upgrading from a lightweight plastic cover to a thick, decorative glass dome, verify that the fixture’s mounting hardware and your ceiling junction box can support the additional weight. Heavy glass covers require secure, metal-threaded connections rather than simple plastic clips.
Environmental factors are especially important in tropical regions. If you are replacing a cover for a fixture in a bathroom, kitchen, or covered outdoor patio, ensure the replacement cover is rated for damp or wet locations. High humidity and moisture can degrade non-rated materials, cause metal parts to corrode, or allow moisture to seep into the electrical socket, creating a short-circuit hazard. Always check for standard electrical safety certifications on the product packaging.
Installation and Final Checks
When your replacement cover arrives, perform a dry fit before securing it. Carefully align the fitter lip with the fixture’s collar or mounting clips. If you feel resistance, do not force the cover into place, as this can chip glass or crack plastic.
If your fixture uses thumb screws, tighten them gradually and evenly in a star pattern. Turn each screw a few rotations at a time rather than tightening one completely before moving to the next. This distributes the pressure evenly around the fitter lip. Tighten the screws until they are snug against the glass, but do not over-tighten them; glass needs room to expand slightly as it warms up from the light bulb.
Once the cover is secure, restore power at the circuit breaker and turn on the wall switch. Observe the fixture closely for the first few minutes. Watch for any physical wobbling, especially if you have a ceiling fan operating nearby. Listen for buzzing sounds, and check for rapid heat buildup. If you notice any unusual warmth, smoke, or if the cover does not sit flush without applying excessive force, turn off the power immediately and consult a qualified electrician to inspect the fixture’s wiring and mounting bracket.
Frequently Asked Questions (FAQ)
What if my ceiling light has a non-standard or proprietary fitter?
Proprietary or non-standard fitters are common with integrated LED fixtures and designer lighting brands. If your fixture does not match standard fitter sizes (such as 2-1/4 inch, 3-1/4 inch, or 4-inch diameters), you will likely need to contact the original manufacturer or an authorized distributor to purchase a dedicated replacement part. Alternatively, you can take the broken cover or detailed photos of the fixture base to a specialized local lighting store where staff can help you find a compatible aftermarket option. Do not attempt to use adhesives, electrical tape, or makeshift brackets to force a standard cover onto a non-compatible mount, as these modifications can fail under heat and cause the cover to fall.
Can I use a plastic cover to replace a broken glass one?
You can substitute a glass cover with a plastic one (such as acrylic or polycarbonate) provided the fitter size matches exactly and the plastic material is rated for your fixture’s maximum bulb wattage. Plastic covers are lightweight, shatterproof, and often more affordable, making them a practical choice for high-traffic areas or children’s rooms. However, plastic covers can yellow, become brittle, or warp over time if they are exposed to the high heat generated by incandescent or halogen bulbs. If you decide to switch to a plastic cover, it is highly recommended to replace your existing bulbs with low-heat, energy-efficient LED bulbs to prolong the life of the new cover.

Community discussion
Share your experience or ask a question. Comments are reviewed before publication.