
Finding the right replacement acrylic lamp shade requires precise measurements of your existing lamp base, hardware, and light bulb. Acrylic is an exceptionally durable and practical material choice for homes in the Philippines, where high tropical humidity can cause traditional fabric or paper shades to mold, sag, or discolor over time. However, because acrylic is a rigid, molded material, it does not flex or stretch to accommodate incorrect hardware. Taking exact physical measurements before purchasing ensures your new shade sits securely, diffuses light beautifully, and maintains a safe distance from the heat generated by your bulb.
Before you begin measuring, it is essential to understand that a successful replacement depends on matching both the physical dimensions and the specific mounting style of your lamp. A shade that is too small can trap heat and damage your bulb socket, while a shade that is too large can make the lamp unstable and prone to tipping over. By following a systematic measurement process, you can confidently select a replacement shade that balances safety, functionality, and visual appeal.
Identify Your Lamp's Fitter Type and Hardware
To choose the correct replacement shade, you must first identify how the shade connects to your lamp base. This connection mechanism is known as the fitter. Different lamps use distinct fitter styles, and purchasing a shade with the wrong fitter type will make installation impossible without purchasing additional, sometimes incompatible, adapter hardware.
Products mentioned in this guide
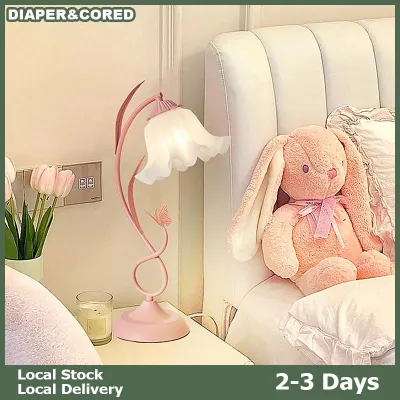
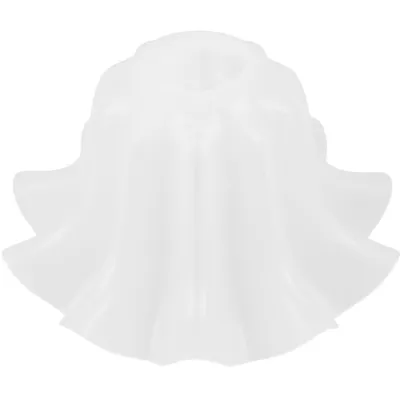
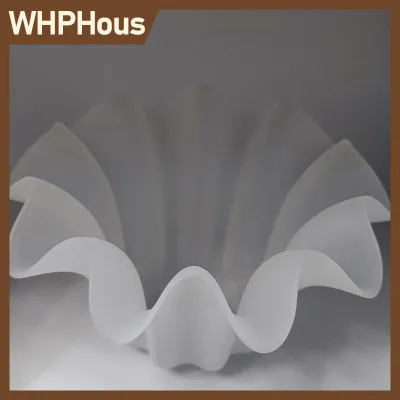
Prices are valid at publication and may change. Please refer to the product page for the latest price.
The most common style found on traditional table and floor lamps is the spider fitter. This system uses a U-shaped metal wire support called a harp, which attaches to the lamp base at a bracket below the socket called the saddle. The spider fitter itself consists of metal arms extending from the top rim of the shade to a small central ring. This ring slips over a threaded post at the top of the harp and is secured in place by a decorative screw-on cap known as a finial.
Another prevalent style is the Uno fitter, which is highly common on smaller bedside lamps, reading lights, and down-bridge floor lamps where the bulb points downward. Unlike the spider fitter, an Uno fitter does not use a harp. Instead, the shade features a built-in metal ring that screws directly onto the threaded outer surface of the electrical socket, or is held in place by a separate threaded socket ring. This setup means the shade is suspended directly from the socket itself.
For smaller accent lamps, novelty lights, or chandeliers, you will often encounter clip-on fitters. These shades feature wire loops built directly into the top of the shade frame. The loops expand slightly to clamp directly onto the glass surface of a standard or flame-shaped light bulb. Inspecting your existing shade’s attachment method before removal provides the most reliable clues for compatibility, helping you narrow down your search on online marketplaces.
Measure for a Spider Fitter and Harp Setup
If your lamp utilizes a spider fitter and harp setup, you must measure several key dimensions to ensure the new acrylic shade sits at the correct height and covers the internal hardware without touching the bulb. The goal is to keep the electrical socket, saddle, and harp hidden from view while maintaining a balanced silhouette.

Start by measuring the harp height. Use a reliable tape measure or ruler to measure from the very bottom of the harp, where it slots into the saddle prongs, up to the flat base of the threaded post at the top. Do not include the threaded post itself or the finial in this measurement. This dimension determines the vertical space available for the shade to rest upon.
Next, calculate the required shade height by measuring vertically from the top edge of the shade down to the bottom edge. For a balanced look, the shade height should be slightly longer than the harp height. This extra length ensures that the bottom rim of the shade hangs low enough to completely conceal the socket assembly and saddle when the lamp is viewed from a seated position.
To ensure proper light diffusion and physical stability, measure the top and bottom diameters of your existing shade. Place your measuring tool flat across the top opening to find the top diameter, and repeat the process across the bottom opening for the bottom diameter. If you are changing the shape of the shade—such as moving from a drum shape to a bell shape—ensure the bottom diameter does not exceed the surface area of the table where the lamp will sit.
Finally, verify the drop of the shade. The drop is the vertical distance from the top rim of the shade down to the center ring of the spider fitter. Some shades have a shallow drop of only a few centimeters, while others have a deep drop that positions the fitter ring much lower inside the shade. To measure this, lay a straight ruler across the top opening of the shade, and use a second ruler to measure vertically down from that straightedge to the center of the fitter ring.
Measure for Uno and Clip-On Socket Fitters
Measuring for lamps without a harp requires a different approach, as the shade must clear the bulb and attach securely directly to the socket or the bulb itself. For Uno fitters, the critical measurement is the distance from the socket ring to the top of the installed bulb.
Begin by measuring the vertical distance from the threaded portion of the socket where the Uno ring will sit to the tip of your preferred light bulb. This measurement ensures that the acrylic shade has sufficient internal depth to fully enclose the bulb. If the shade is too shallow, the bulb will protrude from the bottom, creating harsh glare and an unfinished appearance.
Next, determine the maximum physical bulb size that can safely fit inside the neck of the Uno shade. Acrylic shades designed for Uno fitters often feature a molded opening that must slide over the bulb or the socket. Measure the outer diameter of your bulb at its widest point to ensure it can easily pass through the shade’s opening during installation and maintenance.
For clip-on fitters, you must check the clip tension points and match them to your bulb shape. Standard clip-on shades are designed to grip a classic A19 bulb shape, while smaller chandelier clip-on shades are sized for flame-shaped candelabra bulbs. Measure the diameter of your bulb’s glass envelope to ensure the metal wire loops of the clip-on fitter will grip the bulb securely without slipping or applying excessive pressure that could crack the glass.
Check Bulb Clearance and Acrylic Heat Safety
While acrylic is highly durable, shatter-resistant, and easy to clean, it is a thermoplastic material. This means it can soften, warp, discolor, or emit odors if subjected to excessive heat over prolonged periods. Ensuring adequate physical clearance between the bulb and the inner walls of the acrylic shade is a critical safety step.
First, measure your installed bulb’s maximum width and height. Use these dimensions to establish a baseline for your clearance calculations. Always maintain a minimum clearance margin of at least 5 to 8 centimeters between the outer surface of the bulb and the inner wall of the acrylic shade. This physical gap allows air to circulate freely, dissipating thermal energy before it can affect the acrylic material.
Next, cross-reference your lamp’s maximum wattage rating with the shade’s proximity to the light source. Locate the safety label on your lamp’s socket, which specifies the maximum allowable wattage (for example, “Max 60W”). Never exceed this rating. Because traditional incandescent bulbs convert only a small fraction of their energy into light, they release substantial heat; switching to energy-efficient LED bulbs is highly recommended for acrylic shades, as LEDs produce significantly less heat for the same level of brightness.
If you are installing the lamp in a warm, humid, or poorly ventilated environment, heat buildup can occur more rapidly. If your measurements indicate that the bulb will sit closer than the recommended clearance margin, or if the bulb physically touches any part of the acrylic shade, do not turn on the lamp. Stop the installation immediately and consult a qualified lighting professional or the manufacturer to explore alternative hardware or shade dimensions.
Confirm Visual Proportions and Base Balance
Beyond technical compatibility and safety, your replacement acrylic shade should harmonize visually with your lamp base and the surrounding room. Applying standard interior design guidelines helps ensure the new setup looks intentional and remains physically stable.
Compare the shade’s bottom diameter to the overall height of your lamp base. As a general rule of thumb, the bottom diameter of the shade should be roughly equal to the height of the lamp base, measured from the very bottom of the stand to the base of the socket. This proportion prevents the shade from looking disproportionately large or awkwardly small.
Additionally, assess the shade’s maximum width relative to the widest point of the lamp base. The widest part of the shade should ideally be at least twice the width of the widest part of the base. This ratio provides visual stability, ensuring the lamp does not appear top-heavy or prone to tipping over if bumped.
Finally, consider the unique visual weight and light-refracting properties of acrylic. Unlike traditional fabric shades that block and diffuse light opaque-ly, acrylic shades can be clear, frosted, tinted, or textured. A clear or lightly frosted acrylic shade has less visual weight than a solid fabric shade, meaning you can sometimes choose a slightly larger size without overwhelming a small room or a delicate side table. Conversely, highly saturated or dark-tinted acrylic shades draw more visual attention and should be sized conservatively to maintain balance.
Frequently Asked Questions (FAQ)
Can I use an acrylic shade with high-wattage bulbs?
You should only use an acrylic shade with high-wattage bulbs if the shade’s manufacturer explicitly rates the material for those specific thermal limits. Because acrylic is sensitive to high temperatures, always check the manufacturer’s guidelines regarding maximum wattage and heat exposure. To minimize thermal stress, it is highly recommended to use LED bulb alternatives. LEDs operate at much lower temperatures than traditional incandescent bulbs, drastically reducing the risk of heat-related damage. If you observe any signs of thermal stress on your acrylic shade—such as yellowing, warping, fine cracks, or a distinct plastic odor—turn off the lamp immediately and replace the bulb with a lower-wattage or LED option.
What if my lamp is missing a harp or has a non-standard size?
If your lamp is missing its original harp or features an unusual socket size, you can purchase separate hardware to adapt the lamp for your new acrylic shade. Replacement harps are widely available in various heights, allowing you to adjust where the shade sits vertically. If your lamp base has a saddle but no harp, simply slide a new harp of the correct height into the saddle prongs. For minor height adjustments, you can use harp extenders or saddle adapters. If you wish to convert a spider fitter setup to accommodate an Uno shade, or vice versa, specialized adapter kits can bridge the gap. However, if structural modifications to the lamp’s electrical socket or wiring are required, always isolate the power supply and consult a qualified lighting specialist or the lamp manufacturer to ensure a safe installation.

Community discussion
Share your experience or ask a question. Comments are reviewed before publication.