
Finding the correct replacement lamp cover requires more than just guessing the size based on a quick visual estimate. To ensure a secure fit and a balanced look, you must measure three critical dimensions: the fitter diameter, the vertical height, and the overall width or depth. A mismatched cover not only looks disproportionate but can also create safety hazards, such as unstable mounting or excessive heat buildup.
In the tropical climate of the Philippines, high humidity and ambient temperatures make material selection and precise fitting even more critical. Moisture can cause fabric covers to sag or develop mold, while trapped heat from an improperly sized cover can damage the lamp socket or degrade the bulb prematurely. Taking accurate physical measurements of your existing lamp base and hardware is the most reliable way to select a compatible replacement cover without the hassle and expense of returns.
Safety First: Preparing Your Lamp for Measurement
Before you begin handling your lamp or taking any physical measurements, safety must be your top priority. Always unplug the lamp from the wall outlet to eliminate any risk of electrical shock. Simply turning off the switch is not enough, as current still flows to the socket.
Products mentioned in this guide
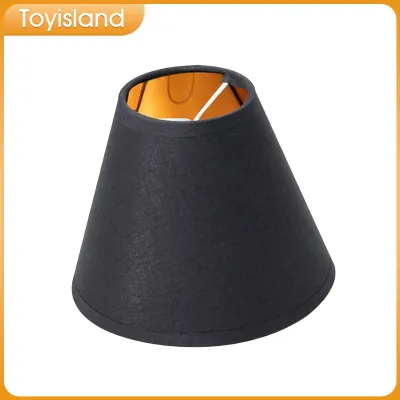
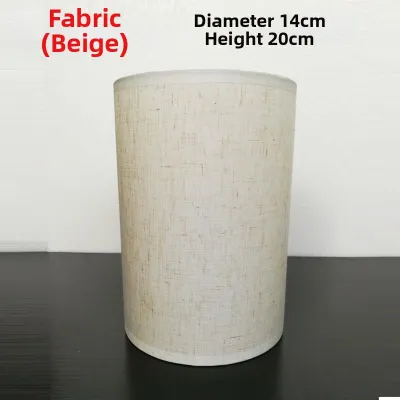
![KOQZM💖[HOT SALE]🎈🎈 E27 Plastic Lampshade Long Tube Conical PP Circular E14 Bulb Cover for Modern Interior Ceiling Pendant Lighting](https://img.lazcdn.com/g/p/87bea486a0c264e8cafc31a34b57c622.jpg_400x400q80.jpg_.webp)

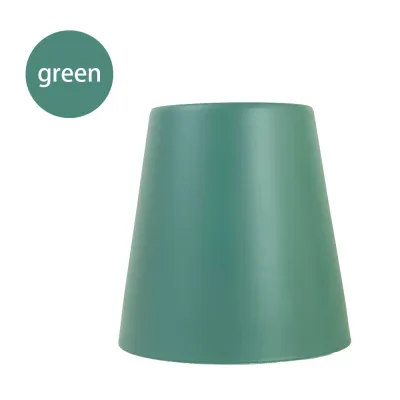
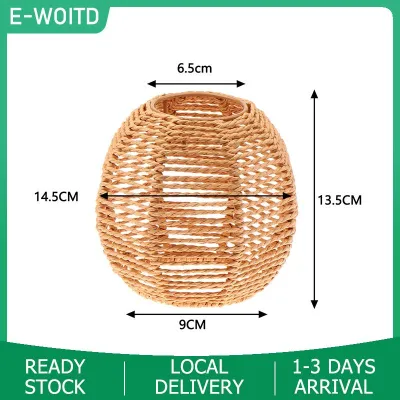
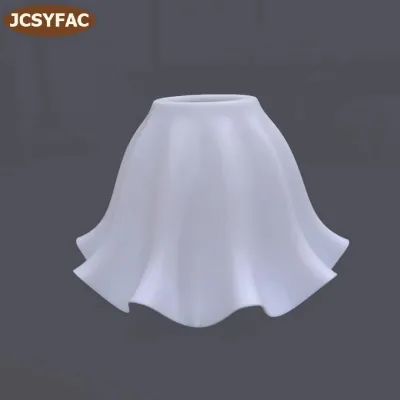
![[COD] 1Pcs Plastic Lamp Cover Simple Home Light Cover Chic Light Accessory White](https://img.lazcdn.com/g/p/2f4c32e3506e275038a0ff063218d2b6.jpg_400x400q80.jpg_.webp)
Prices are valid at publication and may change. Please refer to the product page for the latest price.
If the lamp was recently illuminated, allow the bulb and the surrounding hardware to cool down completely. Incandescent and halogen bulbs can reach high temperatures that cause painful burns upon contact. Once the lamp is cool to the touch, carefully remove the existing cover, the light bulb, and any detachable hardware like the shade harp or finial.
Place these components on a clean, flat surface where they will not roll off or break. If you are measuring a fixed ceiling fixture or a wall-mounted sconce in a damp area like a bathroom or outdoor patio, isolate the power at the main circuit breaker before proceeding. For complex suspended installations or fixed wiring adjustments, always consult a qualified professional to ensure compliance with local electrical safety standards.
Step 1: Identifying and Measuring the Fitter
The fitter is the metal or plastic hardware that connects the replacement cover to the lamp base. Identifying your specific fitter type is the most crucial step in finding a compatible replacement, as an incorrect fitter size will prevent the cover from mounting securely. The three most common fitter types are spider, uno, and clip-on fitters.

Spider fitters are the most common style for table and floor lamps. They feature a central ring with spokes that sit on top of a metal support frame called a harp, secured in place by a decorative screw-on finial. To measure a spider fitter, use a rigid ruler or digital calipers to measure the inner diameter of the central washer ring. This measurement must match the top post of your lamp’s harp.
Uno fitters are designed to thread directly onto the lamp socket itself, usually positioned beneath the light bulb. These are common on smaller accent lamps and bedside lighting. To measure an uno fitter, measure the inner diameter of the threaded ring. It is vital to distinguish between a standard threaded uno fitter and a slip-uno fitter, which slides onto the socket and is held in place by a separate collar ring.
Clip-on fitters attach directly to the light bulb itself using wire loops. They are typically found on small accent lamps or chandeliers. To measure a clip-on fitter, identify whether it is designed for a standard round bulb or a smaller, flame-shaped candelabra bulb. Measure the width of the wire loops to ensure they will grip your specific bulb shape snugly without slipping.
When recording these measurements, write down the dimensions to the nearest millimeter or sixteenth of an inch. Because manufacturers on online marketplaces and local retail stores may list specifications in either metric or imperial units, having both measurements handy will simplify your search.
Step 2: Determining the Correct Cover Height
Determining the correct vertical height of your replacement cover ensures that the internal hardware remains hidden while allowing the light to disperse effectively. A cover that is too short will expose the unsightly socket and neck of the lamp, while a cover that is too tall can make the entire fixture look bottom-heavy and restrict the light output.
To measure the height of an existing cover, always measure straight down in a vertical line from the top rim to the bottom rim. Do not measure along the slant of a tapered or conical cover, as the slant height is always longer than the actual vertical height. If you do not have the original cover, you can establish the ideal height by measuring the lamp’s harp from its base mount to the top thread.
For lamps utilizing a spider fitter, the cover’s vertical height should be slightly longer than the height of the harp. This ensures that the bottom edge of the cover extends at least a half-inch below the bottom of the socket, completely concealing the electrical connections.
To maintain visual comfort, apply the eye-level rule when determining the height of your replacement cover. When you are seated near a table lamp, the bottom edge of the cover should sit at or slightly below your eye level. This positioning prevents the harsh, direct glare of the bare bulb from shining into your eyes, creating a more comfortable and inviting atmosphere in your living space.
Step 3: Measuring Width, Depth, and Bulb Clearance
The horizontal dimensions of your replacement cover—including the top diameter, bottom diameter, and depth—are essential for both aesthetic balance and physical safety. A cover that is too narrow can look awkward and restrict light, while a cover that is too wide may overhang your table or bump into nearby walls.
For round or tapered covers, measure the diameter of both the top opening and the bottom opening. If you are replacing a square, rectangular, or hexagonal cover, measure the diagonal distance from corner to corner rather than just side to side. This diagonal measurement represents the true clearance space the cover will occupy in your room.
To achieve a balanced look, the bottom width of the cover should be roughly proportionate to the height of the lamp base. A reliable design guideline is that the bottom diameter of the cover should be within two inches of the height of the lamp base, measured from the bottom of the base to the start of the socket. Additionally, the cover’s bottom width should not exceed the width of the table or surface on which the lamp sits.
Thermal clearance is another critical safety factor, particularly in warm and humid climates. High ambient temperatures can accelerate heat buildup inside a lamp cover, especially if you are using high-wattage incandescent or heat-emitting LED bulbs. Ensure there is at least two to three inches of open space between the bulb and the inner surface of the cover to allow heat to dissipate safely. This prevents fabric covers from scorching, plastic from warping, and glass from cracking due to thermal stress.
Translating Measurements into a Purchase Decision
Once you have recorded all your measurements, you can confidently begin shopping for a replacement cover. When browsing online marketplaces or visiting local lighting showrooms, always read the detailed product specification sheets rather than relying solely on generic product titles like “medium” or “standard” size.
Pay close attention to the listed fitter type and its exact dimensions, as this is the one measurement that must be precise for a secure installation. While a slight variance of a half-inch in the cover’s overall width or height is usually acceptable and will not ruin the lamp’s appearance, a mismatched fitter will render the cover unusable.
Before finalizing your purchase, verify the electrical specifications of your lamp, including the voltage, socket interface, and maximum wattage limit. Ensure that the material of the new cover is compatible with the heat output of your bulb and the humidity levels of your installation environment. For instance, in high-humidity areas, a glass, acrylic, or treated metal cover is often more durable than untreated paper or delicate silk.
Finally, always verify the retailer’s return and exchange policy before checking out. Even with precise measurements, the physical appearance or light diffusion of the cover might differ from what you expect once installed in your home. Choosing a seller that offers hassle-free returns or exchanges ensures you can swap the cover if the physical fit or aesthetic does not meet your expectations, saving you from wasting hundreds of pesos on return shipping fees.
Frequently Asked Questions (FAQ)
Can I use a replacement cover if the fitter size is slightly off?
If the fitter size of your chosen replacement cover does not match your lamp perfectly, you may be able to use an adapter or reducer ring. For example, fitter reducers can shrink a large uno fitter opening to fit a smaller socket, while spider-to-uno adapters can convert a spider cover for use on an uno-style lamp. However, you should never force an incorrect fitter size onto your lamp hardware. Forcing a tight fit can crack glass covers, strip threaded sockets, or bend metal harps, creating structural instability and electrical hazards. If you cannot find a compatible adapter, it is best to stop and consult a lighting specialist or search for a custom-made cover that matches your exact dimensions.
How do I measure for a new cover if the original is missing?
If the original cover is missing or broken, you can establish the correct dimensions by measuring the lamp base and hardware directly. First, measure the height of the lamp base from the bottom to the brass neck just below the socket. The ideal cover height should be approximately two-thirds of this base height. Next, measure the height of the harp (if your lamp uses one) to determine the minimum cover height needed to hide the socket. To find the appropriate bottom width, measure the footprint of the table where the lamp will sit, ensuring the cover’s diameter is smaller than the table’s surface width to prevent accidental bumps. You can also check the lamp manufacturer’s website or original documentation for recommended replacement dimensions.

Community discussion
Share your experience or ask a question. Comments are reviewed before publication.