
Finding the right table lamp shade cover is more than just an aesthetic upgrade; it is a precise task of matching hardware, measuring physical dimensions, and ensuring electrical safety. A mismatched shade can result in exposed bulbs, harsh glare, or even safety hazards from trapped heat. By taking a few systematic measurements and identifying your lamp’s specific mounting style, you can confidently select a shade that balances your room’s lighting while fitting securely onto your existing fixture. In tropical environments like the Philippines, where high humidity can affect material durability and heat dissipation, choosing the correct shade size and material is also essential for long-term safety and performance.
Identify Your Lamp's Fitter Type Before Measuring
Before pulling out a measuring tape, you must determine how the shade attaches to your lamp. Table lamps generally rely on one of three standard mounting systems, known as fitters: spider, Uno, or clip-on. Identifying this mechanism ensures you do not purchase an incompatible shade cover that cannot be secured to your lamp base.
The spider fitter is the most common style for medium to large table lamps. If your lamp features a U-shaped metal wire frame—called a harp—that rises from beneath the socket and arches over the bulb, it requires a spider shade. The shade itself will have a central ring with metal spokes resembling a spider web that sits on top of the harp. A decorative screw-on cap, known as a finial, secures the spider ring to the top of the harp.
Products mentioned in this guide
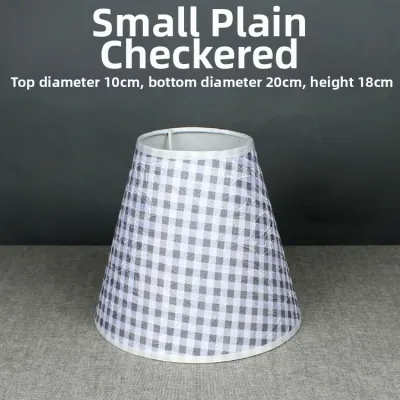
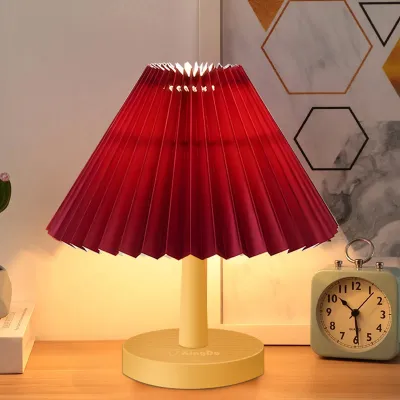
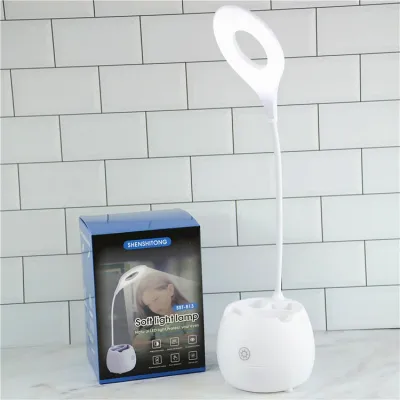

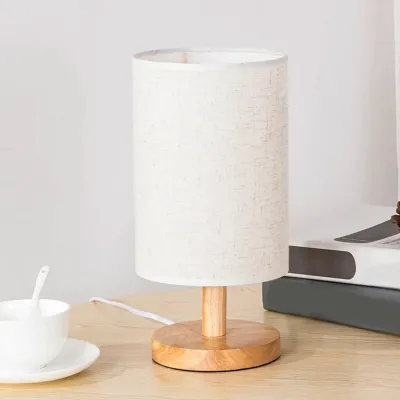
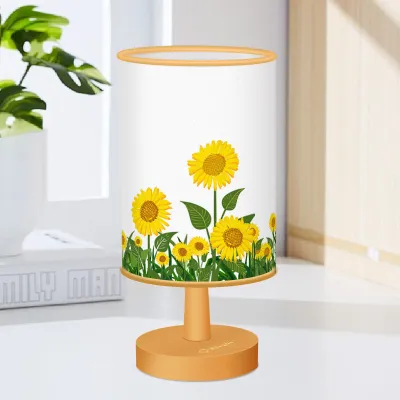
Prices are valid at publication and may change. Please refer to the product page for the latest price.
The Uno fitter is typically found on smaller table lamps or bedside fixtures. This system does not use a harp. Instead, the shade features an integrated metal ring that screws directly onto a threaded section of the light bulb socket. The Uno ring is usually located either at the very top of the shade for drop-down designs or built into the inner frame so that it slips over the socket before the bulb is installed.
The clip-on fitter is the simplest design, commonly reserved for small accent lamps or candelabra-style fixtures. These shades do not attach to the lamp base or socket at all. Instead, they feature flexible metal wire loops built into the top of the shade frame that snap directly onto the glass envelope of the light bulb.
If your lamp uses a proprietary, custom, or non-standard mounting system that does not match these three categories, do not attempt to force a generic replacement shade. Stop and consult the manufacturer’s manual or contact a qualified lighting professional to identify compatible replacement hardware.
Measure Dimensions for Spider and Uno Fitters
To ensure your new table lamp shade cover aligns correctly and hides the underlying hardware, you must record several key dimensions. For these measurements, use a soft, flexible sewing measuring tape rather than a stiff metal construction tape. A soft tape easily contours to curved surfaces and prevents accidental scratches on delicate ceramic, glass, or polished metal lamp bases.

Begin by measuring the harp height if you are using a spider fitter. Measure from the very bottom of the saddle—the metal bracket mounted directly beneath the socket—to the top of the threaded post where the finial screws on. This height determines how tall your shade must be to fully conceal the socket and neck of the lamp without exposing the bulb underneath.
For Uno fitters, determine the drop. The drop is the vertical distance from the threaded socket ring down to the bottom edge of the bulb or socket assembly. This measurement ensures that when the Uno ring is screwed into place, the shade hangs low enough to cover the electrical components while allowing light to disperse effectively.
Next, record the three critical dimensions of the existing shade if you wish to replicate its current silhouette: the top diameter, the bottom diameter, and the slant height. Measure the top and bottom diameters straight across the widest outer edges of the frame. To measure the slant height, place your soft tape at the top outer rim and run it diagonally down the side of the shade to the bottom outer rim. Do not measure the vertical height straight down the middle unless you are buying a drum shade where the top and bottom diameters are identical.
Keep a written record of these dimensions in millimeters or inches, depending on your local retailer’s specifications. Having these exact numbers on hand will prevent guesswork when browsing online marketplaces or local home decor stores.
Measure Dimensions for Clip-On Fitters
Clip-on shades require a different measurement approach because their stability depends entirely on the physical connection between the metal clip and the light bulb. A mismatch here can cause the shade to wobble, sit crookedly, or slip off entirely, potentially damaging the bulb.
Begin by measuring the outer diameter and identifying the shape of the light bulb you intend to use. Standard A19 or A60 household bulbs require a larger, rounded clip, while smaller candelabra or torpedo-shaped bulbs require a narrower, elongated clip. Ensure the clip-on fitter matches the specific bulb profile, as forcing a small clip onto a standard bulb can crack the glass or bend the metal frame.
Next, check the vertical distance from the top of the socket to the desired position of the shade. Because clip-on shades sit directly on the bulb, they naturally ride higher than other styles. You must ensure that the bottom rim of the shade still extends low enough to block direct glare from the socket area without resting directly against the hot plastic or ceramic socket housing.
Finally, verify the weight of the replacement shade cover. Clip-on shades must be lightweight, typically made of paper, thin fabric, or lightweight parchment. Avoid heavy glass, thick metal, or dense beaded shades for clip-on applications, as excessive weight can strain the bulb socket, pull the bulb out of alignment, or cause the entire fixture to tip over.
Check Proportions and Heat Safety Clearances
A visually balanced lamp relies on proper proportions between the base and the shade. As a general design guideline, the bottom diameter of the shade should be roughly equal to the height of the lamp base, measured from the bottom of the base to the start of the socket. Additionally, the shade’s width should be wider than the widest part of the lamp base to create a stable, pleasing silhouette.
Beyond aesthetics, heat safety is a critical consideration, especially in the warm, humid climate of the Philippines. Every light bulb generates heat, which must dissipate safely to prevent fire hazards or material degradation. Maintain a minimum clearance of at least two to three inches, or approximately 50 to 75 millimeters, between the outer surface of the bulb and the inner lining of the shade cover.
Always check the maximum wattage rating printed on your lamp’s socket and compare it with the safety tags on the new shade cover. If you are using traditional incandescent bulbs, which emit significant heat, ensure the shade material can withstand the thermal output. For enclosed or tightly fitted shades, transitioning to energy-efficient LED bulbs is highly recommended, as they run much cooler and reduce the risk of scorching delicate fabric or plastic linings.
Consider how the shade material interacts with your environment. In high-humidity regions, tightly woven synthetic fabrics or treated paper shades are often preferred over heavy, untreated natural silks, which can trap moisture and encourage mold growth. The color of the shade also dictates light output: light-colored shades diffuse light throughout the room for general illumination, while dark or opaque shades direct light downward for focused task lighting.
Install the New Shade and Verify the Fit
Once you have selected the correct table lamp shade cover, follow a safe installation process to secure it. Before touching any electrical components or handling the bulb, always unplug the lamp from the wall outlet. If the lamp was recently turned on, allow the bulb to cool completely to avoid thermal burns.
To install a spider fitter shade, place the central ring of the shade over the threaded post at the top of the harp. Screw the decorative finial clockwise onto the post until it is snug, but do not overtighten, as this can strip the threads or crack the shade’s metal frame. For an Uno fitter, carefully thread the ring onto the socket collar, ensuring it sits level and does not cross-thread. For a clip-on shade, gently expand the wire clips with your fingers and lower them over the bulb, letting them grip the widest part of the glass envelope evenly.
After securing the fitter, plug the lamp back in and turn it on. Step back and evaluate the alignment from your typical seated eye level. The bottom of the shade should completely conceal the socket assembly and the neck of the lamp, preventing any direct, unshielded light from shining into your eyes while you are sitting nearby.
If the fitter feels forced, sits at an awkward angle, or feels unstable, do not attempt to bend or force the components into place. Stop immediately, unplug the lamp, and re-verify your measurements. An unstable shade can fall, damaging the lamp or creating an electrical hazard.
Frequently Asked Questions (FAQ)
Can I use a spider shade on a lamp that originally had a Uno fitter?
Yes, but you cannot mount it directly without modification. To use a spider shade on an Uno-style lamp, you must install a harp adapter. These adapters typically clamp onto the socket neck or slide under the socket shell, providing the saddle needed to hold a standard metal harp. Once the harp is installed, you can mount the spider shade and secure it with a finial. Always ensure the adapter is compatible with your socket size, such as standard E27 threads common in the Philippines, before purchasing.
What if my new shade cover is slightly crooked after installation?
If your new shade sits unevenly, first unplug the lamp and let the bulb cool. For spider fitters, check if the harp is seated properly in its saddle; sometimes one side of the harp slips out of the mounting slots. You can gently squeeze the harp legs to reseat them. For clip-on shades, gently rotate or tilt the wire clip on the bulb until the shade is level. If the shade frame itself is slightly bent, minor, careful adjustments to the wire spokes can correct the alignment, but avoid applying excessive force that could snap the solder joints.

Community discussion
Share your experience or ask a question. Comments are reviewed before publication.