
A symmetrical entryway or corridor instantly elevates a home’s curb appeal, establishing a sense of order, security, and architectural intent. Achieving this balanced look relies heavily on how you pair your lighting fixtures. Choosing the right exterior wall light to place on either side of your entrance does more than simply illuminate a dark doorway; it frames the entrance, guides the eyes of your guests, and highlights the structural beauty of your home. Whether you are highlighting a grand main door or lining a long outdoor veranda, symmetry creates an inviting path that makes any property feel more polished and secure.
While asymmetrical lighting can work in casual garden corners or modern, abstract facades, formal entryways and long walkways benefit immensely from the structured beauty of paired fixtures. Symmetry signals careful planning and attention to detail. By flanking an architectural feature with matching lights, you create a focal point that naturally draws people toward the entrance. In addition to aesthetic appeal, paired lighting distributes illumination evenly, eliminating harsh shadows and dark spots that could pose safety hazards or compromise home security.
How to Select the Perfect Pair of Exterior Wall Lights
Selecting the perfect pair of fixtures requires a thoughtful balance between aesthetic appeal, physical proportions, and durability. Because these lights will be exposed to the elements year-round, you must look beyond their immediate visual appeal and evaluate how their size, material, and build quality align with your home’s specific environment.
Products mentioned in this guide
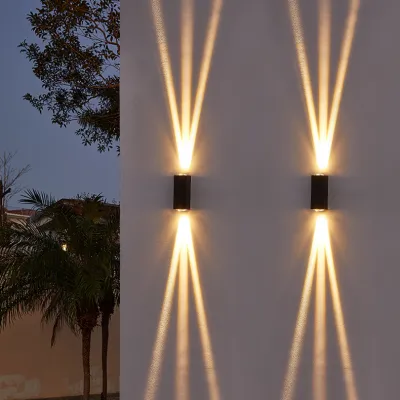
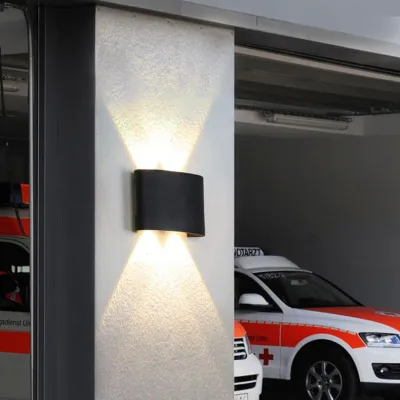
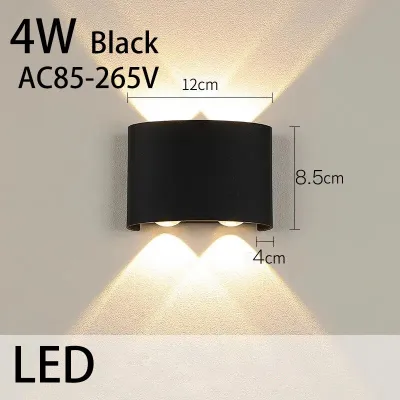
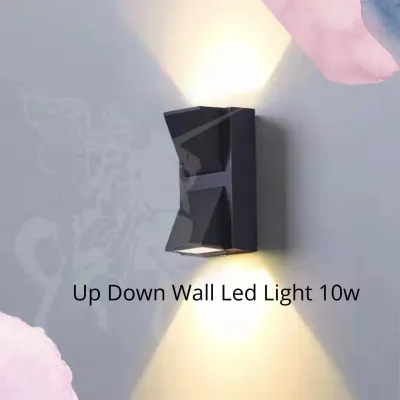
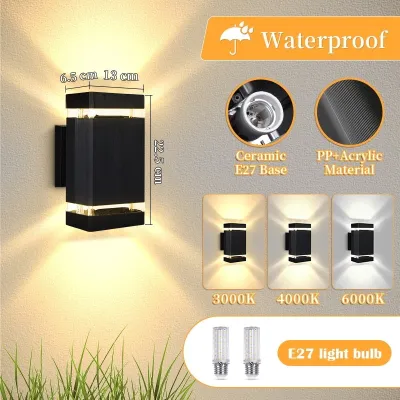
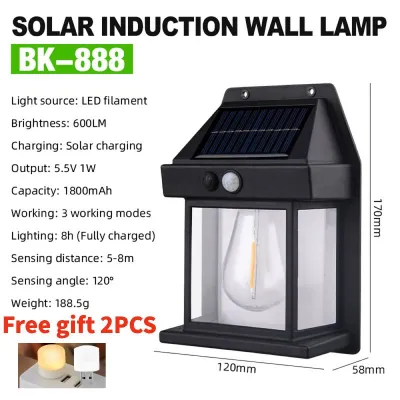
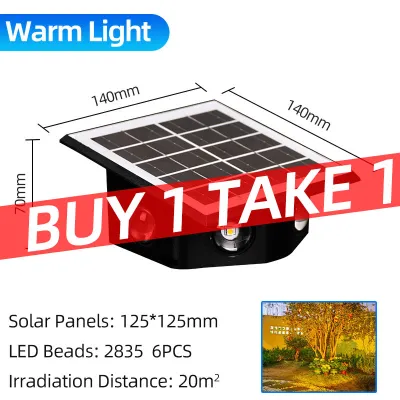
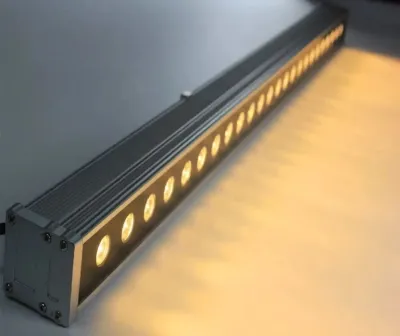
Prices are valid at publication and may change. Please refer to the product page for the latest price.
Matching Scale and Proportion to Your Space
One of the most common design errors is choosing fixtures that are either too small, making them look like an afterthought, or too large, which completely overwhelms the entryway. To avoid this visual imbalance, you can rely on established architectural guidelines to find the perfect size.
- The One-Fourth to One-Third Rule: As a general rule of thumb, the height of your exterior wall light should be roughly one-fourth to one-third the height of the door or gate it is flanking. For example, if you have a standard front door that stands about 2.1 meters tall, your ideal fixture height should measure between 52 and 70 centimeters.
- Evaluating Visual Weight: Consider the overall bulk and design density of the fixture. A solid, dark iron lantern with thick glass panes carries more visual weight than a sleek, minimalist cylinder of the same height. If your entryway is narrow or framed by delicate trim, opt for slimmer profiles. For expansive concrete facades or wide gate pillars, choose robust fixtures with broader profiles to ensure they do not get lost against the massive background.
- Accounting for Multiple Doors: If you are flanking a double front door, you can push toward the upper end of the scale (one-third of the door height) because the overall entryway opening is much wider, requiring larger fixtures to maintain a balanced proportion.
Selecting Weather-Resistant Materials and Finishes
Outdoor fixtures in tropical environments face harsh weather conditions, including intense solar radiation, high humidity, heavy seasonal monsoons, and potentially corrosive salty air in coastal regions. Choosing the right material ensures your investment remains beautiful and functional for years.
- Die-Cast Aluminum: This is a highly popular and cost-effective option. It is lightweight, naturally resistant to rust, and easily molded into intricate traditional or sleek modern designs. When selecting aluminum, ensure it features a high-quality, UV-resistant powder-coated finish to prevent the paint from bubbling, fading, or peeling under the hot tropical sun.
- Solid Brass and Copper: For premium durability, solid brass and copper are unmatched. These materials do not rust and are highly resistant to corrosion, making them an excellent choice for coastal homes exposed to salty sea breezes. Over time, they will develop a natural patina that adds character, though they can also be polished to maintain their original luster.
- Marine-Grade Stainless Steel: If you prefer a contemporary, metallic aesthetic, look specifically for marine-grade (316) stainless steel. Lower grades of stainless steel can develop unsightly brown spots, known as tea-staining, when exposed to high humidity and salt.
- Verifying Ingress Protection (IP) Ratings: Never rely solely on a product's marketing claims of being "outdoor-safe." Always check the manufacturer's product label or specification sheet for its official IP rating. The first digit (0 to 6) indicates protection against solid objects like dust, while the second digit (0 to 9) measures water resistance. For fixtures installed under deep, protective eaves or covered corridors, a damp-rated fixture is acceptable. However, for fully exposed walls or gate pillars subject to driving rain, verify that the fixture is officially wet-rated to prevent moisture from penetrating the electrical housing.
Layout and Spacing Rules for Perfect Symmetry
Once you have selected the ideal pair of fixtures, achieving perfect symmetry depends entirely on precise placement. Even the most beautiful lights will look awkward if they are mounted at slightly different heights or spaced unevenly from the door frame.

Flanking a Front Door or Gate
To create a perfectly balanced frame around your main entrance or gate, follow a systematic approach to measuring and marking your installation points.
- Establish the Centerline: Start by identifying the exact center of your door or gate opening. This serves as your primary reference point for all horizontal measurements.
- Measure the Horizontal Distance: Measure outward from the outer edge of the door frame or gate trim. Typically, your fixtures should be positioned between 15 and 30 centimeters away from the frame. Placing them too close can make the entryway look cramped and may cause the door trim to block the light, while placing them too far apart loses the cohesive framing effect. Ensure this distance is identical on both the left and right sides.
- Determine the Vertical Mounting Height: For an optimal spread of light and to prevent uncomfortable glare, the center of the light source (the bulb or the brightest part of the fixture) should sit approximately 1.5 to 1.7 meters above the finished floor line. This height aligns roughly with average eye level, ensuring the path is well-lit while keeping the glowing bulb out of your direct line of sight.
- Mark and Double-Check: Use a high-quality measuring tape and a pencil to mark the mounting bracket screw holes on the wall. Before drilling, place a spirit level (or a water level for wider spans) across both marked locations to guarantee they are perfectly horizontal. Do not rely on visual estimation, as uneven ground or slightly crooked wall finishes can easily trick your eyes.
Rhythmic Spacing Along an Outdoor Corridor
When pairing lights along a long walkway, veranda, or outdoor corridor, the goal shifts from framing a single point to creating a harmonious visual rhythm that guides movement.
- Calculate Equal Intervals: To avoid a chaotic look, space your fixtures at regular, calculated intervals. Measure the entire length of the corridor and divide it into equal sections. Depending on the brightness of your fixtures and the width of the corridor, spacing pairs or alternating lights every 2.5 to 4 meters generally provides a continuous wash of light without creating dark gaps or blindingly bright zones.
- Maintain Absolute Vertical Consistency: Every single fixture along the corridor must be mounted at the exact same height from the ground. Use a chalk line or a laser level to project a straight, continuous reference line across the entire length of the wall before beginning the installation.
- Manage Light Distribution: For long corridors, consider using directional up-and-down wall sconces. These fixtures cast light upward onto the ceiling and downward onto the floor, minimizing direct glare while emphasizing the architectural texture of the corridor walls.
Electrical Safety and Installation Boundaries
Working with outdoor electrical installations introduces unique risks due to moisture exposure and structural factors. Prioritizing safety and adhering to proper technical standards is essential to prevent electrical hazards, short circuits, or damage to your home.
- Power Isolation: Before performing any electrical work, always turn off the power supply at the main circuit breaker panel. Never rely solely on the wall switch to cut the power. Use a reliable, non-contact voltage tester directly on the wires at the junction box to verify that the circuit is completely dead before touching any connections.
- Voltage and Load Verification: Standard household power in the Philippines operates at 220V to 240V at 60Hz. Ensure that your chosen exterior wall light, its internal ballast (if applicable), and the bulbs you install are fully compatible with this voltage rating. Additionally, calculate the cumulative wattage of all fixtures on the circuit to ensure you do not overload the breaker, especially when installing multiple pairs along a long corridor.
- Weatherproof Enclosures and Conduits: All outdoor electrical wiring must be protected from moisture, UV degradation, and pests. Run all wiring through thick-walled, outdoor-rated PVC conduits or flexible liquid-tight conduits. All wire connections must be housed inside weatherproof, IP-rated junction boxes. Apply a bead of high-quality, outdoor-grade silicone sealant around the backplate of the fixture where it meets the wall to prevent rainwater from seeping into the electrical box, leaving a small gap at the very bottom of the fixture plate to allow any trapped condensation to drain out.
- Professional Boundaries: If you are simply replacing an existing, worn-out fixture where the wiring and junction box are already safely in place, this can be a manageable DIY project. However, if your project involves running new electrical lines, drilling through solid concrete exterior walls, installing new conduits, or mounting heavy fixtures at heights, you must hire a licensed electrician. Professional installation ensures compliance with the Philippine Electrical Code (PEC) and guarantees your outdoor lighting system is safely grounded and GFCI-protected (Ground Fault Circuit Interrupter) to prevent shocks in wet conditions.
Common Pairing and Placement Mistakes to Avoid
Creating a flawless, symmetrical look requires avoiding several common pitfalls that can disrupt the visual balance or compromise the longevity of your outdoor lighting.
- Ignoring the Architectural Era: Installing ultra-modern, geometric LED sconces on a classic Spanish-Mediterranean subdivision home or a traditional Filipino ancestral-style house can create an awkward design clash. Match the style, finish, and shape of your fixtures to your home's existing architectural details, such as the window frames, door hardware, or metal gate designs.
- Relying on Eye Estimation: Skipping the use of a measuring tape and spirit level is a recipe for crooked fixtures. Even a minor height difference of two centimeters will be highly noticeable, ruin the symmetrical effect, and make the installation look unprofessional.
- Mixing Color Temperatures: Installing a warm white bulb (2700K to 3000K) on one side of the entrance and a cool daylight bulb (6000K to 6500K) on the other completely destroys the balanced visual harmony. Always purchase identical bulbs from the same manufacturer to ensure matching color temperatures, brightness levels, and beam angles.
- Neglecting Wind and Storm Exposure: In typhoon-prone regions, choosing flimsy fixtures with thin, fragile glass panels or weak, single-screw mounting brackets can lead to disaster. Opt for robust, securely anchored fixtures with shatter-resistant diffusers and sturdy mounting hardware that can withstand strong winds and heavy downpours.
Frequently Asked Questions (FAQ)
Can I mix two different styles of exterior wall lights for an eclectic look?
While eclectic mixing can work beautifully in casual backyard patios or informal garden settings, primary entryways and formal corridors benefit most from matching pairs. Symmetrical, identical fixtures establish clear wayfinding, respect the architectural lines of the entrance, and provide a balanced visual frame that feels intentional, secure, and welcoming to guests.
Do both exterior wall lights in a pair need to be on the same switch?
Yes, wiring both fixtures to a single switch ensures they operate in perfect synchronization, maintaining the symmetrical lighting effect instantly. For added convenience, you can integrate smart switches, photocells (dusk-to-dawn sensors), or timers, allowing both lights to turn on and off automatically at the exact same time.

Community discussion
Share your experience or ask a question. Comments are reviewed before publication.