
Placing flexible mirror wall sheets strategically relies on maximizing light reflection and creating sightlines that trick the eye into perceiving extra depth. Unlike heavy glass mirrors, these lightweight alternatives offer a versatile way to open up cramped spaces, such as compact urban condominiums or cozy bedrooms. By positioning them to capture natural light and extend visual pathways, you can transform a confined room into an airy, bright environment without structural renovations.
Using flexible sheets allows for creative layouts that traditional mirrors cannot easily accommodate. However, achieving a spacious effect requires more than just sticking them to the nearest empty wall. Success depends on careful planning, understanding how light interacts with your room, and executing a precise installation that prevents visual distortion.
Assessing Your Space and Selecting Flexible Mirror Sheets
Before purchasing any materials, take a close look at your room’s layout and lighting patterns. Identify the areas that feel the most cramped or suffer from a lack of natural light. In many homes, rooms may have small windows or deep alcoves that remain in shadow throughout the day. Mapping out where light enters at different hours helps you pinpoint the exact walls that will benefit most from reflective surfaces.
Products mentioned in this guide

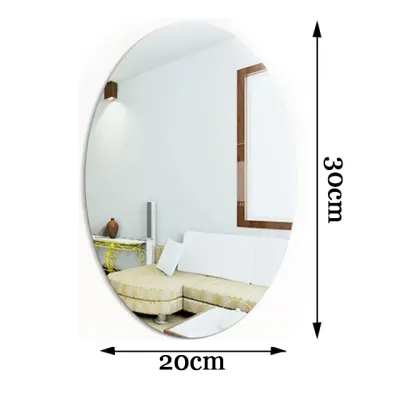
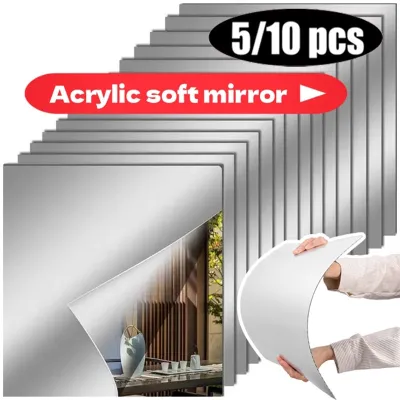
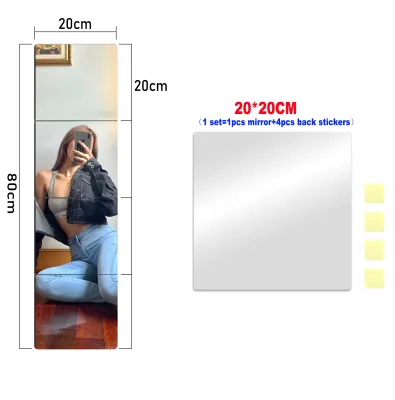
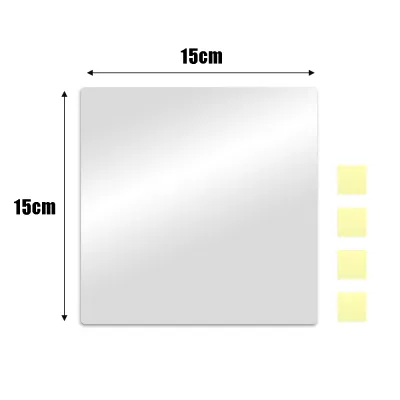
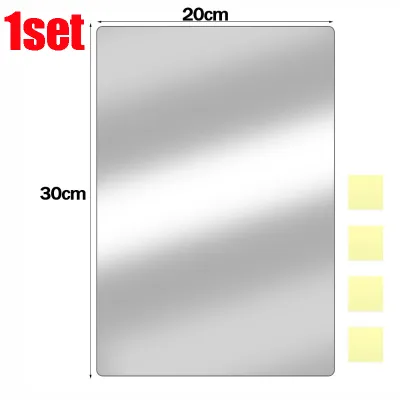
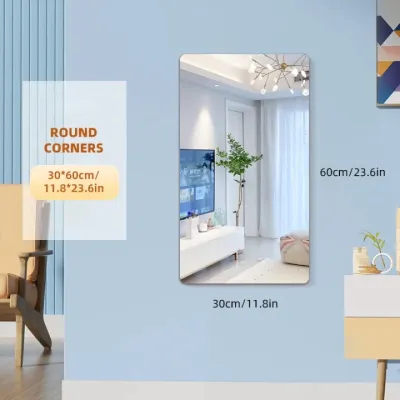
Prices are valid at publication and may change. Please refer to the product page for the latest price.
Next, examine the physical condition of your walls. Flexible mirror sheets require an exceptionally smooth, dry, and stable substrate to perform well. Run your hand over the surface to check for bumps, peeling paint, or textured plaster. In humid tropical climates, moisture can seep through concrete walls, which can compromise adhesive backing over time. Ensure the wall is completely dry and free of powdery residue before planning your layout.
Finally, review the manufacturer’s specifications for the sheets you intend to use. Pay close attention to the sheet thickness, backing type, and the maximum recommended coverage area. Thicker sheets generally offer a flatter, more glass-like reflection, while thinner options are highly flexible but more sensitive to wall imperfections. Verify that the product is rated for your specific indoor environment, especially if you plan to install it in areas prone to ambient moisture.
Strategic Placement Techniques to Expand Visual Space
The most effective way to double the perceived size of a room is to place your flexible mirror sheets directly opposite or adjacent to a window. This positioning captures incoming natural light and bounces it deep into the room, instantly brightening dark corners. It also reflects outdoor views, such as garden greenery or the sky, which visually breaks down the solid boundary of the wall and creates the illusion of an outdoor extension.

If you are dealing with a narrow hallway or a room with low ceilings, the orientation of your mirror sheets can dramatically alter spatial perception. Installing vertical mirror strips along a narrow corridor draws the eye upward and outward, making the passage feel wider and less confining. Conversely, placing long horizontal bands of mirror sheets higher up on a wall can visually lift a low ceiling, making the entire volume of the room feel more generous.
Creating a dedicated focal point is another powerful design strategy. Consider applying the sheets to the wall space directly behind a low-profile sofa, a headboard, or inside a dim alcove. This adds a layer of perceived depth, making the furniture appear to float in a larger space rather than being pressed flat against a solid barrier. By reflecting only select portions of the room, you introduce architectural interest without overwhelming the senses.
However, strategic placement also requires knowing where not to put your mirrors. Avoid positioning flexible sheets directly opposite cluttered shelves, utility areas, or busy workspaces, as this will simply double the visual noise and make the room feel more chaotic. Additionally, keep them away from direct, unshielded artificial light sources. Reflecting bare light bulbs or harsh overhead fixtures can cause uncomfortable glare and highlight minor surface imperfections in the flexible sheets.
Step-by-Step Installation Process
Achieving a smooth, bubble-free finish requires a methodical approach to preparation and installation. Begin by thoroughly cleaning the wall surface to remove dust, grease, and loose paint. Wipe the area down with a damp cloth and a mild detergent if necessary, then allow it to dry completely. If the manufacturer’s instructions recommend priming the wall to improve adhesion, apply a suitable primer and wait for it to cure fully before proceeding.
Accurate measurement is critical to a clean layout. Use a laser level or a traditional spirit level to draw precise guidelines directly on the wall. When cutting the flexible mirror sheets to size, use a sharp utility knife and a metal straightedge to ensure straight lines. If specified by the manufacturer, leave a tiny expansion gap of one to two millimeters between adjacent sheets or at the corners to accommodate minor structural shifts and temperature fluctuations.
When you are ready to mount the sheets, apply the recommended adhesive evenly across the backing. If using self-adhesive sheets, peel back a small section of the protective liner at a time. Press the sheet firmly against the wall, starting from the center and working your way outward to the edges. Use a soft squeegee or a clean, dry cloth to smooth out any trapped air bubbles, applying consistent but gentle pressure to avoid scratching the reflective surface.
While many installations are straightforward DIY projects, certain conditions require professional assistance. If your walls are structurally uneven, or if you are working around electrical outlets, switches, or light fixtures, stop and consult a qualified professional. Working near electrical wiring requires proper power isolation and adherence to local safety codes. Additionally, if you are installing sheets in high-moisture areas like bathrooms, ensure the product and adhesive are explicitly rated for damp environments to prevent premature failure.
Common Placement and Installation Mistakes to Avoid
One of the most common design errors is overcovering your walls. While it might seem logical that more mirrors equal more space, covering every vertical surface can create a disorienting, funhouse-like environment. This constant reflection of reflections can cause visual fatigue and make it difficult to find a comfortable focal point in the room. Limit your mirror installations to one or two strategic accent walls to maintain a balanced, comfortable atmosphere.
Neglecting wall preparation is a recipe for installation failure. Skipping the cleaning or drying steps often leads to poor adhesion, causing the edges of the sheets to curl or peel away over time. Furthermore, even tiny particles of trapped dust or drywall debris behind a flexible sheet will manifest as highly visible bumps on the reflective surface, distorting the mirror image and ruining the clean, modern aesthetic you want to achieve.
Using incompatible adhesives is another costly mistake. Standard construction glues or heavy-duty solvents can react chemically with the delicate reflective backing of the mirror sheets, causing unsightly dark spots, cloudiness, or complete delamination. Always check the manufacturer’s guidelines to verify which adhesives are safe for their specific material, and avoid using unrated household glues that may fail to support the weight of the sheets over time.
Cleaning and Maintaining Your Flexible Mirror Wall
To keep your flexible mirror wall looking pristine and highly reflective, establish a gentle cleaning routine. Dust the surface regularly using a clean, soft microfiber cloth to prevent the buildup of airborne particles. When a deeper clean is needed, use only manufacturer-approved glass or acrylic cleaners. Spray the cleaner directly onto the microfiber cloth rather than the mirror itself to prevent liquid from pooling at the seams or seeping behind the edges.
Avoid using harsh household chemicals, abrasive scrubbing pads, or ammonia-based products, as these can easily scratch the soft plastic surface or degrade the reflective backing. In humid environments, excessive moisture is the enemy of adhesive bonds. Always wipe away any condensation or splashes immediately with a dry cloth to protect the integrity of the installation.
Periodically inspect the perimeter of your mirror sheets for any signs of lifting or peeling, particularly near corners and seams. If you notice an edge starting to pull away, address it promptly according to the product’s maintenance guidelines. Re-securing loose edges early prevents dust from gathering underneath and ensures your reflective wall remains a seamless, beautiful feature for years to come.
Frequently Asked Questions (FAQ)
Can flexible mirror sheets be applied to textured or uneven walls?
Generally, flexible mirror sheets require a completely smooth, flat surface to provide a clear, undistorted reflection. Applying them directly to textured plaster, brick, or uneven concrete will cause the flexible material to conform to the wall’s imperfections, resulting in a highly distorted image. If your walls are textured, consider mounting the sheets onto a smooth backing board, such as a thin sheet of plywood or MDF, and then securing that board to the wall, or consult the manufacturer for compatible leveling solutions.
Do flexible mirror sheets distort reflections like funhouse mirrors?
Because flexible mirror sheets are thinner and more pliable than traditional glass mirrors, they can warp and distort reflections if the underlying wall is not perfectly flat or if the adhesive is applied unevenly. To minimize this distortion, choose thicker sheets, which offer greater rigidity, and take extra care during the installation process to ensure the wall is smooth and the sheet is pressed flat. For areas where a clear, high-definition reflection is essential, verifying the wall’s flatness with a straightedge before installation is highly recommended.

Community discussion
Share your experience or ask a question. Comments are reviewed before publication.