
Placing self-adhesive acrylic mirrors strategically can instantly transform a cramped room into a brighter, more open space. By bouncing natural light, creating deep focal points, and drawing the eye upward, these lightweight panels offer a budget-friendly way to trick the mind into perceiving extra square meters. Because acrylic is highly flexible and shatter-resistant, it serves as an excellent alternative to heavy glass mirrors, especially in dynamic households or rental properties. However, achieving a flawless, spacious illusion requires careful planning of your room’s layout, precise wall preparation, and deliberate placement to avoid distorting the reflection.
Unlike traditional glass, acrylic mirrors are easy to handle and install without drilling holes. This makes them highly popular for quick home makeovers, particularly in compact urban apartments where maximizing every square inch of space is essential. By understanding how light and angles interact with reflective surfaces, you can turn a plain wall into a design feature that makes your entire home feel more breathable and inviting.
Assess Your Space and Select the Right Mirror Dimensions
Before purchasing your acrylic mirror self adhesive panels, take a close look at your room’s layout during daylight hours. Note where the sun enters and how light moves across the walls. You want to identify areas that remain dark or shadowed, as well as the main focal points like a bed, sofa, or dining table. Evaluating these elements helps you determine exactly where a mirror will have the most significant visual impact.
Products mentioned in this guide
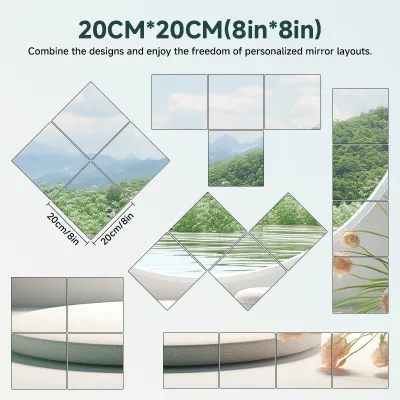
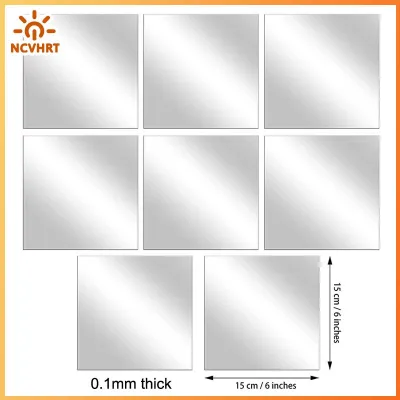
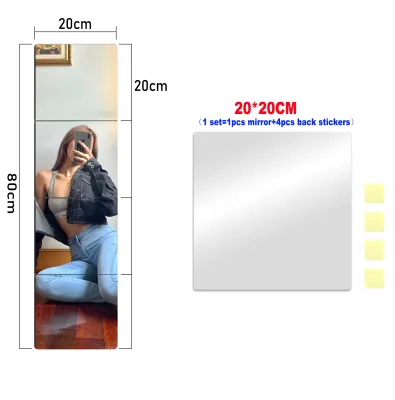
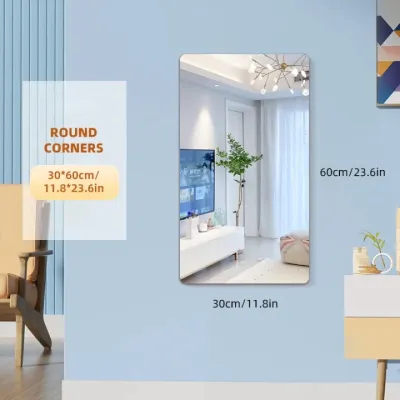
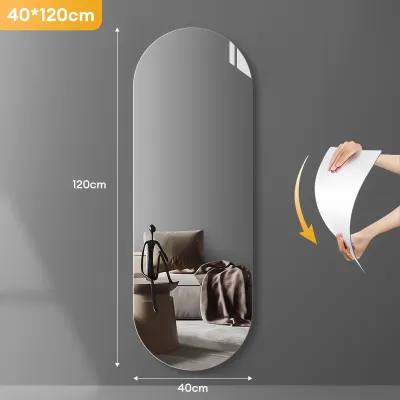
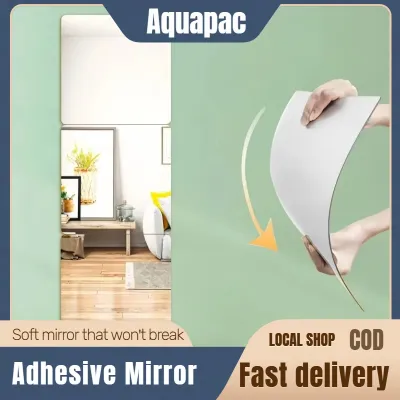
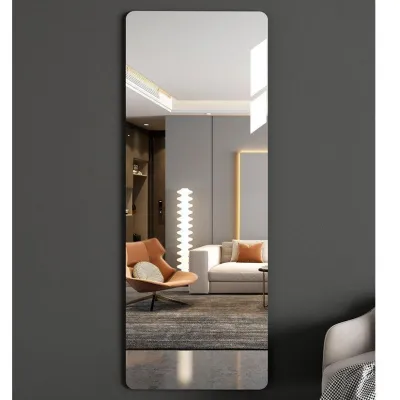

Prices are valid at publication and may change. Please refer to the product page for the latest price.
Consider the scale of your furniture in relation to the wall space. A massive mirror on a tiny wall can feel overwhelming, while a tiny mirror on a large wall looks lost. Choosing the right dimensions and shapes is crucial for maintaining visual harmony. Large, continuous acrylic sheets create a seamless, window-like effect that mimics a real glass wall, which is excellent for dining areas or living rooms. On the other hand, smaller mosaic tiles or hexagonal shapes offer a decorative, modern look that can be arranged to fit awkward, narrow spaces.
Verify the condition of your wall surface before making a final decision. Acrylic mirrors are highly flexible, meaning they will conform to any bumps, texture, or curves on your wall. Ensure the surface is completely flat, dry, and free of peeling paint, wallpaper, or structural damage. If your wall has a heavy orange-peel texture or plaster ridges, the mirror will likely produce a distorted, funhouse-like reflection. Taking the time to assess your walls beforehand prevents disappointment and ensures a clean, flat finish.
Strategic Placement Techniques to Maximize Space and Light
Positioning your mirrors opposite or adjacent to windows is one of the most effective ways to amplify natural light. When sunlight hits the reflective surface, it bounces deeper into the room, instantly softening dark corners and making the entire area feel more open. In tropical climates like the Philippines, where bright afternoon sun can be intense, placing the mirror adjacent to the window rather than directly opposite can help prevent harsh, blinding glare while still distributing soft ambient light throughout the day.

Another powerful technique is placing mirrors behind key furniture pieces. Positioning a series of acrylic panels behind a sofa, a low headboard, or a dining table creates an illusion of an adjoining room, visually doubling the depth of your living space. This setup tricks the eye into looking “through” the furniture rather than stopping at a solid wall, which immediately relieves the feeling of confinement in small rooms.
Play with orientation to alter the room’s perceived proportions. If you want to emphasize ceiling height, arrange your self-adhesive panels in a tall, vertical column. This draws the eye upward, making low ceilings feel loftier. To widen a narrow hallway or a cramped entryway, arrange the panels horizontally. This stretches the visual field, making tight passages feel less restrictive and more welcoming to guests.
Be mindful of what your mirrors will reflect. Avoid placing them directly opposite cluttered shelves, trash bins, or blank, unadorned walls. Reflecting clutter only doubles the visual noise, which defeats the purpose of trying to make the room feel larger and more serene. Instead, aim to reflect a pleasant view, a piece of art, or a well-lit corner. This ensures that every reflection contributes to a sense of order and beauty.
Step-by-Step Installation for a Secure, Clean Finish
Achieving a professional finish requires a methodical installation process. Start by preparing the wall surface thoroughly. Clean the area with a mild soap solution or rubbing alcohol to remove dust, grease, and oils, then let it dry completely. In humid environments, ensure there is no trapped moisture on the wall, as this can severely compromise the adhesive bond over time.
Do not rely on guesswork when aligning your panels. Use a measuring tape and a spirit level to map out your exact layout on the wall. Mark the outer boundaries and alignment lines using low-tack painter’s tape. This creates a highly visible grid that prevents crooked installations without leaving sticky residue or peeling off your paint when removed.
Once your guides are in place, prepare the acrylic mirror panels. Carefully peel off a small portion of the adhesive backing. Align the edge of the panel with your painter’s tape guide, then slowly press it onto the wall. Working slowly allows you to make minor adjustments before the adhesive fully grips the surface.
Apply firm, even pressure across the entire surface of the mirror using a clean, soft microfiber cloth. Work from the center outward to push out any trapped air bubbles and ensure the adhesive makes full contact with the wall. Once the panel is secure, you can peel off the protective plastic film on the front of the mirror to reveal the reflective surface.
Know when to stop the installation. If you notice the wall surface is crumbling, heavily textured, or coated with chalky, low-quality paint, halt the process immediately. Applying self-adhesive tape to unstable surfaces will result in the mirror falling off, potentially damaging the panel or pulling away chunks of drywall. In such cases, consider mounting the acrylic mirror onto a thin, flat backing board first, then hanging the board using secure wall anchors.
Arrangement and Styling Tips for a Cohesive Look
Integrating acrylic mirrors into your decor requires a balance between structure and creativity. If you are using smaller square or hexagonal tiles, consider grouping them in a clean, symmetrical grid. This structured approach mimics the look of a classic window pane and adds a sense of architectural order to the room. It is a highly effective way to create a focal point without cluttering the space.
For a more relaxed, modern vibe, try an organic gallery layout. You can scatter the panels in a flowing pattern across the wall, blending them with framed prints or small wall planters. This keeps the design dynamic and personalized, allowing you to work around existing wall fixtures or furniture.
Enhance the reflective effect during the evening by pairing your mirrors with strategic lighting. Placing a warm accent light, such as a table lamp or a wall sconce, near the mirror allows the light to bounce softly into the room. If you are installing fixed wiring or heavy light fixtures near the mirrors, always isolate the power first and follow the manufacturer’s installation instructions, or hire a qualified professional to ensure safety.
Remember to maintain visual balance by leaving plenty of negative space around your mirror arrangements. If every square inch of your wall is covered in reflective surfaces or decor, the room will feel chaotic rather than spacious. Let the wall “breathe” by keeping the surrounding areas clean and uncluttered, allowing the mirrors to stand out as intentional design choices.
Cleaning and Safe Removal Guidelines
Acrylic is much softer than glass, meaning it requires gentle care to maintain its optical clarity. For your regular cleaning routine, use only clean, dry microfiber cloths. Avoid paper towels, rough sponges, or old rags, as these can leave micro-scratches that dull the reflection over time.
When a deeper clean is necessary, use a mild, non-abrasive, ammonia-free cleaner or a simple mixture of water and a drop of dish soap. Never use harsh chemical solvents, glass cleaners containing ammonia, or abrasive scrubbing powders, as these can permanently cloud or craze the acrylic surface. Gently wipe the surface without applying excessive pressure to avoid grinding dust particles into the material.
If you live in a rental or plan to redecorate, safe removal is crucial to protect your walls. To remove the panels, use a hairdryer on a low-heat setting to gently warm the mirror surface. This softens the adhesive backing without warping the acrylic, making it much easier to peel away.
Once the adhesive is warm and pliable, slide a long piece of dental floss or thin fishing line behind the mirror. Use a gentle sawing motion to slice through the foam tape, separating the mirror from the wall without pulling directly on the drywall. This technique minimizes the risk of tearing the paint or plaster.
Be prepared for minor wall repairs. Even with careful removal, strong self-adhesive backings can occasionally pull off fragile paint, primer, or wallpaper. Keep some matching touch-up paint and a small container of wall putty on hand to patch any minor blemishes left behind, ensuring your walls look as good as new.
Frequently Asked Questions (FAQ)
Can self-adhesive acrylic mirrors be used in humid areas like bathrooms?
While acrylic panels themselves are highly resistant to moisture and will not rust or degrade like glass mirrors, standard self-adhesive backings are highly vulnerable to prolonged steam and humidity. Over time, moisture can seep behind the mirror, causing the adhesive bond to fail and the panels to fall. If you plan to install them in a bathroom, check the manufacturer’s specific humidity ratings and avoid placing them in direct splash zones or poorly ventilated areas. For damp environments, using a specialized, moisture-resistant mounting tape or silicone adhesive designed for mirrors is highly recommended.
Do acrylic mirrors provide the same clear reflection as glass?
Acrylic mirrors offer excellent shatter-resistance and are incredibly lightweight, but they do not possess the rigid structural integrity of thick glass. Because acrylic is flexible, thinner sheets can easily bend or flex if the underlying wall surface is not perfectly flat. This flexing causes a distorted, warped reflection, especially when viewed from a distance. For large installations where a true, undistorted reflection is a priority, look for thicker acrylic panels and ensure they are mounted on a completely flat, rigid surface.
How do I fix a misaligned mirror before the adhesive fully sets?
Most self-adhesive foam tapes are designed to bond instantly and aggressively to the wall surface. Attempting to peel off a panel once it has made contact will likely ruin the adhesive backing, warp the flexible acrylic mirror, or tear the paint off your wall. Because there is virtually no repositioning window, it is critical to rely on careful pre-measurement, spirit levels, and painter’s tape guides rather than trying to adjust the mirror after it touches the wall. If a mistake happens, it is usually best to carefully remove the panel using the hairdryer method, scrape off the ruined tape, and apply fresh double-sided mounting tape before trying again.

Community discussion
Share your experience or ask a question. Comments are reviewed before publication.