
Placing self-adhesive acrylic mirrors strategically is one of the most effective, budget-friendly ways to make a compact room feel open, airy, and bright. Unlike heavy glass mirrors that require drilling into tough concrete walls—a common challenge in many apartments and condominiums in the Philippines—lightweight acrylic alternatives offer a damage-free solution that can be installed in minutes. By understanding how light behaves and how the human eye perceives depth, you can position these reflective sheets to visually expand your living space. The key lies in choosing the right walls, preparing the surface to prevent distortion, and mounting the mirrors to capture the maximum amount of ambient light.
Strategic Placement to Maximize Space and Light
To create a convincing illusion of space, you must treat your mirrors as visual windows. Positioning a wall self adhesive acrylic mirror directly opposite or adjacent to a primary window allows it to catch incoming natural light and bounce it deep into the darker corners of the room. In tropical climates where bright daylight is abundant, this simple placement can dramatically reduce the need for artificial lighting during the afternoon while making the entire room feel significantly larger.
Narrow hallways and tight entryways benefit immensely from mirrors placed along the side walls or at the very end of a sightline. When you walk down a narrow corridor, a mirror placed at the end creates a receding visual effect, making the hallway appear to extend twice its actual length. Similarly, mounting mirrors behind low-profile furniture, such as a low-backed sofa or a minimalist console table, tricks the eye into believing there is open space behind the furniture rather than a solid wall.
Products mentioned in this guide
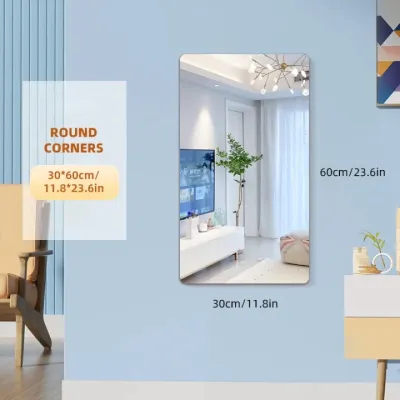
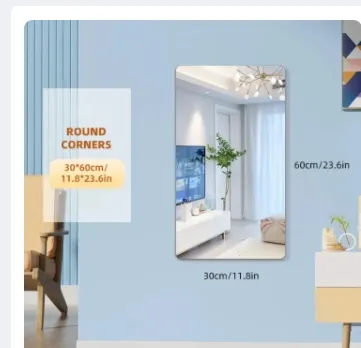

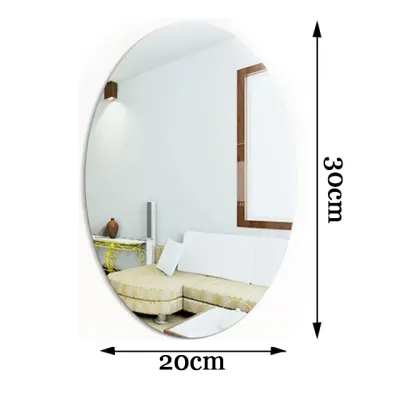
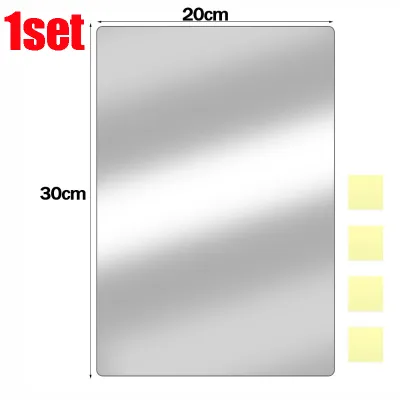
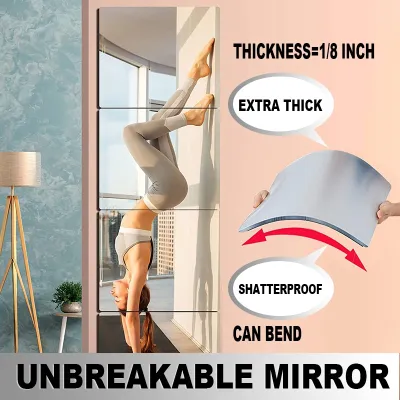
Prices are valid at publication and may change. Please refer to the product page for the latest price.
However, strategic placement also requires knowing where not to put a mirror. Avoid positioning mirrors where they will directly reflect cluttered areas, such as open clothing racks, utility shelves, or trash bins. Reflecting clutter effectively doubles the visual noise in a room, achieving the exact opposite of your goal. Additionally, be mindful of the angle of the tropical sun; placing a mirror where it catches direct, intense midday sunlight can create blinding, uncomfortable glare that makes the room unusable during peak hours.
When planning your layout, you must also decide between using multiple smaller mirror tiles in a grid pattern or a single, continuous sheet. Multiple self-adhesive tiles can be arranged in a stylish gallery or windowpane layout, which adds a modern architectural element to the room. However, the seams between the tiles will break up the reflection, which can slightly diminish the illusion of continuous space. A single, large continuous acrylic sheet provides an uninterrupted reflection that maximizes the sense of depth, but it requires an exceptionally flat wall to prevent the flexible material from warping.
Preparing Your Walls and Mirrors for Secure Adhesion
Before peeling off any adhesive backing, you must thoroughly evaluate the condition of your wall. In humid environments, walls can accumulate a thin layer of moisture, dust, or airborne oils that will severely compromise the bond of peel-and-stick adhesives. Check the wall paint condition to ensure it is clean, dry, and free of peeling paint or chalky residue. Wipe the surface down with a microfiber cloth dampened with a mild cleaning solution or isopropyl alcohol, and allow it to dry completely before proceeding.

Wall flatness is the single most critical factor determining the visual quality of an acrylic mirror. Because acrylic is highly flexible, it will conform to any minor bumps, texture, or waves on your wall. Even a tiny imperfection can cause the mirror to bend slightly, resulting in a distorted, funhouse-mirror reflection. To check for flatness, hold a long level or a straightedge flat against the wall and look for any gaps. If your wall has a heavy plaster texture or noticeable bowing, you may need to sand down high spots or choose a different mounting location.
Never rush into sticking the mirrors directly onto the wall. Instead, plan your layout using painter’s tape and measuring tools. Tape the mirrors—with their protective film still intact—to the wall in your desired configuration. Step back and view the arrangement from different angles in the room to ensure the alignment is straight and the reflection achieves the desired spatial effect. Use a pencil to lightly mark the corners of each mirror tile on the wall to serve as a precise guide during final installation.
Throughout this preparation phase, keep the protective film on the front of the acrylic surface. Acrylic is significantly softer than glass and can scratch easily from contact with rings, tools, or rough surfaces. Leaving the protective film in place ensures the mirror remains pristine and scratch-free until the installation is fully complete.
Step-by-Step Installation for a Seamless Finish
Once your layout is marked and your wall is clean, you can begin the mounting process. Carefully peel away the adhesive backing from the first mirror tile, taking care not to touch the sticky surface with your fingers, as skin oils can weaken the adhesive. Align the mirror precisely with your pencil marks on the wall. Press the center of the mirror against the wall first, then use a clean, dry microfiber cloth to apply firm, even pressure outward toward the edges. This outward motion helps eliminate trapped air bubbles and ensures a secure, uniform bond across the entire surface.
If you are aligning multiple self-adhesive tiles to create a larger mirrored wall, managing the seams is crucial for a cohesive appearance. Use thin spacers, such as cardboard strips or plastic tile spacers, to maintain a consistent gap of one to two millimeters between each tile. This small gap accommodates minor wall shifts and prevents the tiles from pinching against each other, which can cause warping. Alternatively, if you prefer a seamless look, butt the edges tightly together, checking the alignment with a level after placing each individual tile.
In some cases, the built-in adhesive backing may not be sufficient, especially on slightly textured walls or in areas prone to temperature fluctuations. If you suspect the adhesive is struggling to grip, check the manufacturer’s instructions for compatible supplementary adhesives. Double-sided mounting tape designed specifically for acrylic and painted walls can provide extra holding power. Avoid using aggressive construction adhesives or solvent-based glues, as these chemicals can eat through the reflective backing of the mirror, leaving permanent dark spots.
Always be prepared to halt the installation if you encounter unexpected issues. If you notice the wall paint beginning to peel under the weight of the mirror, if the mirror warps excessively upon contact with the wall, or if the adhesive fails to bond immediately, stop the process. Forcing a failing installation can damage your walls and lead to the mirrors falling and scratching.
Maintaining Clarity and Safely Removing Mirrors
To keep your mirrors looking bright and clear, you must adopt a gentle cleaning routine. Because acrylic is prone to scratching, never use paper towels, rough sponges, or abrasive scrubbing pads. Instead, use a clean, high-quality microfiber cloth. For daily dusting, a dry cloth is usually sufficient. For smudges or fingerprints, use a non-abrasive, acrylic-safe cleaner or a simple solution of warm water mixed with a drop of mild dish soap. Avoid standard ammonia-based glass cleaners, as they can chemically react with acrylic, causing it to cloud or yellow over time.
If you live in a rental property or simply want to change your decor, removing self-adhesive mirrors requires patience to avoid damaging the underlying wall. Standard peel-and-stick adhesives can form a very strong bond over time. To safely remove them, apply gentle heat to the surface of the mirror using a hairdryer set to low or medium heat. The heat will soften the adhesive backing, making it pliable and easier to release.
Once the adhesive is warm, do not pull the mirror forcefully straight off the wall, as this can tear the drywall paper or strip the paint. Instead, slowly slide a thin plastic putty knife, a plastic scraper, or even a piece of dental floss behind the mirror. Gently work the tool from the edges toward the center to slice through the softened adhesive. Take your time and apply heat continuously as you work your way down.
If you encounter an unusually stubborn bond or if your wall is made of fragile, older plaster, stop and consult the manufacturer’s removal guidelines. Taking a slow, methodical approach ensures that your walls remain intact, saving you from tedious patching and repainting projects.
Frequently Asked Questions (FAQ)
Do self-adhesive acrylic mirrors distort reflections?
Yes, acrylic mirrors can distort reflections if they are not installed correctly. Because acrylic is a flexible plastic material rather than rigid glass, it easily conforms to any unevenness, bumps, or texture on the wall behind it. To minimize this distortion, always check the product specifications for thickness before purchasing; thicker acrylic sheets offer greater rigidity and a truer reflection than very thin decals. Additionally, ensuring your wall is completely flat and smooth during the preparation phase is essential for achieving a clear, undistorted image.
Can I use these mirrors in high-humidity areas like bathrooms?
Using self-adhesive acrylic mirrors in high-humidity areas requires careful verification of the product’s specifications. Before installing, check the manufacturer’s water-resistance ratings for both the acrylic material and the adhesive backing. Standard peel-and-stick adhesives can degrade, lose their grip, and peel away when exposed to constant moisture, steam, and temperature changes. If you plan to use them in a bathroom, ensure the room has excellent ventilation to clear out steam quickly, and verify that the adhesive is rated for damp environments.

Community discussion
Share your experience or ask a question. Comments are reviewed before publication.