
Self-adhesive mirror stickers offer a highly effective, budget-friendly solution for expanding the visual boundaries of a compact room. By reflecting light and creating the illusion of an extra window or an extended hallway, these lightweight acrylic panels can make a cramped studio apartment or a narrow entryway feel twice its actual size. Achieving this spatial transformation requires more than simply sticking the panels onto the nearest empty wall; it demands careful planning, precise layout alignment, and an understanding of how light interacts with your specific room layout.
Assess Your Wall and Select the Right Mirror Stickers
Before purchasing your wall mirror sticker self adhesive panels, evaluate the surface where you plan to install them. In tropical environments like the Philippines, indoor walls are frequently concrete finished with plaster, drywall, or wood panels. High humidity levels can significantly impact how well adhesives cure and hold over time. Inspect the chosen wall for any signs of bubbling paint, chalking residue, or moisture seepage, which is common on exterior-facing concrete walls during the rainy season. If the paint is peeling or the plaster is crumbly, the adhesive will fail to grip the wall securely, causing the stickers to fall and potentially warp.
Next, consider the texture of your wall. Self-adhesive mirror stickers require a completely flat, smooth surface to provide a clear, undistorted reflection. If your wall has a rough finish, such as a textured spray, stucco, or prominent orange-peel texture, the mirror panels will bend slightly over the bumps. This bending creates a distorted reflection that ruins the illusion of a larger space. For textured walls, you may need to sand the area smooth, apply a skim coat, or mount the stickers onto a smooth backing board first.
Products mentioned in this guide
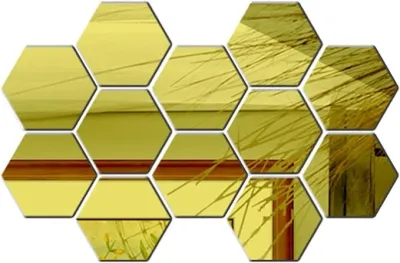
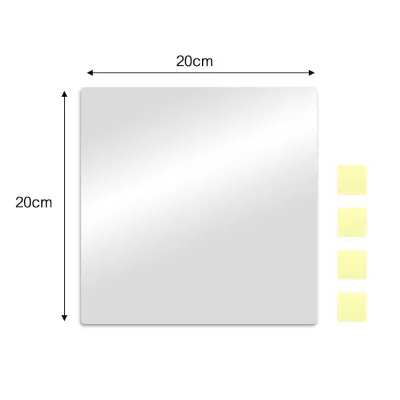
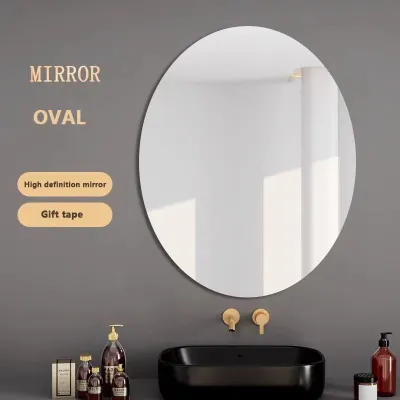
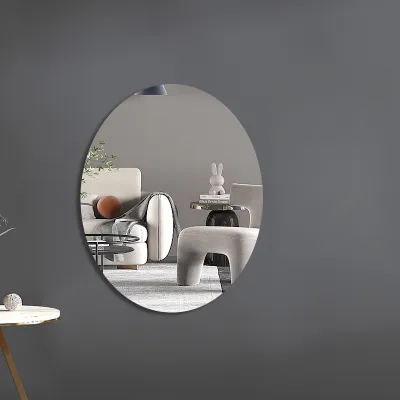
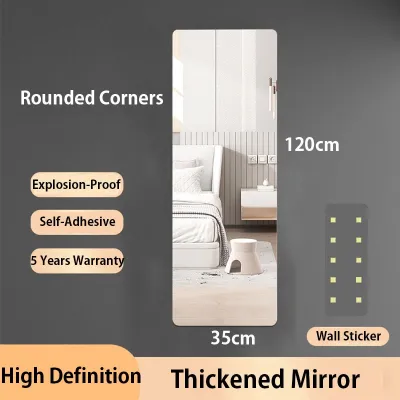
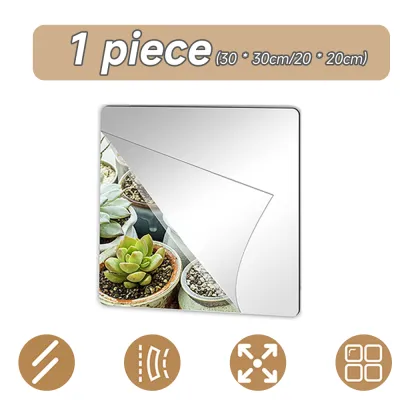
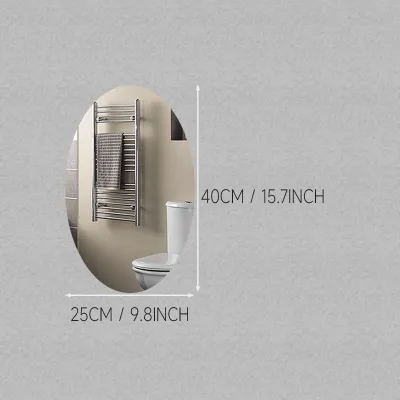
Prices are valid at publication and may change. Please refer to the product page for the latest price.
When selecting the shapes and sizes of your mirror stickers, match them to your room’s layout and design goals. Large, square, or rectangular panels can be arranged edge-to-edge to simulate a single, continuous glass mirror sheet. This seamless look is highly effective for making narrow dining areas or small living rooms feel more expansive. Alternatively, geometric shapes like hexagons, diamonds, or circles can be arranged in creative patterns to add decorative depth. Always review the manufacturer’s specifications regarding weight limits, recommended wall types, and temperature or humidity tolerances to ensure the product is suitable for your specific room conditions.
Strategic Placement to Maximize the Illusion of Space
The key to making a small room look bigger with mirror stickers lies in strategic placement. To maximize the room-expanding effect, position your mirror arrangement directly opposite or adjacent to a primary window. This placement allows the mirrors to capture incoming natural light and bounce it deep into the darker corners of the room. By reflecting the outdoor view, the mirrors act as virtual windows, tricking the eye into perceiving more open space and making the entire room feel brighter and more airy.

Another critical factor is the height of your mirror arrangement. For the most natural visual extension, align the center of your mirror layout with the average eye level, which is typically about 1.5 meters from the floor. When a person walks into the room, their gaze should meet the reflection seamlessly. If the mirrors are placed too high or too low, the sightline is broken, and the illusion of an extended room is lost. If you are creating a full-height accent wall, extend the stickers from the baseboard up to at least eye level to maintain a continuous vertical perspective.
Carefully plan what the mirrors will reflect. The goal is to bounce back open spaces, attractive decor, indoor plants, or light sources. Avoid placing mirrors where they will directly reflect cluttered areas, open closets, laundry racks, or dark, unadorned walls. Reflecting clutter only doubles the visual noise, making a small room feel even more cramped and chaotic. Instead, aim the reflection toward a clean dining table, a well-styled bookshelf, or a brightly lit accent wall to enhance the room’s overall aesthetic appeal.
For narrow hallways, tight entryways, or compact bedrooms, continuous edge-to-edge placement is highly recommended. By lining an entire wall or a large section of a wall with adjacent mirror stickers, you eliminate distracting gaps. This continuous reflective surface visually doubles the width of a narrow corridor, making a tight passage feel like an open gallery. In small bedrooms, placing a vertical column of mirror stickers next to the bed or behind a nightstand can create a sense of depth that makes the sleeping area feel less enclosed.
Step-by-Step Installation for a Flawless Finish
Achieving a professional, bubble-free finish with self-adhesive mirror stickers requires a methodical installation process. Begin by preparing the wall surface thoroughly. Clean the area using a mild, non-residue cleaner, such as a mixture of water and a small amount of dish soap, or isopropyl alcohol if the paint type allows. Avoid using heavy chemical cleaners that leave a greasy or waxy film behind, as this will prevent the adhesive from bonding. Wipe the wall dry with a clean microfiber cloth and allow it to air-dry completely for at least one hour to ensure no moisture is trapped beneath the stickers.
Do not attempt to apply the stickers by freehand. Instead, use a spirit level, a metal ruler, and painter’s tape to map out your entire layout on the wall beforehand. Lightly mark the outer boundaries and alignment lines with a pencil. Applying painter’s tape along the bottom edge of your planned layout creates a physical ledge and a straight guide, ensuring your first row of mirror stickers is perfectly level. If the first row is even slightly crooked, the misalignment will multiply as you add more panels, resulting in a noticeably slanted final arrangement.
Once your guide lines are set, prepare to apply the stickers. Peel a small portion of the backing paper from the top of the first mirror panel. Align the top edge with your pencil marks, then slowly press the sticker onto the wall. Using a squeegee, a clean wallpaper smoother, or a soft, dry cloth, apply firm pressure starting from the center of the panel and working your way outward to the edges. This outward motion pushes out any trapped air, preventing unsightly bubbles and ensuring full contact between the adhesive backing and the wall surface. Repeat this process for each panel, checking alignment with your level frequently.
During the installation, be alert for specific stop conditions that indicate you should halt the process. If you notice the stickers peeling off the wall immediately after application, if the adhesive backing tears and separates from the mirror material, or if the paint on your wall begins to bubble and lift under the weight of the panel, stop immediately. These issues suggest that either the wall surface is incompatible, the paint is not fully cured, or the adhesive quality is compromised. In such cases, do not proceed with the rest of the installation; instead, consult the manufacturer’s customer support or check for alternative mounting solutions.
Common Placement and Application Mistakes to Avoid
One of the most common mistakes when decorating with mirror stickers is placing them at incorrect heights. Hanging mirrors too high forces viewers to look upward to see a reflection, which disrupts the natural flow of the room and fails to create depth. Conversely, placing them too low can make the room feel bottom-heavy. Always prioritize eye-level placement for the main focal points of your arrangement.
Another frequent error is overcrowding the wall with too many small, fragmented mirror pieces. While a mosaic pattern can look artistic, using dozens of tiny, disconnected stickers with wide gaps between them creates visual clutter. The human eye struggles to process a fragmented reflection, which can make a small room feel busy and chaotic rather than spacious. If you prefer geometric shapes, keep the gaps between the stickers minimal—ideally no more than two to three millimeters—to maintain a cohesive reflective surface.
Rushing the application process and ignoring the adhesive’s curing time can also lead to failure. Avoid pressing excessively hard on the center of acrylic mirrors, as this can warp the flexible material and distort the reflection permanently. Additionally, do not attempt to peel off and reposition a sticker once it has made contact with the wall. Repositioning ruins the adhesive bond, stretches the acrylic, and will likely cause the sticker to fall off later. If a panel is slightly misaligned, it is often better to leave it or replace it with a fresh sticker rather than trying to reuse a compromised one.
Finally, never apply self-adhesive mirror stickers over active moisture sources, unsealed porous surfaces, or freshly painted walls. In high-humidity areas like bathrooms or kitchens, standard adhesive backings may degrade quickly unless specifically rated for wet environments. If you have recently repainted your room, wait at least two to four weeks for the paint to cure completely before applying any adhesive decor. Applying stickers to uncured paint will trap moisture, prevent a proper bond, and cause the paint to peel off entirely when you eventually remove the mirrors.
Routine Care and Safe Removal Techniques
To maintain the bright, room-expanding clarity of your mirror stickers, you must practice proper routine care. Unlike traditional glass mirrors, most self-adhesive mirror stickers are made from lightweight acrylic or PET materials, which are much softer and highly susceptible to scratching. Never use abrasive sponges, paper towels, or harsh chemical cleaners containing ammonia or bleach, as these can scratch the surface and strip away the reflective coating. Instead, gently wipe the mirrors using a clean, dry microfiber cloth to remove dust. For smudges or fingerprints, lightly dampen the cloth with water or a mild, diluted dish soap solution, wipe the surface gently, and dry it immediately with a separate microfiber cloth to prevent water spots.
When it comes time to remove the mirror stickers—whether you are moving out of a rental or changing your decor—doing so hastily can cause severe damage to your drywall or plaster. Before you begin, check the product packaging or the manufacturer’s website for specific removal instructions. The safest method to remove adhesive backing is to use a handheld hairdryer. Set the hairdryer to a low, warm setting and hold it a few inches away from the corner of a mirror panel for about thirty seconds. The gentle heat will gradually soften the adhesive, making it pliable.
Once the adhesive is warm, slowly and gently peel the sticker away from the wall, starting from one corner and pulling at a shallow, 45-degree angle. Do not yank or pull the panel straight outward, as this sudden force is highly likely to rip the paint or drywall paper. If you feel resistance, apply more heat with the hairdryer before continuing to peel. Even with careful removal, be prepared for minor wall touch-ups. Depending on the quality and age of your wall paint, some adhesive residue or minor paint lifting may occur. Keep a small container of matching wall paint, a putty knife, and some lightweight spackling compound on hand to patch and touch up any minor imperfections, restoring your wall to its original condition.
Frequently Asked Questions (FAQ)
Can self-adhesive mirror stickers be applied to textured walls?
Heavily textured walls, such as those with stucco, brick, or rough plaster finishes, prevent the adhesive backing of the mirror stickers from making full contact with the surface. This lack of contact leads to weak adhesion, causing the stickers to peel off and fall over time. Furthermore, the uneven surface will bend the flexible acrylic material, resulting in a highly distorted, wavy reflection that ruins the room-expanding effect. If you have textured walls, it is best to test a single sticker in an inconspicuous area first. If it fails to adhere smoothly, consider mounting the stickers onto a thin, flat plywood or foam board first, and then hanging that board on the wall using standard picture-hanging hardware.
How do I clean mirror stickers without damaging the reflective surface?
Because self-adhesive mirror stickers are typically made of acrylic rather than glass, they require extra care to avoid scratches and cloudiness. Avoid using standard glass cleaners that contain ammonia, alcohol, or harsh solvents, as these chemicals can degrade the plastic and damage the reflective backing. Instead, clean the stickers using a soft, clean microfiber cloth slightly dampened with water and a drop of mild dish soap. Wipe the surface gently in circular motions without applying heavy pressure. Immediately follow up with a dry, clean microfiber cloth to buff away any remaining moisture and prevent water spots from forming.
Will removing the stickers damage my wall paint?
The potential for wall damage during removal depends heavily on the quality of your wall paint, how well the surface was prepared before installation, and the removal technique used. If the stickers are applied to cheap, matte, or poorly primed paint, the adhesive is more likely to pull the paint off during removal. To minimize the risk of damage, always use a hairdryer on a low, warm setting to soften the glue before attempting to peel the stickers. Peeling slowly at a 45-degree angle rather than pulling straight out will significantly reduce the likelihood of paint lifting. Testing a small corner first is always recommended to gauge how the adhesive interacts with your specific wall paint.

Community discussion
Share your experience or ask a question. Comments are reviewed before publication.