
A wall-mounted full-body mirror is one of the most effective design tools for transforming a cramped bedroom, narrow hallway, or compact studio condo into an airy, light-filled sanctuary. By capturing and bouncing both natural and artificial light, a strategically placed mirror tricks the eye into perceiving double the actual floor area. The secret lies not just in hanging the glass, but in aligning its reflection with the room’s natural flow and light paths.
To achieve this spacious illusion, you must position the mirror where it can capture open vistas, maximize incoming daylight, and remain securely anchored to your wall. Proper placement requires a balance of spatial assessment, precise height adjustments, and safe installation practices. Whether you are dealing with solid concrete walls common in local high-rises or lightweight drywall partitions, understanding how to align your mirror will instantly elevate your living space.
Assess Your Room's Layout and Light Sources
Before drilling any holes, take a close look at how light and movement flow through your room. In tropical climates, homes often rely on a mix of bright afternoon sun from large windows and ambient indoor lighting to keep spaces feeling fresh. Observe where the sun enters during different times of the day and note the path of the light beams across your walls.
Products mentioned in this guide
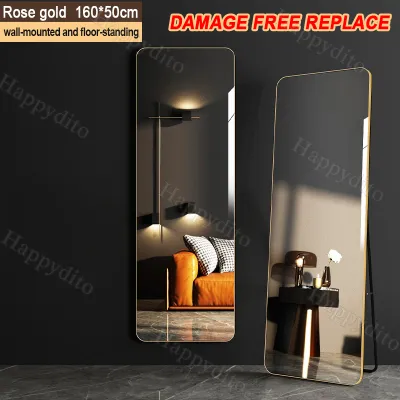
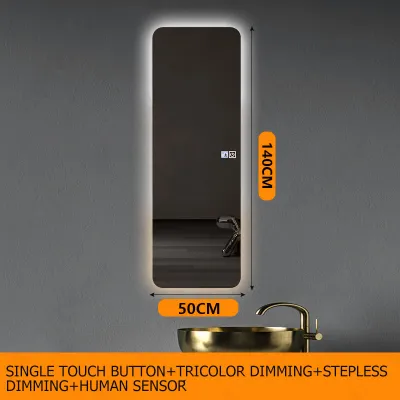
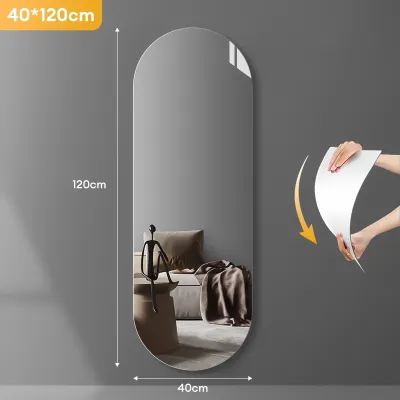
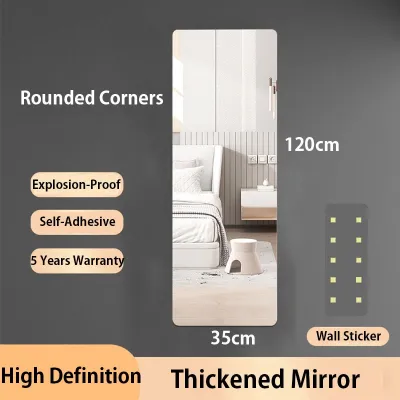
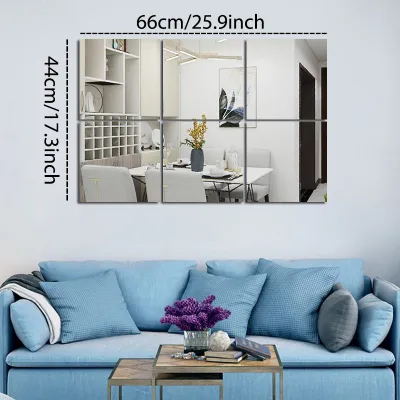
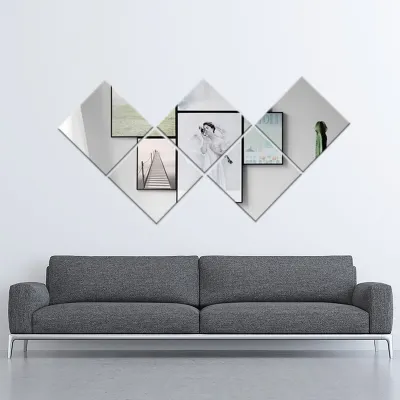
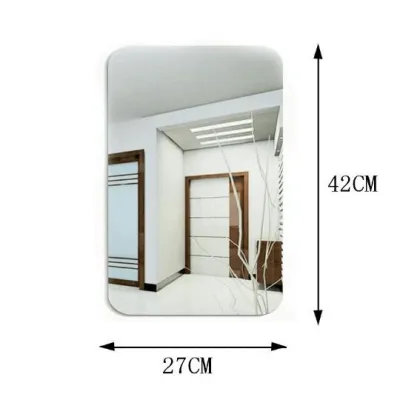
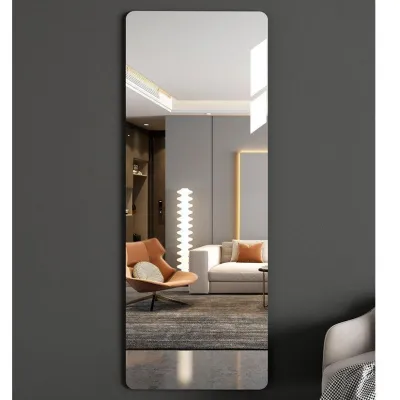
Prices are valid at publication and may change. Please refer to the product page for the latest price.
Identify the primary sightlines in the room, which are the views you see immediately upon entering or while sitting in your favorite chair. Your goal is to place the mirror where it can capture these sightlines and project them back into the room, creating an immediate sense of depth. Avoid pointing the mirror toward dark, unused corners or cluttered storage zones, as this will only duplicate the visual noise and make the room feel more chaotic.
Additionally, evaluate the physical layout of your furniture and the structural condition of your walls. Heavy glass mirrors require sturdy support, especially in high-humidity environments where moisture can affect wall integrity over time. Take note of whether your target wall is made of solid concrete, hollow blocks, or drywall, as this directly dictates the type of mounting hardware you will need to use later.
Choose the Right Wall for Maximum Impact
Selecting the perfect wall for your full body mirror wall mounted setup is a critical decision that determines how much brighter your room will feel. Positioning the mirror directly opposite a window is a classic technique that maximizes natural light. This setup catches the incoming daylight and reflects it deep into the darker parts of the room, mimicking the presence of a second window.

If placing the mirror directly opposite a window causes too much direct glare during the brightest hours of the day, try mounting it on an adjacent wall instead. An adjacent placement still catches and disperses the light beautifully but at a softer angle, reducing harsh reflections that can strain your eyes. This is particularly useful in compact urban apartments where windows might face neighboring buildings or busy streets.
Be mindful of what the mirror will actually reflect from its chosen position. Aim to capture pleasant views, such as a neatly styled bookshelf, a minimalist dining area, or a glimpse of indoor plants thriving in the tropical humidity. Never position the mirror where it constantly reflects unmade beds, laundry baskets, or busy home office desks, as duplicating these sights will make your compact room feel twice as cluttered.
Determine the Ideal Height and Alignment
Achieving the perfect height for your wall-mounted mirror ensures both functional utility and visual harmony. As a general rule, the center of the mirror should sit at average eye level, which is approximately 1.5 meters from the floor. However, because a full-body mirror is designed to show your entire figure, you must adjust this height based on the mirror’s length and how far back you can realistically stand.
To ensure you can see yourself from head to toe, the top of the mirror should be positioned at least a few inches above the head of the tallest person in the household. If your room is highly compact and you can only stand a meter or two away from the glass, you may need to mount the mirror slightly higher to capture your full reflection. Always test the reflection by having someone hold the mirror at various heights before committing to a permanent mounting spot.
Aligning the mirror with existing architectural lines in your room helps integrate it seamlessly into the space. Try lining up the top edge of the frame with the top of a nearby door frame, window casing, or large piece of artwork. Additionally, check for practical clearances around the mirror, ensuring it does not block electrical outlets, interfere with light switches, or get bumped by swinging doors and nearby furniture.
Secure Mounting Techniques for Safety and Stability
Installing a heavy full-body mirror requires careful attention to safety, especially when dealing with different wall materials and the potential for seismic activity or accidental bumps. Because a falling mirror poses a severe safety hazard, you must match your mounting hardware to the specific construction of your wall. Never rely on simple nails or adhesive strips designed for lightweight picture frames.
For solid concrete or masonry walls, which are standard in many local residential buildings, you will need to use a hammer drill, masonry drill bits, and heavy-duty plastic or metal wall anchors. If you are mounting onto drywall or plasterboard partitions, locate the wooden or metal studs behind the wall using a stud finder, and screw your mounting brackets directly into them. If no studs are available in the desired spot, use high-quality toggle bolts or hollow-wall anchors rated for at least double the weight of your mirror.
Before you begin drilling, always verify the load capacity of your chosen anchors and brackets against the manufacturer’s specifications. High-quality heavy-duty anchors typically cost under ₱500 at local hardware stores, making them a small but vital investment for safety. If your mirror features built-in LED lights or backlighting, check the electrical certification, voltage compatibility, and wattage limits, and ensure the power cord can safely reach an outlet without creating a tripping hazard. If you encounter complex wiring behind the wall, tiled surfaces that might crack, or if you are working at height to hang a heavy suspended load, stop immediately. For fixed wiring, damp bathroom installations, or complex mounting, always prioritize safety by following the manufacturer’s installation instructions or hiring a qualified professional.
Styling and Angling Tricks to Enhance the Illusion
Once your mirror is securely mounted, you can use clever styling techniques to further enhance the illusion of space. If your mounting bracket allows for a very slight downward tilt, this angle can reflect more of the floor and lower half of the room, making the ceiling feel taller. However, only attempt this if you are using specialized tilting brackets designed specifically for heavy mirrors; never force a standard flush mount to tilt.
Pairing your mirror with slim, low-profile furniture can frame the reflection beautifully without blocking the view. A narrow console table placed beneath or slightly to the side of the mirror provides a surface for small decorative items while keeping the floor area visually open. You can also place a small indoor plant, like a snake plant or a peace lily, near the base of the mirror to add natural texture and depth to the reflected image.
To keep the illusion of depth unbroken, ensure the physical pathway leading up to the mirror remains completely clear. Avoid placing bulky armchairs, laundry hampers, or storage boxes directly in front of the glass. An unobstructed path allows the eye to travel seamlessly into the reflection, making the room feel as though it extends far beyond the physical wall.
Common Placement Mistakes to Avoid
One of the most common mistakes when positioning a full-body mirror is overcrowding its edges with bulky furniture. Placing large wardrobes or heavy bookshelves too close to the mirror squeezes the reflection and ruins the open, airy effect you are trying to create. Give the mirror some breathing room on either side to let the reflected light spread naturally.
Another frequent error is mounting the mirror too high or too low, which disrupts the visual continuity of the room. A mirror hung too high will only reflect the ceiling and the tops of doors, making the space feel disjointed and rendering the mirror useless for checking your outfit. Conversely, hanging it too low can cut off your head in the reflection and make the floor area feel cramped.
Finally, avoid creating a “tunnel effect” by placing two mirrors directly opposite each other on parallel walls. While this might seem like a way to double the space, it actually creates an infinite, disorienting reflection that can make a small room feel chaotic and unsettling. Instead, offset your mirrors or use a single, well-placed full-body mirror to maintain a clean, comfortable, and expansive atmosphere.
Frequently Asked Questions (FAQ)
Can a wall-mounted mirror be tilted after installation?
Standard flush-mounted brackets do not allow for any tilting once the mirror is fixed to the wall. Attempting to force a flush-mounted mirror to tilt by placing spacers behind it can put dangerous stress on the glass and compromise the integrity of your wall anchors. If you want an angled reflection, you must purchase a specialized tilting bracket system or a pivot mount that is explicitly rated to support the weight of your mirror.
Does the shape of the mirror affect how big the room looks?
Yes, the geometry of your mirror plays a significant role in how space is perceived. Tall, rectangular mirrors are excellent for emphasizing vertical height and making low ceilings feel loftier, while also providing a complete head-to-toe view. Arched or round mirrors can soften the harsh, boxy angles of a small room and add an elegant decorative touch, but they may offer slightly less reflective surface area compared to a full-length rectangular design.

Community discussion
Share your experience or ask a question. Comments are reviewed before publication.