
Positioning a tube light outdoor solar setup on a condo balcony requires balancing two competing needs: maximizing direct sunlight for the solar panel and creating a soft, glare-free glow in your seating area. Because condo balconies are often covered or shaded by neighboring towers, achieving this balance requires strategic placement. By separating the solar collector from the light emitter and using non-destructive mounting methods, you can enjoy a beautifully illuminated outdoor retreat without risking your security deposit.
Assess Your Balcony's Sunlight and Layout
Before purchasing or installing any lighting equipment, you must thoroughly evaluate your balcony’s physical layout and daily sun exposure. In tropical urban areas like the Philippines, the sun’s path changes significantly between the dry season and the wet monsoon months. Spend a few days observing where the sunlight actually hits your balcony floor, railings, or outer walls at different times of the day. A solar panel typically requires several hours of unshaded, direct sunlight to charge its internal battery sufficiently for a full night of illumination.
Equally important is understanding the rules set by your condominium’s Property Management Office (PMO). Most high-rise developments enforce strict guidelines regarding exterior modifications to maintain building aesthetics and structural integrity. Drilling into exterior concrete walls, columns, or metal railings is almost universally prohibited because it can compromise waterproofing layers and lead to structural leaks. Furthermore, hanging items loosely over the edge of a balcony railing is often banned due to the severe safety hazard they pose during high winds or typhoons.
Products mentioned in this guide
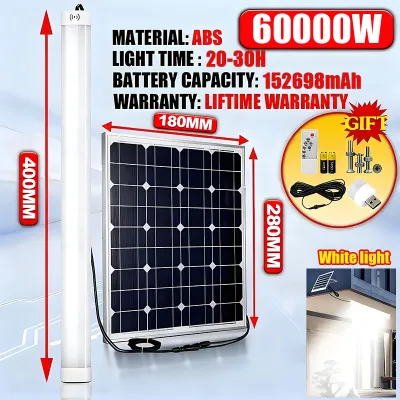
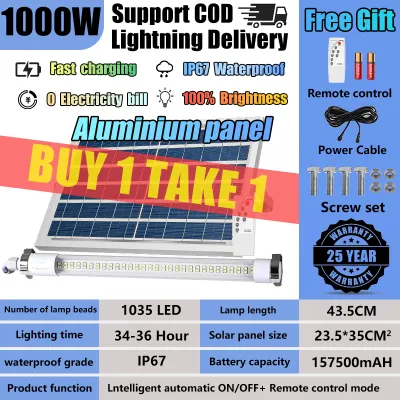
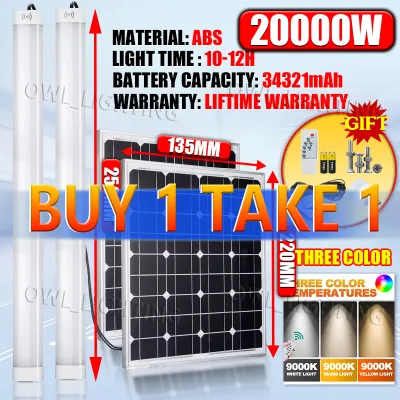
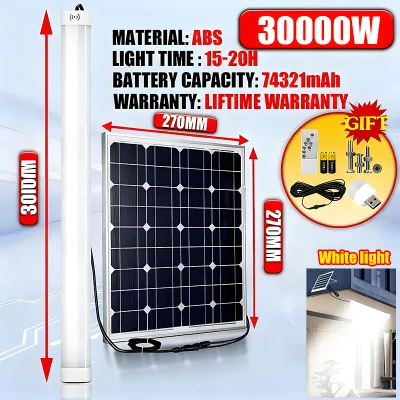
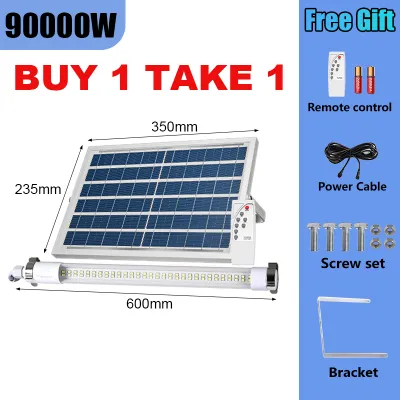
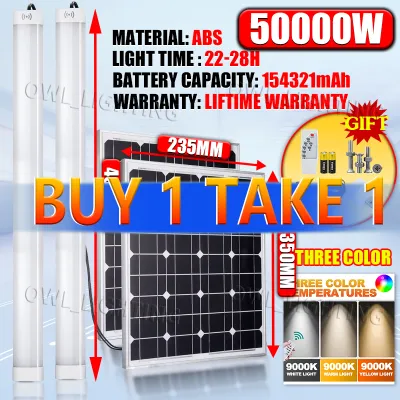
Prices are valid at publication and may change. Please refer to the product page for the latest price.
Next, take precise physical measurements of the areas where you plan to install the lights. Measure the length of your balcony railing, the height of the walls, and the distance to any potential mounting points to ensure the tube light fits without obstructing walkways or sliding doors. Keep in mind that a crowded balcony not only looks cluttered but also increases the risk of accidentally snagging and damaging the light tube.
Finally, identify any potential sources of shade that could block sunlight from reaching your solar panel. Neighboring residential towers, overhead concrete slabs, and even large potted plants on your own balcony can cast long shadows that severely limit charging efficiency. Mapping out these shaded zones beforehand allows you to pinpoint the exact spots where a solar panel can receive uninterrupted daylight.
Plan the Layout for Ambient Lighting
Once you have identified the sunniest spots and understood your building’s limitations, you can design a lighting layout that enhances your balcony’s atmosphere. One popular approach is wrapping the tube light around the top or bottom of the balcony railing to create a defined, glowing border. Alternatively, you can drape the tube along the ceiling edge to mimic architectural cove lighting, or weave it through planter boxes to highlight your outdoor greenery and create dramatic shadows.

If your product design allows, separating the solar panel from the light tube is the most effective way to handle a covered balcony. Many modern outdoor solar tube lights feature a detached solar panel connected to the light strip by a thin, weather-resistant wire. This configuration allows you to mount the solar panel on the outermost edge of the railing where it can catch direct sunlight, while keeping the decorative tube light tucked safely under the covered ceiling to illuminate your seating area.
When planning your layout, pay close attention to the color temperature and brightness settings listed on the product packaging. For a cozy, relaxing evening atmosphere, warm white lights (typically rated between 2700K and 3000K) are highly recommended as they mimic the soft glow of candlelight. Cool white lights (5000K or higher) tend to feel clinical and harsh in a small outdoor space, making them less suitable for casual lounging.
To ensure a comfortable environment, avoid placing the bare light tube directly in your line of sight when you are seated. Direct exposure to the light source can cause uncomfortable glare and strain your eyes. Instead, mount the tube underneath the railing top-cap, behind planter boxes, or along the base of the wall to diffuse the light, creating a sophisticated, indirect glow that enhances the overall ambiance.
Secure Installation Without Damaging the Balcony
Mounting your solar tube lights safely requires non-destructive methods that can withstand local weather conditions without damaging the condo’s exterior surfaces. Since drilling is off-limits, heavy-duty, UV-stabilized zip ties are an excellent alternative for securing tube lights to metal railings or grilles. These ties are inexpensive, easy to install, and can be removed in seconds with a pair of scissors when you decide to move or change your layout.
For concrete walls, tiled columns, or glass panels where zip ties cannot be looped, weather-resistant adhesive hooks designed specifically for outdoor use are highly effective. Before applying any adhesive, clean the surface thoroughly with rubbing alcohol to remove dust and grease, ensuring a strong bond. Alternatively, tension rods placed vertically between the balcony floor and ceiling can provide a temporary, sturdy frame for hanging lights without leaving a single mark on the building.
Before finalizing your installation, verify the weight capacity and weather resistance of your chosen mounting accessories by checking their packaging. In hot, humid tropical climates, standard indoor adhesives will quickly degrade and fail, causing your lights to fall and break. Always select fasteners rated for outdoor use that can withstand high temperatures and moisture.
Cable management is another critical safety consideration when installing outdoor lighting. Loose, dangling wires connecting the solar panel to the light tube present a serious tripping hazard in tight balcony spaces. Use small, adhesive-backed cable clips or outdoor-rated tape to secure the connection wire tightly along the baseboards, railing posts, or corners, keeping the walking path completely clear.
If your desired lighting layout requires any structural alterations, heavy anchoring, or modifications to the building’s exterior facade, stop immediately. Attempting unauthorized modifications can result in hefty fines from your PMO, which can easily range from ₱1,000 to ₱5,000 or more, alongside the forfeiture of your security deposit. Always consult your building management to obtain written approval or to find an approved, professional installation alternative.
Optimize Charging and Maintain the Lights
To keep your solar tube lights functioning beautifully year-round, you must establish a simple maintenance routine tailored to outdoor conditions. In busy urban areas, a thin layer of dust, vehicle emissions, and dried rainwater spots can quickly accumulate on the solar panel’s glass surface. This residue blocks sunlight and significantly reduces charging efficiency, so wipe the panel clean with a damp microfiber cloth at least once a week.
When purchasing and maintaining your lights, always check the manufacturer’s label for the specific Ingress Protection (IP) rating to understand how well they resist moisture. An IP44 rating is generally sufficient for minor splashes, but for balconies exposed to heavy tropical downpours and high humidity, look for lights with an IP65 or IP67 rating. Knowing these limits helps you determine whether your lights can stay out during rainy seasons or if they need extra protection.
The intense tropical sun can cause plastic mounting accessories, such as zip ties and adhesive hooks, to become brittle over time due to UV degradation. Inspect these fasteners every few months, gently tugging on them to check their strength. Replace any ties or hooks that show signs of cracking, fading, or brittleness before they fail completely and cause your lighting setup to fall.
During extreme weather events, such as typhoons or severe monsoon storms, high winds can easily tear outdoor lights from their temporary mounts, turning them into dangerous flying debris. If the manufacturer’s instructions recommend storing the lights indoors during severe weather, take the time to temporarily dismantle your setup. Storing the solar panel and tube lights safely inside during a storm protects your investment and ensures the safety of those below.
Troubleshooting Common Placement Issues
If your solar tube lights are not performing as expected, a few simple adjustments can often resolve the issue. If the lights only stay illuminated for an hour or two after sunset, the solar panel is likely not receiving enough direct sunlight during the day. Try relocating the panel to a higher position on your balcony railing or angling it more directly toward the path of the sun to maximize exposure.
If the illumination feels too harsh, cold, or fails to highlight your balcony’s decor features, try adjusting the physical position of the tube light. Tucking the tube behind potted plants, wrapping it in a translucent outdoor fabric, or directing the light toward a wall to bounce the glow can instantly soften the ambiance. Experimenting with indirect lighting angles can transform a clinical-looking space into a warm, inviting retreat.
Keep an eye out for physical changes on your balcony that might create new shadows over your solar panel. Growing plants, newly placed outdoor furniture, or even laundry hanging out to dry can block the panel’s access to daylight. Periodically check the area around your solar panel to ensure the path to the sun remains completely unobstructed.
If your light fails to turn on automatically at dusk despite receiving plenty of sunlight, refer to the troubleshooting section of the product manual. Some solar lights require a manual power cycle, a battery replacement, or a sensor reset to restore automatic operation. Cleaning the light sensor, which is often integrated into the solar panel itself, can also resolve issues where the light fails to detect the transition from day to night.
Frequently Asked Questions (FAQ)
Can I use an outdoor solar tube light on a fully covered balcony?
Yes, but you must plan the placement of the solar panel carefully. Because solar panels require direct sunlight to charge their internal batteries effectively, placing the panel deep inside a fully covered balcony will result in poor performance or no light at all. To make this setup work, choose a product that features a long, detachable connection wire between the solar panel and the light tube. This allows you to mount the solar panel on the outermost edge of your balcony railing where it can catch direct sunlight, while keeping the decorative tube light tucked safely under the covered ceiling. Always check the manufacturer’s specifications on the packaging to verify if the solar panel has low-light charging capabilities.
Will the adhesive hooks damage my condo's exterior paint?
Adhesive hooks can damage exterior paint if they are not selected, installed, or removed correctly. To prevent damage to your condo’s walls, always test the adhesive on a small, inconspicuous area of the exterior paint before committing to the full installation. Check the hook’s packaging to ensure it is rated for outdoor use and is compatible with your specific wall surface, such as painted concrete or brick. When it is time to remove the hooks, follow the manufacturer’s removal guidelines carefully. Many outdoor adhesives require warming with a hairdryer or applying a small amount of a specific removal solvent to soften the bond, allowing you to peel the hook away cleanly without stripping the paint.

Community discussion
Share your experience or ask a question. Comments are reviewed before publication.