
Installing 220V LED strip lights is an excellent way to elevate the ambiance of a modern condominium, providing seamless cove lighting or under-cabinet illumination. However, unlike low-voltage alternatives that run on 12V or 24V, a 220V system connects directly to your condo’s mains power. This direct connection means the strips carry a high voltage capable of causing severe electrical shocks, short circuits, or fire hazards if handled incorrectly. Achieving a beautiful, glowing interior requires prioritizing safety, understanding your building’s electrical infrastructure, and executing each step with precision.
Before unboxing your new lighting setup, recognize that high-voltage installations demand a higher level of care. A single mistake in cutting, connecting, or insulating a 220V line can lead to costly damage or violate your building’s safety codes. By taking a systematic approach—verifying your equipment, preparing your workspace, and adhering to local electrical standards—you can safely transform your condo’s atmosphere while keeping your home and neighbors secure.
Pre-Installation Safety and Condo Regulations
Every condominium development operates under a specific set of house rules managed by the Property Management Office (PMO). Before purchasing or installing any high-voltage lighting, obtain a copy of your building’s fit-out and electrical guidelines. Many condo associations strictly prohibit unit owners from making permanent modifications to the existing electrical wiring or hardwiring new fixtures into the ceiling without a formal permit. If your PMO requires a licensed electrician for all hardwired installations, you must comply or opt for a plug-and-play setup that connects directly to an existing wall outlet.
Products mentioned in this guide
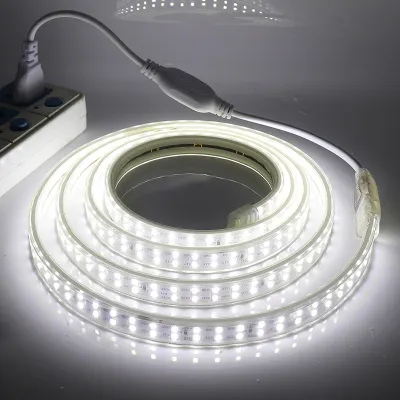
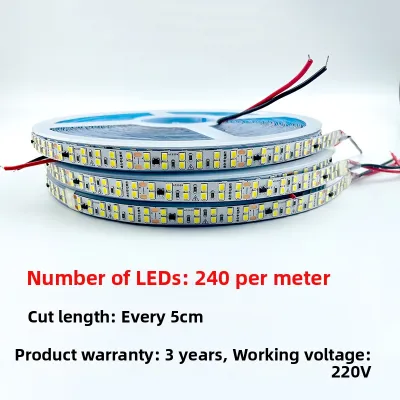
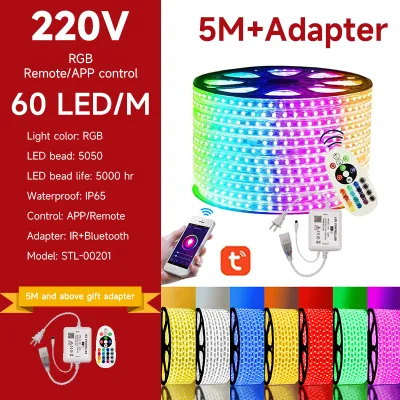
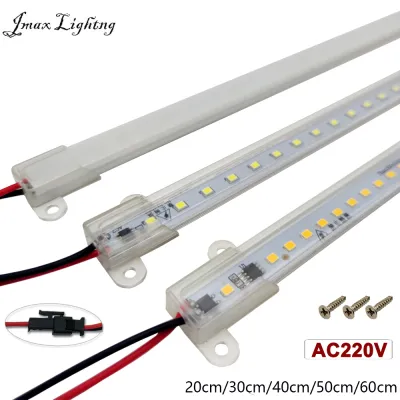
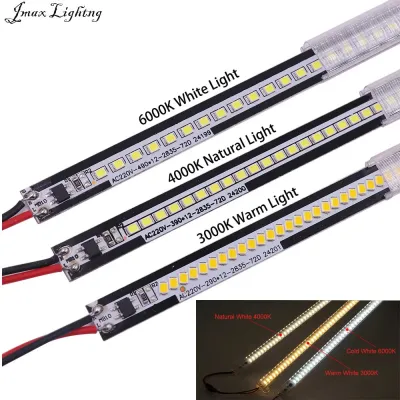
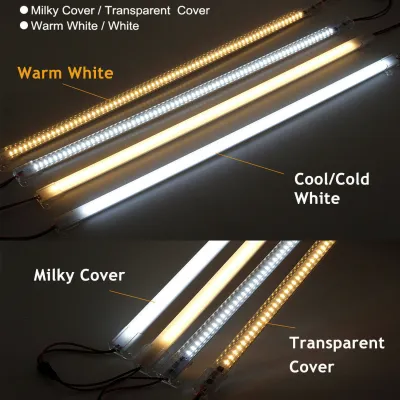
Prices are valid at publication and may change. Please refer to the product page for the latest price.
Beyond building rules, verify that your chosen 220v strip light led matches the local utility supply. In the Philippines, the standard residential electrical supply is 220V at a frequency of 60Hz. Many imported LED strips are designed for 50Hz grids; using these can cause persistent flickering, excessive heat generation, and a significantly shortened lifespan. Always check the product label or specification sheet to confirm the voltage and frequency compatibility before plugging anything into your wall.
The absolute golden rule of any electrical project is to isolate the power source before touching a single wire. Never rely solely on a wall switch to cut the power, as switches can sometimes be wired incorrectly, leaving the line live. Locate your condo’s main electrical panel, which is typically found near the entryway or kitchen area. Identify the specific circuit breaker controlling the area where you will be working, switch it to the “off” position, and inform everyone in the household that electrical work is underway.
Tools and Materials Required
Having the correct tools on hand prevents dangerous improvisations and ensures a clean, professional finish. For safety and verification, you will need a reliable non-contact voltage tester to double-check that lines are dead before handling them. Insulated screwdrivers rated for high-voltage work, sharp wire strippers, and high-quality electrical tape or heat-shrink tubing are essential for making secure connections.

Your material list must include the 220V LED strip lights, a compatible power connector or controller, mounting clips, and waterproof end caps. Because 220V strips run on alternating current (AC), they require a specialized power cord with an integrated rectifier to convert the current to direct current (DC). Never attempt to connect a 220V strip directly to a power cord without this rectifier, as doing so will cause the LEDs to fail instantly. For personal protection, always wear insulated rubber gloves and safety glasses to shield your eyes from debris when working overhead.
Step-by-Step Installation Process
Executing the physical installation requires a methodical approach to ensure both physical stability and electrical safety. By breaking the process down into distinct phases, you can avoid common pitfalls and achieve a clean, long-lasting setup.
Preparing the Surface and Power Source
The tropical climate in the Philippines brings high humidity levels, which can severely compromise the adhesive backing of LED strips over time. To prevent the strips from sagging or peeling away, you must clean the mounting surface thoroughly. Wipe the area with isopropyl alcohol to remove all dust, grease, and construction residue, then allow it to dry completely before proceeding.
Next, identify the power outlet or junction box you plan to use for the installation. If you are installing cove lighting near the ceiling, ensure the outlet is easily accessible and not positioned where condensation or roof leaks could introduce moisture. Use your non-contact voltage tester around the outlet or exposed wires to confirm that the circuit breaker has successfully cut all electrical current to the area.
Mounting and Connecting the LED Strips
Unroll the LED strip completely before applying power; leaving a high-voltage strip coiled while turned on can cause rapid heat buildup and melt the protective silicone casing. Locate the designated cutting marks on the strip, which are typically spaced at one-meter intervals on 220V models. Unlike low-voltage strips that can be cut every few centimeters, 220V strips must only be cut precisely on these marks, as cutting elsewhere will sever the internal series circuit and ruin the entire section.
Peel the adhesive backing and press the strip firmly onto the prepared surface, working in small sections to avoid air bubbles. Because of the weight of 220V strips and the local humidity, relying solely on the adhesive backing is rarely sufficient for ceiling or vertical installations. Secure the run by installing plastic mounting clips or aluminum channels with screws every 30 to 50 centimeters to guarantee the strip remains in place. Connect the strip to the rectifier power cord, ensuring the metal pins align perfectly with the internal wires of the strip, and wrap the connection tightly with heat-shrink tubing to prevent accidental contact.
Testing and Securing the Setup
Once the physical mounting is complete and all connections are insulated, it is time to restore power. Return to your condo’s electrical panel and switch the circuit breaker back to the “on” position. Turn on the light switch or controller to verify that the entire length of the strip illuminates evenly.
Observe the lights closely for several minutes, checking for any signs of flickering, buzzing sounds, or unusual heat buildup along the strip or at the connection points. If you notice any of these issues, immediately turn off the breaker and inspect the connections for loose pins or short circuits. Once you confirm the system is operating perfectly, install silicone end caps on the cut end of the strip and seal them with outdoor-grade silicone sealant to prevent moisture or dust from entering the live circuit.
Common Mistakes and When to Call a Professional
One of the most frequent mistakes DIYers make is cutting 220V LED strips outside the designated cut marks, which permanently damages the circuit and can create a fire hazard. Another critical error is daisy-chaining multiple strips together beyond the manufacturer’s recommended maximum run length. While 220V strips can handle much longer runs than low-voltage options, exceeding the limit overloads the rectifier and the thin copper traces inside the strip, leading to overheating.
Additionally, never attempt to use standard low-voltage wall dimmers with a 220V LED strip. High-voltage strips require specialized, compatible dimming controllers designed to handle mains voltage safely. Bypassing safety components or ignoring grounding requirements on metal mounting profiles increases the risk of electrical shock.
If your installation requires routing wires behind concrete walls, tapping directly into your condo’s main distribution board, or working at heights that make you uncomfortable, stop immediately. Electrical work in high-rise buildings carries strict liability, and a mistake can affect the safety of the entire building. Hiring a registered, licensed electrician may require a professional fee of several thousand ₱, but it is a worthwhile investment for peace of mind, ensures your installation complies with the Philippine Electrical Code, and keeps your condo insurance valid.
Maintenance and Troubleshooting
Maintaining your 220V LED strip lights involves regular visual inspections to catch potential hazards before they escalate. Every few months, check the entire length of the strip, the plug, and the rectifier for any signs of discoloration, melting, or cracking in the protective sleeve. If you notice any warm spots or physical degradation, disconnect the power immediately and replace the damaged section.
When cleaning your light fixtures, always turn off the circuit breaker first to eliminate any risk of shock. Use a dry or slightly damp microfiber cloth to wipe away dust from the surface of the strips; never use wet sponges, harsh chemical solvents, or abrasive cleaning pads. Keeping the strips free of dust prevents heat retention, ensuring the LEDs run cool and last for their intended lifespan.
If a portion of your strip suddenly stops working, the issue is often localized to a loose connection pin or a physical break in the internal circuitry. Check the connection between the power cord and the strip first, ensuring the pins are making solid contact with the copper wires. If the entire strip fails to light up, test the outlet with another appliance or inspect the rectifier, as these components are typically the first to fail under voltage fluctuations.
Frequently Asked Questions (FAQ)
Can I hardwire 220V LED strips directly into my condo's ceiling?
Hardwiring 220V LED strips directly into your condo’s ceiling is possible, but it typically requires formal approval from your Property Management Office (PMO). Because this involves connecting directly to the building’s permanent electrical wiring, the work must be performed by a licensed electrician to comply with local building codes. Unauthorized hardwiring can void your condo’s fire insurance and lead to penalties from building management.
Are 220V LED strips safe to use in the kitchen or bathroom?
Yes, but only if the strips carry an appropriate Ingress Protection (IP) rating, such as IP65 or IP67, which indicates resistance to dust and moisture. In high-humidity areas like kitchens and bathrooms, steam and water splashes can easily penetrate standard indoor strips, causing short circuits. Additionally, all connection points, rectifiers, and end caps must be thoroughly sealed with silicone sealant and heat-shrink tubing to prevent moisture from contacting the live 220V current.
Why do my 220V LED strips flicker when turned on?
Flickering in 220V LED strips is usually caused by a frequency mismatch, a faulty rectifier, or an incompatible dimmer switch. Since residential power in the Philippines runs at 60Hz, using a strip designed for 50Hz can cause visible strobing. Ensure your power adapter contains a high-quality rectifier that converts AC to stable DC, and verify that any dimmers used are specifically rated for high-voltage LED loads.

Community discussion
Share your experience or ask a question. Comments are reviewed before publication.