
Installing 220V LED strip lights in your condo is an excellent way to elevate your living space with modern, seamless ambient lighting. Unlike low-voltage alternatives, 220V systems connect directly to your home’s mains power, offering brighter, longer continuous runs without voltage drop. However, working with mains voltage requires strict adherence to safety protocols and precise installation steps. By carefully planning your layout, preparing the mounting surfaces, and following correct wiring procedures, you can safely achieve a professional-grade lighting setup that complies with condo safety standards.
Pre-Installation Planning and Safety Boundaries
Before purchasing or installing any high-voltage lighting, you must assess your condo’s electrical capacity. 220V LED strips draw power directly from your unit’s main electrical panel, meaning their total wattage must be factored into your circuit’s load capacity. Calculate the total wattage by multiplying the wattage per meter (specified on the product label) by the strip’s length. Ensure this does not exceed the safe operating limit of the designated breaker, keeping the total load on any single circuit below 80 percent of its maximum capacity.
Environmental conditions in your condo also dictate the type of LED strip you can safely install. In tropical climates like the Philippines, high humidity and ambient moisture can affect electrical components. Always check the product label and manual for the Ingress Protection (IP) rating. For dry living areas or bedroom ceilings, an IP20 rating is generally sufficient. However, if you plan to install accent lighting in damp areas such as kitchens, laundry zones, or bathrooms, you must use strips with a higher rating, such as IP65 or IP67, which feature protective silicone casings to seal out moisture.
Products mentioned in this guide

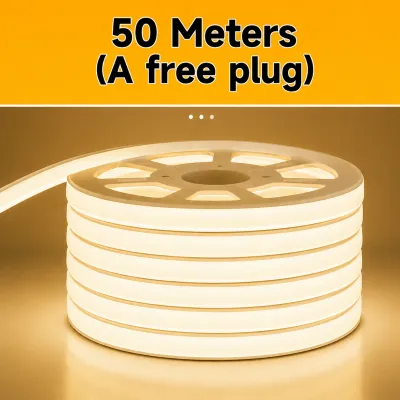
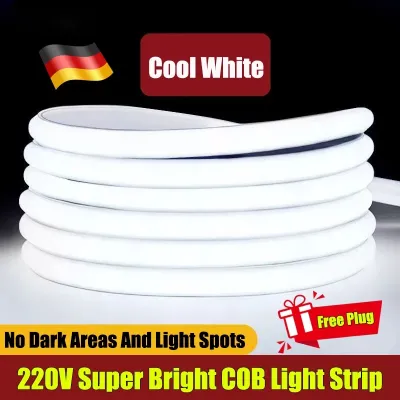
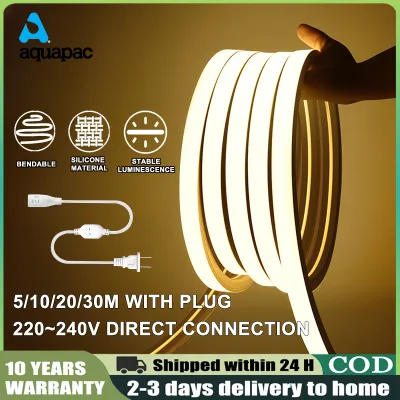
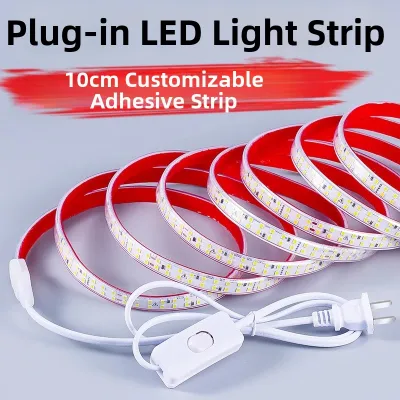
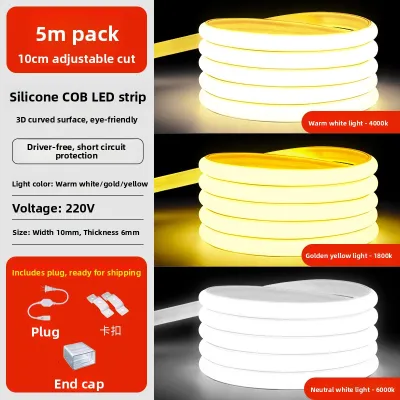
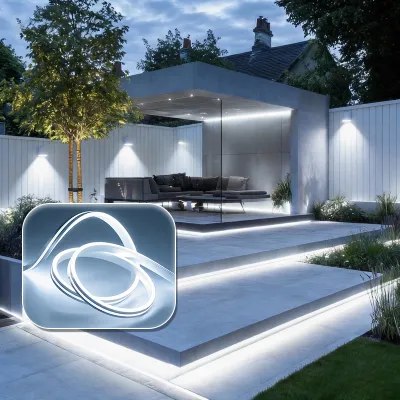
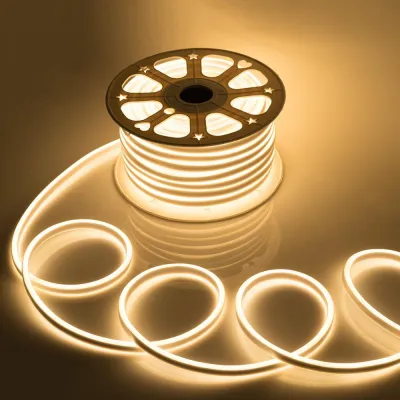
Prices are valid at publication and may change. Please refer to the product page for the latest price.
Working with 220V electricity carries inherent risks of severe shock or fire if handled incorrectly. Establish a strict safety threshold before you begin: if the manufacturer’s wiring diagram is unclear, if your condo features outdated or modified wiring, or if you feel any hesitation about handling mains voltage, stop immediately. Consulting a licensed electrician is the safest and most responsible course of action to protect your property and yourself.
Tools and Materials Checklist
Gathering the correct tools and safety equipment before starting prevents mid-project interruptions and ensures a secure installation.

For physical mounting and layout preparation, you will need:
- Measuring tape and spirit level: To plan and mark straight, professional-looking runs along ceilings or under cabinets.
- Cleaning supplies: Isopropyl alcohol and a lint-free microfiber cloth to prepare the mounting surface.
- Mounting accessories: Manufacturer-approved mounting clips, screws, or aluminum profiles (highly recommended for concrete condo walls or ceilings where adhesive may fail due to humidity).
For electrical safety and connection, prepare:
- Non-contact voltage tester: To verify that circuits are completely dead before touching any wires.
- Insulated screwdrivers: Rated for electrical work to prevent accidental conduction.
- Manufacturer-specified hardware: Ensure that all connectors, end caps, rectifiers, and power cords are the exact models recommended by the strip's manufacturer. Mixing brands or using generic high-voltage accessories can lead to poor connections, short circuits, or electrical hazards.
Step-by-Step Installation Process
Installing 220V LED strips requires a systematic approach that prioritizes physical stability and electrical safety. The process moves from preparing the physical environment to securing the hardware, and finally making the electrical connections. Throughout this process, safety must remain your primary focus. The main circuit breaker controlling the target outlet or junction box must remain switched off until the entire physical installation is complete and ready for final testing.
Preparing and Cleaning the Mounting Surface
In humid tropical environments, dust, grease, and moisture can quickly degrade adhesive backings, causing LED strips to sag. Thoroughly wipe down the mounting area with isopropyl alcohol and a lint-free cloth. Avoid household chemical cleaners, which can leave a residue that prevents proper adhesion, and allow the surface to dry completely.
Once the surface is clean, use your measuring tape and level to map out the exact path of the LED strip. Mark the layout lightly with a pencil, paying close attention to the location of your power source. 220V LED strips cannot be bent at sharp angles, so your layout must accommodate gradual curves or utilize dedicated corner connectors. Additionally, identify the designated cut points on the strip. High-voltage strips can only be cut at specific intervals (often every 1 meter), so your layout measurements must align with these pre-marked cutting zones to avoid awkward spacing or exposed, non-functioning sections.
Mounting the LED Strip and Accessories
With your layout marked, you can begin securing the LED strip. To mount the strip using adhesive backing, peel away a small section of the protective tape at a time, pressing firmly onto the prepared surface. For concrete walls, rough plaster, or high-humidity areas where adhesive may fail, secure the strip using manufacturer-provided mounting clips or aluminum channels with appropriate anchors every 30 to 50 centimeters.
As you position the strip, handle the physical components with care to avoid damaging the internal circuitry. Never bend the strip beyond its minimum bend radius, which is typically specified in the manufacturer’s manual. When navigating corners, use flexible corner connectors or jumper cables designed specifically for your 220V model. Once the strip is in place, seal any cut ends immediately with manufacturer-approved end caps and silicone sealant. This step is critical to prevent accidental contact with live conductors and to protect the internal wiring from ambient moisture.
Wiring to the Mains Power Supply
Before touching any electrical wires, switch off the circuit breaker dedicated to the installation area at your condo’s main panel. Use a non-contact voltage tester at the junction box to verify that no electrical current is flowing. Do not rely solely on wall switches, as they may only cut power to one leg of the circuit.
Once you have verified the power is off, connect the LED strip’s power cord and rectifier to the mains wiring. Always follow the manufacturer’s specific wiring diagram provided in the product manual. Do not rely on general wire color codes, as wiring standards can vary between buildings and older condo units. Ensure that the rectifier—which converts the condo’s alternating current (AC) to the direct current (DC) required by the LEDs—is securely connected and matches the exact specifications of your strip.
Observe strict stop conditions during this phase. If you discover that your condo’s junction box lacks a proper grounding wire, if any wire connections feel loose or unstable, or if the provided rectifier does not align perfectly with the strip’s voltage and wattage requirements, halt the installation immediately. Do not attempt to bypass these safety features or force incompatible components together. Leave the circuit breaker off and contact a qualified professional to resolve the wiring issues.
Testing, Verification, and Troubleshooting
Once all physical and electrical connections are securely in place, you can proceed to the testing phase. Ensure that all tools, loose wires, and debris are cleared away from the installation area. Turn the main circuit breaker back on and activate the light switch. Perform a thorough visual inspection of the operating LED strip. Look closely for any signs of flickering, dark spots, or uneven brightness along the run. Carefully observe the connection points and the rectifier for several minutes; there should be no unusual heat buildup, buzzing sounds, or localized discoloration. If you notice any of these symptoms, turn off the circuit breaker immediately to investigate.
Refer to the following troubleshooting guidelines for common post-installation issues:
- The strip does not light up: Verify that the main breaker is on and that the power cord is plugged in or wired correctly. Check that the connection between the power cord, rectifier, and the LED strip is secure and oriented in the correct polarity.
- Only a portion of the strip illuminates: This usually indicates a loose connector or a damaged circuit at a cut point. Turn off the power before adjusting any connectors or replacing damaged segments.
- The circuit breaker trips immediately: This points to a short circuit or an overloaded circuit. Keep the breaker off, inspect the entire run for exposed wires or incorrect connections, and verify that the total wattage does not exceed the circuit's capacity.
Remember, any troubleshooting step that requires opening connection boxes, adjusting wire nuts, or touching exposed metal components must only be performed after turning off the main circuit breaker and verifying the absence of voltage.
Condo-Specific Rules and Long-Term Maintenance
Living in a condominium means adhering to shared community standards and property management guidelines. Before installing high-voltage lighting, especially on balconies, exterior walls, or near windows visible from the street, consult your condo corporation or property management office. Many buildings have strict rules regarding exterior aesthetics, structural modifications, or drilling into common walls. Securing prior approval prevents potential fines or the inconvenience of having to dismantle your hard work.
Long-term safety and performance require regular, proactive maintenance. Conduct visual inspections of your LED strips at least once every few months. Look for signs of adhesive failure, sagging sections, or physical damage to the protective casing. In tropical climates, pay close attention to any yellowing or discoloration of the silicone sleeve, which can indicate UV degradation or heat stress. Check all visible wiring and the rectifier for fraying, cracking, or signs of moisture ingress.
When cleaning your LED strips, safety must always come first. Always turn off the power supply before performing any maintenance. Use a dry or slightly damp microfiber cloth to gently wipe away dust from the surface of the strip. Never spray water, liquid cleaners, or chemical solvents directly onto the LEDs, connectors, or rectifiers. Keeping these components clean and dry ensures they continue to operate safely and efficiently for years to come.
Frequently Asked Questions (FAQ)
Can I cut 220V LED strip lights anywhere to fit my ceiling?
No, 220V LED strip lights cannot be cut at random points. Unlike low-voltage strips that can often be cut every few centimeters, high-voltage 220V strips are designed with specific, pre-marked cutting intervals, typically spaced every 1 meter. Cutting the strip anywhere outside of these designated marks will sever the internal series circuit, rendering the entire section non-functional. Furthermore, cutting in the wrong spot can expose live wires, creating a severe electrical shock hazard, risking short circuits, and voiding the manufacturer’s warranty. Always locate the printed copper pads or scissor icons on the strip before making any cuts.
Do 220V LED strips need a separate transformer or driver?
220V LED strips do not require a bulky step-down transformer because they are designed to operate directly on mains voltage. However, they cannot run directly on raw alternating current (AC) from your wall outlet without a rectifier. They require a specialized power cord containing an integrated rectifier, which converts the AC power from your condo’s grid into the direct current (DC) required by the LEDs. Always check the product packaging to ensure you are using the exact rectifier and power cord assembly provided or recommended by the manufacturer, as using an incorrect power accessory can permanently damage the strip.
Is it safe to install 220V LED strips in a bathroom?
Installing 220V LED strips in a bathroom is only safe if the product carries the appropriate Ingress Protection (IP) rating and is installed according to strict safety guidelines. Because bathrooms are high-moisture environments, you must verify that the strip has a minimum rating of IP65 or IP67, indicating it is sealed against water splashes and humidity. Additionally, all electrical connection points, rectifiers, and power plugs must be located completely outside of direct splash zones (such as shower areas or directly above sinks). For maximum safety, consult a licensed electrician to ensure the bathroom circuit is protected by a Ground Fault Circuit Interrupter (GFCI) to prevent electrical shock.

Community discussion
Share your experience or ask a question. Comments are reviewed before publication.