
Achieving a deeply immersive effect with a nightmare projector in a compact condo bedroom relies on mastering three core elements: strategic placement, strict ambient light control, and selecting the right projection surface. In a limited space, every square meter counts, meaning you must work around existing furniture, manage light leaks from windows, and ensure the device is safely ventilated. By focusing on throw distance, surface texture, and subtle accent lighting, you can turn a small sleeping area into a highly atmospheric, visually stunning environment.
Preparing Your Condo Bedroom and Equipment
Before mounting or placing your nightmare projector, a thorough room assessment is essential to ensure safety and optimal performance. Start by identifying the locations of your power outlets. In many compact condos, outlets may be limited or positioned far from your ideal projection wall. Verify that the projector’s voltage requirements match the local 220V electrical supply to prevent damage to the internal circuitry, and ensure any extension cords used are rated for the device’s wattage and carry proper electrical safety certifications.
Next, clear the projection path of physical obstructions. In a small bedroom, items like low-hanging ceiling fans, decorative pendant lights, or tall wardrobes can easily block the light beam and cast unwanted shadows. Walk around the room and look at the line of sight from your planned projector location to the target wall to ensure a clear, uninterrupted path. Even minor obstructions, like the corner of a bookshelf or a hanging plant, can disrupt the continuity of the projected image and break the illusion of immersion.
Products mentioned in this guide
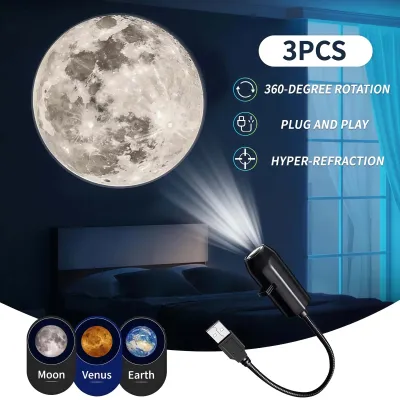
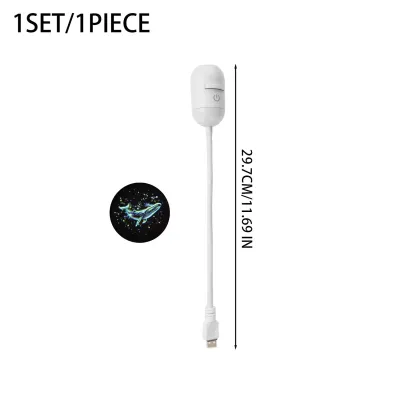
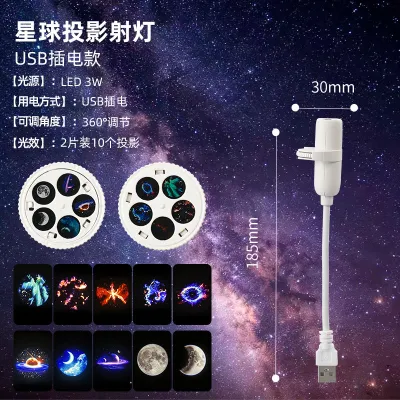
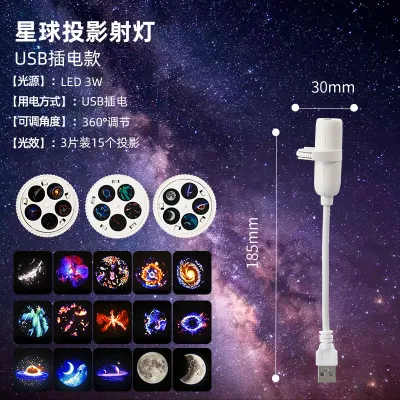
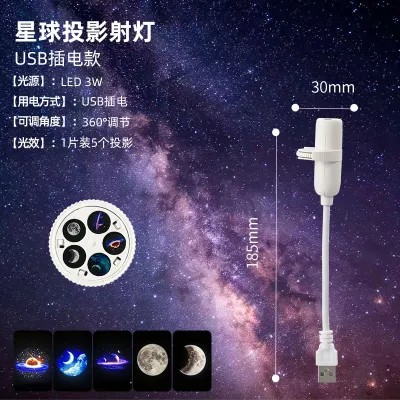
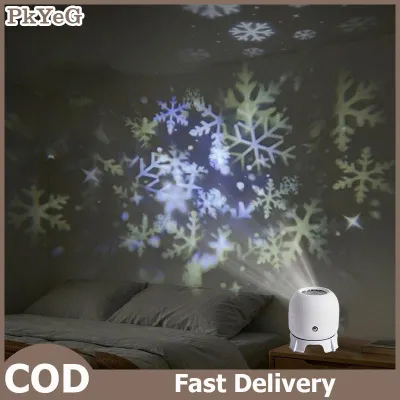
Prices are valid at publication and may change. Please refer to the product page for the latest price.
Finally, consult the manufacturer’s manual for specific clearance and ventilation requirements. Projectors generate significant heat during operation, and placing them in tight, unventilated corners or directly against soft bedding can lead to overheating. Ensure there is sufficient space around the intake and exhaust vents to allow continuous airflow, which is especially important in warm, tropical climates where ambient room temperatures are naturally higher. If you plan to mount the device, verify that the mounting bracket is compatible with the projector’s thread size and can securely support its weight.
Choosing the Best Projection Surface for High Contrast
The quality of your immersive experience depends heavily on the surface receiving the image. In a condo, you are often dealing with pre-painted walls or wallpaper. Assess your existing wall color and texture, noting how dark paints or heavy textures can distort or absorb the image. While dark walls might seem ideal for a spooky theme, they can actually absorb too much light and wash out the finer details of the projection, leaving you with a muddy, indistinct image.

You must weigh the trade-offs between projecting directly onto a smooth painted wall and installing a dedicated matte screen or temporary fabric backdrop. A smooth, matte-white or light-gray wall is the easiest option, but if your wall has a glossy finish, it will reflect light directly back at you. This reflection causes harsh glare and washes out the deep blacks essential for a nightmare theme. Matte finishes, on the other hand, diffuse the light evenly across the surface, preserving contrast and color accuracy.
Avoid projecting onto glossy paints, mirrors, or glass surfaces. These materials scatter the light and destroy the contrast needed for dark, atmospheric scenes. If your condo walls are unsuitable due to heavy texture or dark paint, consider a temporary matte fabric backdrop or a pull-down screen. These can be easily stored away when not in use, preserving your condo’s daytime aesthetic while providing a perfect, high-contrast surface at night. Renter-friendly options like lightweight, hook-mounted screens are excellent for avoiding wall damage.
Finding the Optimal Placement in a Compact Room
Positioning a projector in a limited space requires strategic thinking to maximize image size without overcrowding the room. Utilize existing furniture to your advantage. A sturdy nightstand, a floating shelf mounted securely above the bed, or a dedicated ceiling mount can keep the projector stable and level. If you choose a shelf or ceiling mount, ensure it is rated to support the weight of the device and installed using appropriate wall anchors to prevent accidental falls. Avoid placing the projector on unstable surfaces like soft mattresses or piles of books, which can tilt and cause the device to fall.
Adjust the throw distance based on the projector’s specific throw ratio. In a small condo bedroom, the distance between the projector and the wall is usually short. If the projector is placed too close, the image will be small; if it is too far, the image may become blurry or pixelated if the resolution cannot scale. Check the manufacturer’s specifications to find the sweet spot where the image fills the wall without losing sharpness. For very tight spaces, a short-throw projector is often the most practical choice as it can project large images from just a few feet away.
Because perfect straight-on placement is rarely possible in a compact room, you will likely need to project at an angle. This causes geometric distortion, turning your rectangular image into a trapezoid. To fix this, use the projector’s digital keystone correction and manual focus rings. Keystone correction aligns the edges of the image to match the wall, while the focus ring ensures the entire projection remains sharp from corner to corner. Keep in mind that extreme digital keystone correction can slightly reduce image resolution, so try to align the projector physically as close to the center of the wall as possible before applying digital adjustments.
Mastering Ambient Light Control for Maximum Immersion
To achieve the deep blacks and vivid contrasts that make a nightmare projector truly immersive, you must eliminate competing light sources. In urban condo developments, streetlights, bright corridor lights, and moonlight can easily seep through windows. Installing high-quality blackout curtains or blinds is the most effective way to block external light. Ensure the curtains extend beyond the window frame to prevent light leaks along the edges, which can instantly wash out the dark tones of your projection.
Inside the bedroom, turn off all overhead lights. Even small light sources can disrupt the dark atmosphere. Cover or turn off LED indicator lights on appliances like air conditioners, air purifiers, or multi-plug adapters. These tiny lights can cast a surprising amount of glow in a small, dark room, reducing the perceived contrast of your projection. You can use small pieces of black electrical tape to temporarily cover these indicators without damaging the appliances.
If you prefer not to sleep in absolute darkness, you can introduce subtle, low-level auxiliary lighting. Dim red or deep blue LED light strips placed behind furniture or along the baseboards can enhance the moody, atmospheric vibe. However, ensure these accent lights are dimmable and positioned so they do not shine directly onto the projection surface, as any light hitting the wall will wash out the projected image. Keep the brightness of these auxiliary lights to a minimum to maintain the visual dominance of the projector.
Fine-Tuning the Visuals and Verifying Safety
Once your projector is positioned and the room is dark, spend a few minutes fine-tuning the visuals. Adjust the focus ring slowly until the fine details of the nightmare theme are crisp. Align the edges of the image with the architectural features of your room, such as the top of the baseboard or the edge of a wardrobe, to make the projection feel like a natural extension of the space. If your projector has built-in picture modes, experiment with ‘Cinema’ or ‘Dark Room’ settings to find the best color balance for low-light viewing.
Safety is paramount when operating electrical equipment in a small, enclosed bedroom. Double-check that the projector’s cooling vents are completely unobstructed. Never place books, clothes, or decorative items near the exhaust vents, as restricted airflow can cause the device to overheat and shut down unexpectedly, or even pose a fire hazard. Additionally, ensure the power adapter brick is placed on a hard, flat surface where heat can dissipate safely, rather than tucked under pillows or blankets.
Finally, manage your cables carefully. In a compact bedroom, loose cords running across the floor are major tripping hazards, especially in the dark. Use cable clips, surface-mounted raceways, or hook-and-loop straps to secure all power and data cables along the baseboards or behind furniture. Keeping cables tidy not only ensures safety but also maintains the clean, uncluttered look of your condo. If you frequently plug and unplug the device, consider using a dedicated cable management box to keep excess cord length neatly contained.
Frequently Asked Questions (FAQ)
Can I project onto a textured or colored wall in my condo?
Yes, but with some limitations. Textured walls create tiny shadows when light hits them at an angle, which can make the projected image look grainy or distorted. If your wall is painted a dark or vibrant color, it will absorb or shift the colors of the projection, making the visuals look muddy. For renters who cannot repaint, a temporary matte fabric backdrop, a lightweight portable screen, or renter-friendly peel-and-stick projection sheets are excellent solutions that provide a smooth, neutral surface without damaging the underlying wall.
Is it safe to leave the projector running all night while sleeping?
It depends on the specific model and its cooling capabilities. Always check the manufacturer’s guidelines regarding maximum continuous run times. If you plan to leave it on overnight, ensure the room has adequate ventilation—such as an active air conditioner or fan—to keep the ambient temperature low. To protect the device’s lifespan and save energy, utilize the projector’s built-in sleep timer or connect it to a certified smart plug to automatically power down the system after a set number of hours.

Community discussion
Share your experience or ask a question. Comments are reviewed before publication.