
Decorating a tropical garden landscape in the Philippines with outdoor solar Christmas lights offers a brilliant, energy-efficient way to celebrate the holiday season. This approach eliminates the need for complex extension cords, outdoor power outlets, and the subsequent spike in your monthly electricity bill. By capturing the abundant daytime tropical sun, these self-sustaining fixtures can beautifully illuminate garden pathways, wrap around palm trees, and drape over lush shrubs. Achieving a stunning, reliable festive display requires thoughtful planning of sunlight exposure, selecting weather-resistant fixtures rated for high humidity and heavy rain, and executing a secure installation that protects both your plants and the electrical components.
Planning Your Garden Lighting Layout
Before purchasing any fixtures, take time to assess your garden’s layout and identify the key zones that will serve as your holiday focal points. Walk through your yard at dusk to determine which areas naturally draw the eye, such as a central pathway, a prominent plumeria or palm tree, dense bougainvillea shrubs, or a perimeter fence. Highlighting these specific features creates visual depth and structure, preventing your holiday display from looking cluttered or disorganized.
Mapping out daily sunlight exposure is the most critical step in planning a solar-powered display. Because solar panels require direct, unobstructed sunlight to charge efficiently, you must observe how shadows move across your garden throughout the day. Take note of dense tropical foliage, roof overhangs, walls, and neighboring structures that might block the sun during peak hours. If your desired light placement is in a shaded area, you will need to position the solar panel several meters away in a sunny spot, which requires careful measurement of the distance between the display and the panel.
Products mentioned in this guide
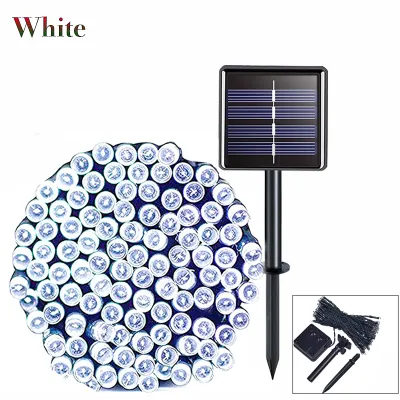
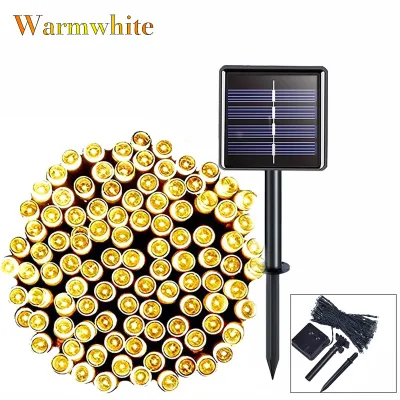
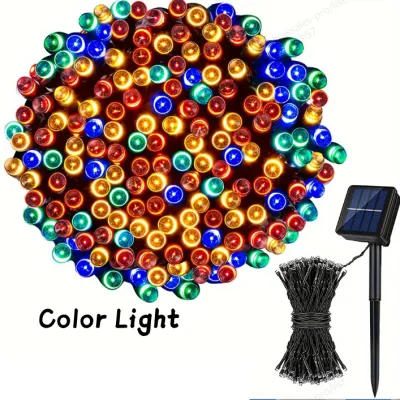
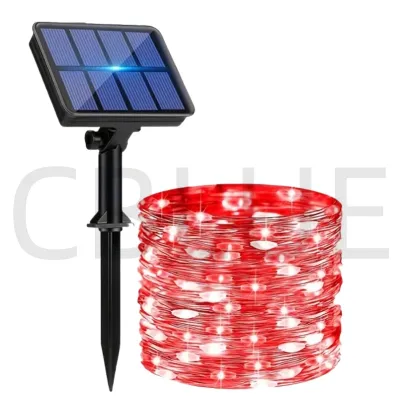
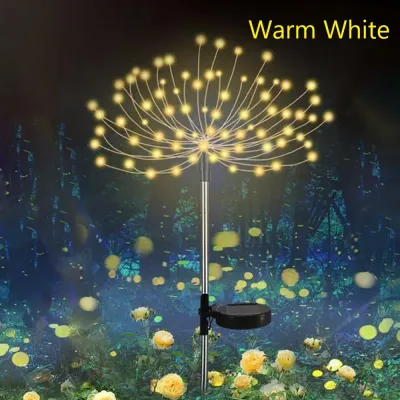
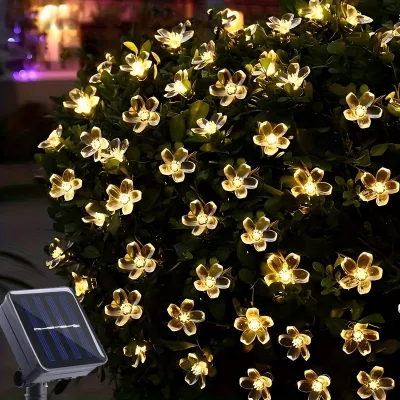
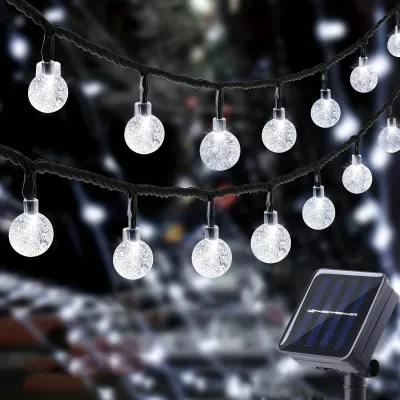
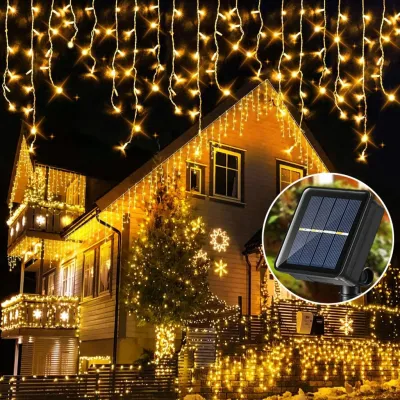
Prices are valid at publication and may change. Please refer to the product page for the latest price.
To ensure a seamless installation, measure the distances along your planned cable routes before buying your lights. Many outdoor solar Christmas lights feature a lead cable between the solar panel and the first bulb, but this length varies significantly between products. Verifying these measurements beforehand ensures that your solar panels can be placed in high-sunlight zones while the decorative bulbs remain exactly where you want them, without stretching or straining the wires.
Choosing the Right Solar Christmas Lights for Your Landscape
Selecting the appropriate type of solar light for each garden feature is essential for both aesthetic appeal and structural safety. String lights are highly versatile and work exceptionally well for wrapping tree trunks, winding around pillars, or outlining fence lines. For low-lying vegetation, net lights can be draped gently over shrubs and hedges to create a uniform blanket of festive sparkle. Meanwhile, solar stake lights or path lights are ideal for lining walkways, defining garden borders, and illuminating flower beds from the ground up.

When shopping for outdoor solar lights, always check the product packaging and labels for specific weather-resistance ratings. In tropical climates prone to sudden downpours and high humidity, look for an Ingress Protection (IP) rating of IP65 or higher, which indicates that the fixture is dust-tight and protected against water jets. Additionally, verify the electrical specifications on the product label, including the voltage, battery capacity, and any safety certifications. Ensure the interface and mounting dimensions are compatible with your planned setup, and check if the product supports dimming if you prefer adjustable brightness levels. Consider the color temperature of the LEDs; warm white bulbs (around 2700K to 3000K) create a cozy, traditional holiday ambiance, while cool white or vibrant multicolor lights offer a more modern, playful festive look.
Finally, verify the manufacturer’s specifications regarding expected run times and battery types. Solar Christmas lights typically rely on rechargeable batteries, such as NiMH or Li-ion, which are housed within the solar panel assembly. Reviewing the rated run time—often listed as the number of hours the lights can operate on a full charge—helps you manage expectations for your evening display. Keep in mind that battery capacity and efficiency will dictate how long your garden remains illuminated after the sun goes down.
Step-by-Step Installation and Placement Strategies
Begin your installation by positioning and securing the solar panel in your pre-determined sunny location. Most solar panels come with a ground stake or a mounting bracket that allows you to adjust the tilt angle. To maximize solar energy absorption in the Philippines, tilt the panel slightly to face the path of the sun, ensuring it is not shielded by low-hanging leaves or garden ornaments. Secure the stake firmly into the ground, or mount the bracket to a fence or wall, making sure it can withstand strong tropical gusts.
Once the panel is secure, carefully route and conceal the connecting cables along the natural lines of your landscape. Laying wires along the edges of garden beds, behind shrubs, or alongside pathways keeps the installation neat and prevents tripping hazards for family and guests. Use outdoor-rated cable clips or plastic garden stakes to pin the wires flat against the ground, protecting them from accidental damage caused by lawnmowers, grass cutters, or garden shears.
When attaching the light fixtures to your plants and structures, prioritize non-damaging fastening methods to protect your garden’s health. Avoid using metal nails, screws, or heavy staples directly on tree trunks or branches, as these can puncture the bark and introduce pests or diseases. Instead, opt for adjustable plastic zip ties, soft hook-and-loop garden tape, or insulated outdoor clips. Wrap the lights snugly but leave enough slack to accommodate natural plant growth and movement in the wind.
Before finalizing your setup and securing all fasteners, perform a daytime test of the system. Since solar lights feature built-in sensors that prevent them from turning on during the day, you can simulate nighttime by completely covering the solar panel with a dark cloth, cardboard, or your hand. If the connected bulbs illuminate immediately, your connections are secure and the system is functioning correctly. If they fail to light up, double-check the cable connections and ensure the physical power switch on the panel is turned to the “on” position.
For any installation steps that require working at heights, such as hanging lights from tall palm trees or roof gutters, always prioritize personal safety. Use a sturdy, slip-resistant ladder placed on flat, stable ground, and have a spotter assist you. If your display involves complex configurations, fixed wiring, or high-voltage integration, ensure you isolate the power source before handling any electrical components. Always follow the manufacturer’s installation instructions carefully, and consult a qualified professional for any complex electrical work to ensure the setup complies with local safety standards.
Maintaining and Troubleshooting Your Solar Holiday Lights
To keep your solar Christmas lights shining brightly throughout the holiday season, establish a routine maintenance schedule. Dust, pollen, fallen leaves, and dried rain spots can quickly accumulate on the surface of the solar panel, blocking sunlight and drastically reducing charging efficiency. Every few weeks, gently wipe the panel clean with a soft, damp microfiber cloth and a mild, non-abrasive soap if necessary. Avoid using harsh chemical cleaners or abrasive scrubbing pads, which can scratch the protective cover and permanently degrade performance.
In addition to cleaning, regularly inspect the physical components of your lighting system for signs of wear or damage. High humidity and heavy tropical rains can sometimes lead to moisture ingress within the light sockets or the battery compartment. Check the wires for any fraying, cracking, or signs of pest damage, as local garden wildlife may occasionally chew on exposed cables. If you notice any damaged wiring, turn off the system immediately and replace the affected sections to prevent short circuits.
If your lights begin to dim prematurely or fail to turn on at night, follow a systematic troubleshooting process. First, verify that the physical power switch on the back of the solar panel is fully engaged. Next, check if nearby plants have grown or shifted, casting new shadows over the solar panel during the day. If the panel receives ample sunlight but the lights still perform poorly, the rechargeable batteries may be reaching the end of their lifespan or struggling to hold a charge due to prolonged exposure to high outdoor temperatures.
When battery replacement becomes necessary, always consult the manufacturer’s instructions to identify the exact battery type, voltage, and capacity required. Replacing the old cells with incompatible batteries can damage the internal circuitry and void your warranty. If troubleshooting steps do not resolve the issue, refer to the product manual or contact the manufacturer’s customer service to check for specific care limits, replacement parts, or warranty coverage options.
Frequently Asked Questions (FAQ)
Can outdoor solar Christmas lights work on cloudy or rainy days?
Yes, outdoor solar Christmas lights can still charge and operate on cloudy or rainy days, but their performance will be noticeably reduced. Solar panels rely on daylight to generate electricity, so even when the sky is overcast, they can absorb ambient light. However, because the intensity of the sunlight is significantly lower, the battery will not reach a full charge. This results in shorter run times at night and potentially dimmer illumination. To manage expectations during prolonged periods of poor weather, choose solar lights with larger battery capacities and highly efficient monocrystalline solar panels, which tend to perform better under low-light conditions.
How do I store solar Christmas lights after the holiday season?
Proper post-holiday storage is essential for preserving the lifespan and battery health of your solar Christmas lights, especially in humid tropical climates. Begin by carefully dismantling the lights, taking care not to pull or strain the wires. Gently clean any dirt, mud, or algae off the bulbs, cables, and solar panels using a damp cloth, and allow every component to dry completely in a shaded, well-ventilated area. Storing damp equipment can lead to mold growth and terminal corrosion of the electrical contacts. Once dry, consult the manufacturer’s guidelines regarding battery storage; it is highly recommended to remove rechargeable batteries from the compartment if the lights will be stored for several months, preventing potential battery leakage and corrosion from ruining the control unit. Store the entire set in a sturdy, airtight container kept in a cool, dry place away from direct sunlight.

Community discussion
Share your experience or ask a question. Comments are reviewed before publication.