
Using solar Christmas lights to create a cozy, warm ambiance in your condo bedroom or living room is an innovative, energy-efficient way to decorate. While these lights are traditionally designed for outdoor gardens and patios, you can successfully bring their soft glow indoors if you plan your setup around your condo’s layout and sunlight access. The key lies in choosing the right type of solar light kit and ensuring the solar panel receives enough direct sunlight to power the LEDs through the evening. By understanding the unique layout of your living space and the path of the sun, you can enjoy a beautiful, sustainable lighting display without adding to your monthly electricity bill.
Evaluating Your Condo Layout for Solar Ambient Lighting
Before purchasing a solar Christmas light string, you must evaluate whether your condo’s physical layout can support this type of lighting system. The most critical distinction to understand is the difference between integrated and split solar light designs. Integrated solar lights have the solar panel built directly into the light fixture itself, which makes them entirely unsuitable for indoor use since the lights and the panel must reside in the same spot. For indoor ambient lighting, you must select a split solar light system. This design features a separate solar panel connected to the LED string by a long lead cable, allowing you to position the panel outdoors in the sun while running the light string inside your bedroom or living room.
Next, assess your condo’s natural light exposure. In high-density urban developments, neighboring towers often block direct sunlight for large portions of the day. Observe which direction your windows or balcony face. An east-facing window will receive bright, direct morning sun, while a west-facing window will capture intense afternoon heat and light. North- and south-facing windows generally receive less direct sunlight throughout the year, which may limit your solar panel’s charging capacity. If your condo lacks a balcony or a window that receives at least four to six hours of unobstructed sunlight daily, a solar-powered system may struggle to charge fully.
Products mentioned in this guide
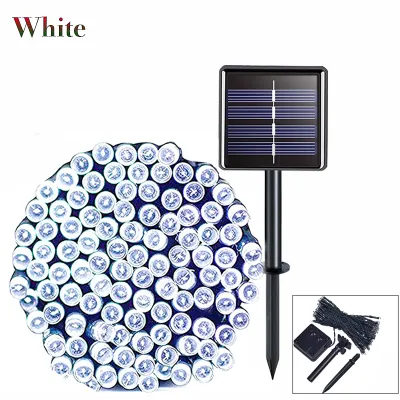
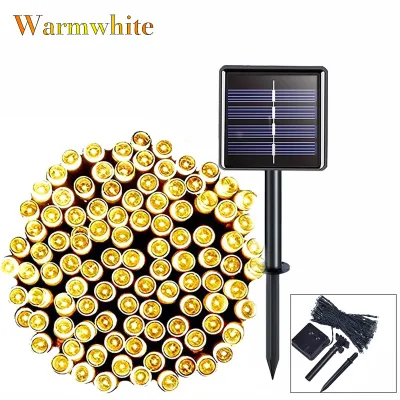
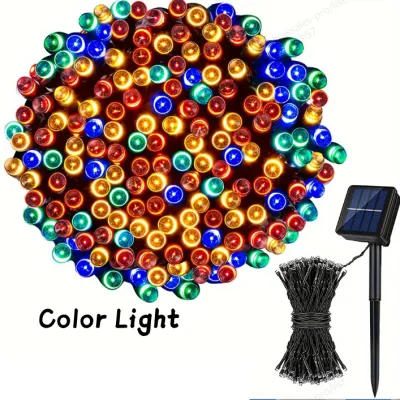
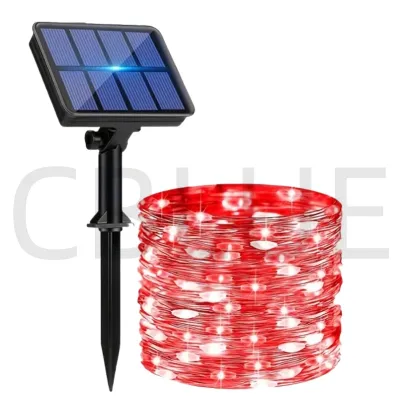
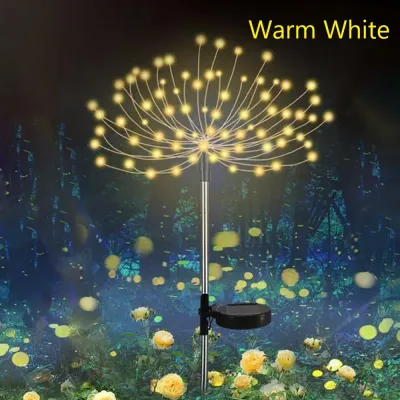
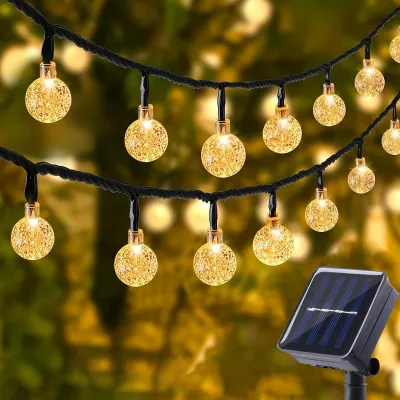
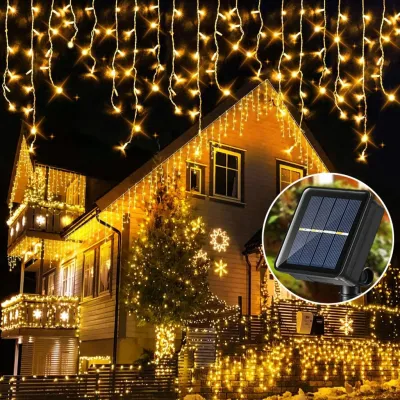
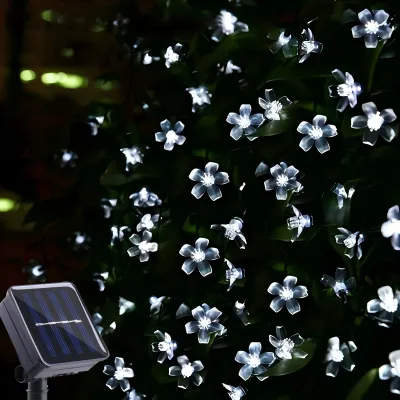
Prices are valid at publication and may change. Please refer to the product page for the latest price.
Finally, measure the distance from your designated outdoor charging spot to the indoor area you wish to illuminate. The lead cable—the unlit portion of the wire between the solar panel and the first LED bulb—must be long enough to bridge this gap comfortably. If the cable is too short, you will be forced to place your lights right next to the window, limiting your styling options. Stretching a cable tightly across a room creates a tripping hazard and puts physical strain on the wire connections, which can lead to premature product failure. Always check the manufacturer’s specifications for lead cable length before making a decision, aiming for a model that offers at least two to three meters of slack.
Positioning the Solar Panel for Maximum Sunlight
To get the most out of your solar Christmas lights, you must position the solar panel where it can capture the maximum amount of direct sunlight. In a condo setting, the most viable charging spots are balcony railings, wide window sills, or exterior planter boxes. When choosing a spot, track the sun’s path across your facade and note any shadows cast by adjacent buildings, utility poles, or overhanging concrete ledges. Even partial shading on a small portion of the solar panel can drastically reduce its energy conversion efficiency, leaving your indoor lights dim or non-functional by nightfall.

Mounting the solar panel requires a careful balance between securing the device and respecting your condo’s property management office (PMO) guidelines. Most condo associations strictly prohibit drilling into exterior walls, window frames, or balcony concrete. Instead, opt for non-destructive mounting methods. Heavy-duty, weather-resistant zip ties are excellent for securing the panel’s mounting bracket to balcony railings. For window sills or glass surfaces, high-strength suction cups with integrated hooks or double-sided outdoor mounting tape can hold the lightweight panel securely in place without leaving permanent marks.
Safety must be your top priority when installing any outdoor component in a high-rise building. High winds, especially during the tropical monsoon season or sudden afternoon thunderstorms, can easily dislodge poorly secured items. Ensure the solar panel is firmly anchored and cannot fall onto common areas or pedestrian walkways below. If you are working at heights to mount a panel on an upper-floor balcony, always prioritize personal safety, keep your center of gravity inside the balcony railing, and never overreach. Additionally, route the lead cable carefully through window tracks or balcony doors. Avoid pinching the cable tightly when closing windows, as repeated crushing can damage the protective insulation, expose the internal copper wires, and cause a short circuit. If possible, use flat ribbon cables designed to pass through window seals safely, or leave a sliding door slightly ajar if it is protected by a screen.
Styling and Safely Mounting the Indoor Light String
Once your solar panel is securely positioned and the lead cable is routed indoors, you can begin styling your space. In the bedroom, draping fairy lights over a wooden headboard or weaving them through a canopy creates a soft, relaxing retreat. In the living room, you can wrap the light string gently around the stems of hardy indoor plants, such as a snake plant or a monstera, to highlight their natural textures. Outlining wall mirrors, floating shelves, or television consoles with a delicate string of warm white LEDs adds depth to the room and makes the space feel larger and more inviting.
To keep your condo looking neat and to protect your walls, use damage-free hanging tools. Adhesive wire clips and clear hooks are ideal for securing thin copper wire light strings along walls, ceilings, or furniture. These hooks hold the wire flush against the surface and can be removed cleanly without peeling off the latex paint, making them perfect for rented condo units. For temporary setups or delicate surfaces, reusable mounting putty can hold lightweight wires in place without leaving oily residues or holes.
Even though low-voltage LED Christmas lights generate very little heat compared to traditional incandescent bulbs, basic electrical safety precautions still apply. Ensure the light string does not rest directly against highly flammable fabrics, such as sheer polyester curtains or lightweight bedding, to eliminate any localized heat buildup. The control box, which typically houses the rechargeable battery pack and the solar charging circuitry, should be placed in a well-ventilated area. Avoid tucking the battery pack under pillows, behind heavy cushions, or inside tight, unventilated decorative boxes where heat can accumulate. Regularly inspect the light string for any frayed wires, loose bulbs, or signs of wear before turning them on.
Managing Low Light, Weather, and Charging Limits
Operating solar-powered lights indoors comes with inherent limitations, particularly when weather conditions change. During the rainy season, consecutive overcast or stormy days will significantly reduce the amount of solar energy your panel can collect. Under heavy cloud cover, the battery may only receive a fraction of its required charge, resulting in lights that turn off after an hour or fail to illuminate entirely. Understanding this limitation helps manage expectations during the wetter months of the year.
To optimize performance year-round, monitor your system’s charging indicators if available, and adjust the solar panel’s angle seasonally. During the dry season, the sun sits higher in the sky, requiring a flatter panel angle, whereas the wet season may require tilting the panel more vertically to catch light through overcast skies and to help rainwater slide off the glass surface. Keeping the panel clean is also essential; wipe away dust, soot, and salt spray weekly with a damp microfiber cloth, as a dirty panel can lose a significant portion of its charging efficiency.
If your condo experiences prolonged periods of low light, or if your layout simply does not provide enough direct sun, it is wise to have a backup plan. You can try bringing the solar panel indoors to sit on a highly sunlit window sill, though you should expect a significant drop in charging speed due to the glass barrier. If solar charging proves completely impractical for your specific unit, consider transitioning to USB-powered or mains-powered fairy lights. When choosing plug-in alternatives, always verify that the product matches your local voltage standards, carries official electrical safety certifications (such as the Philippine Standard or Import Commodity Clearance marks), and features a compatible wattage limit for your condo’s outlets.
Frequently Asked Questions (FAQ)
Can I charge the solar panel through a closed glass window?
While it is physically possible for some light to pass through glass, charging a solar panel behind a closed window is highly inefficient. Modern window glass, especially double-glazed, tinted, or low-emissivity (Low-E) glass commonly installed in modern condo buildings, is specifically designed to filter out ultraviolet (UV) rays and reflect solar heat. Because solar panels rely heavily on these spectrums of light to generate electricity, charging through a window can reduce the panel’s efficiency by 50% or more. For the best performance and a full nightly run time, always place the solar panel outdoors where it has direct, unobstructed access to the sky.
Are the battery packs for solar Christmas lights safe to keep indoors?
Yes, the low-voltage rechargeable batteries (typically NiMH or low-capacity Li-ion) used in solar Christmas light kits are generally safe for indoor use, provided they are manufactured to reputable standards. However, you must always check the manufacturer’s specifications and safety guidelines for your specific model. To maintain safety, keep the battery pack away from direct heat sources, damp areas, and standing water. Periodically inspect the battery housing for any signs of physical damage, unusual warmth during operation, or swelling. If the battery pack feels hot to the touch or appears bloated, discontinue use immediately and replace the unit.

Community discussion
Share your experience or ask a question. Comments are reviewed before publication.